
Laptop hinge repair guide
Two weeks ago my laptop put me in big trouble when I heard a cracking sound and I couldn’t open or close the lid without breaking more things. It looked like something got stuck in between and every time I tried to open the lid, it started to rip the whole laptop base apart.
I didn’t wanna give it to some shady mechanic or Lenovo’s official service center thanks to their pathetic service and delivery times. Above all, I would not put my data in unsafe hands!
So I downloaded the service manual first. Got it from Lenovo’s website for this specific model : Lenovo G50-80.
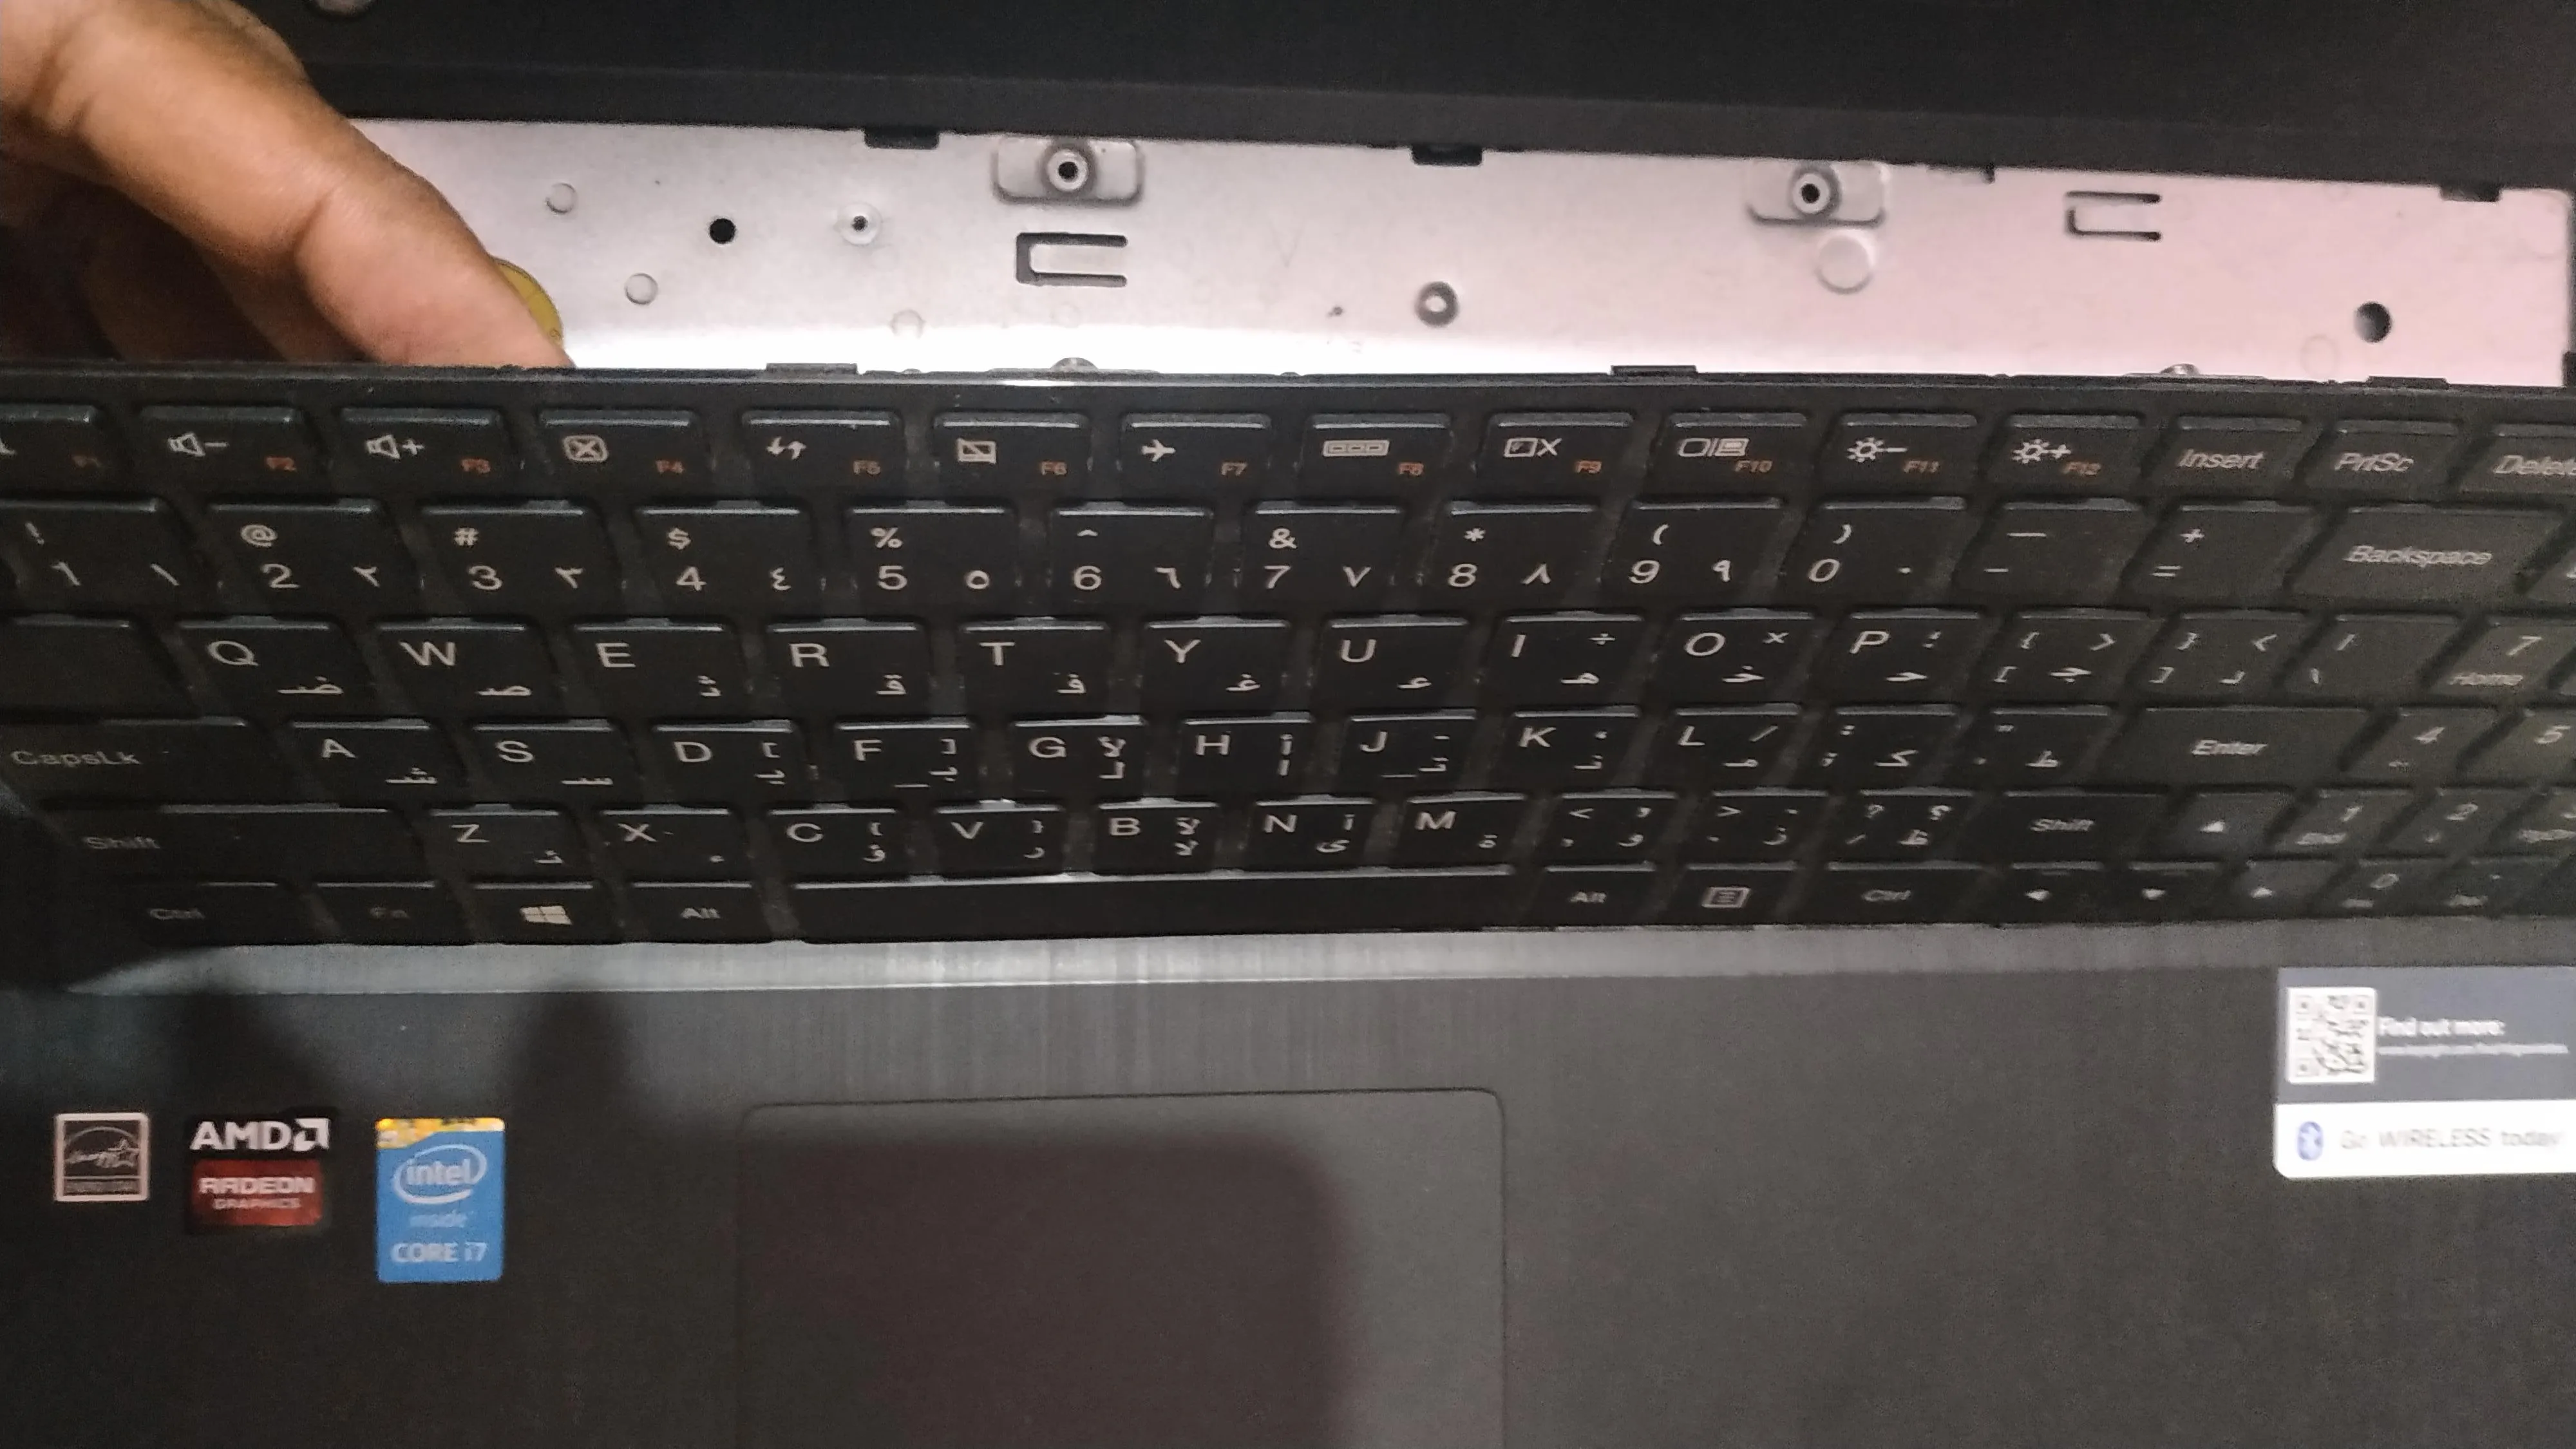
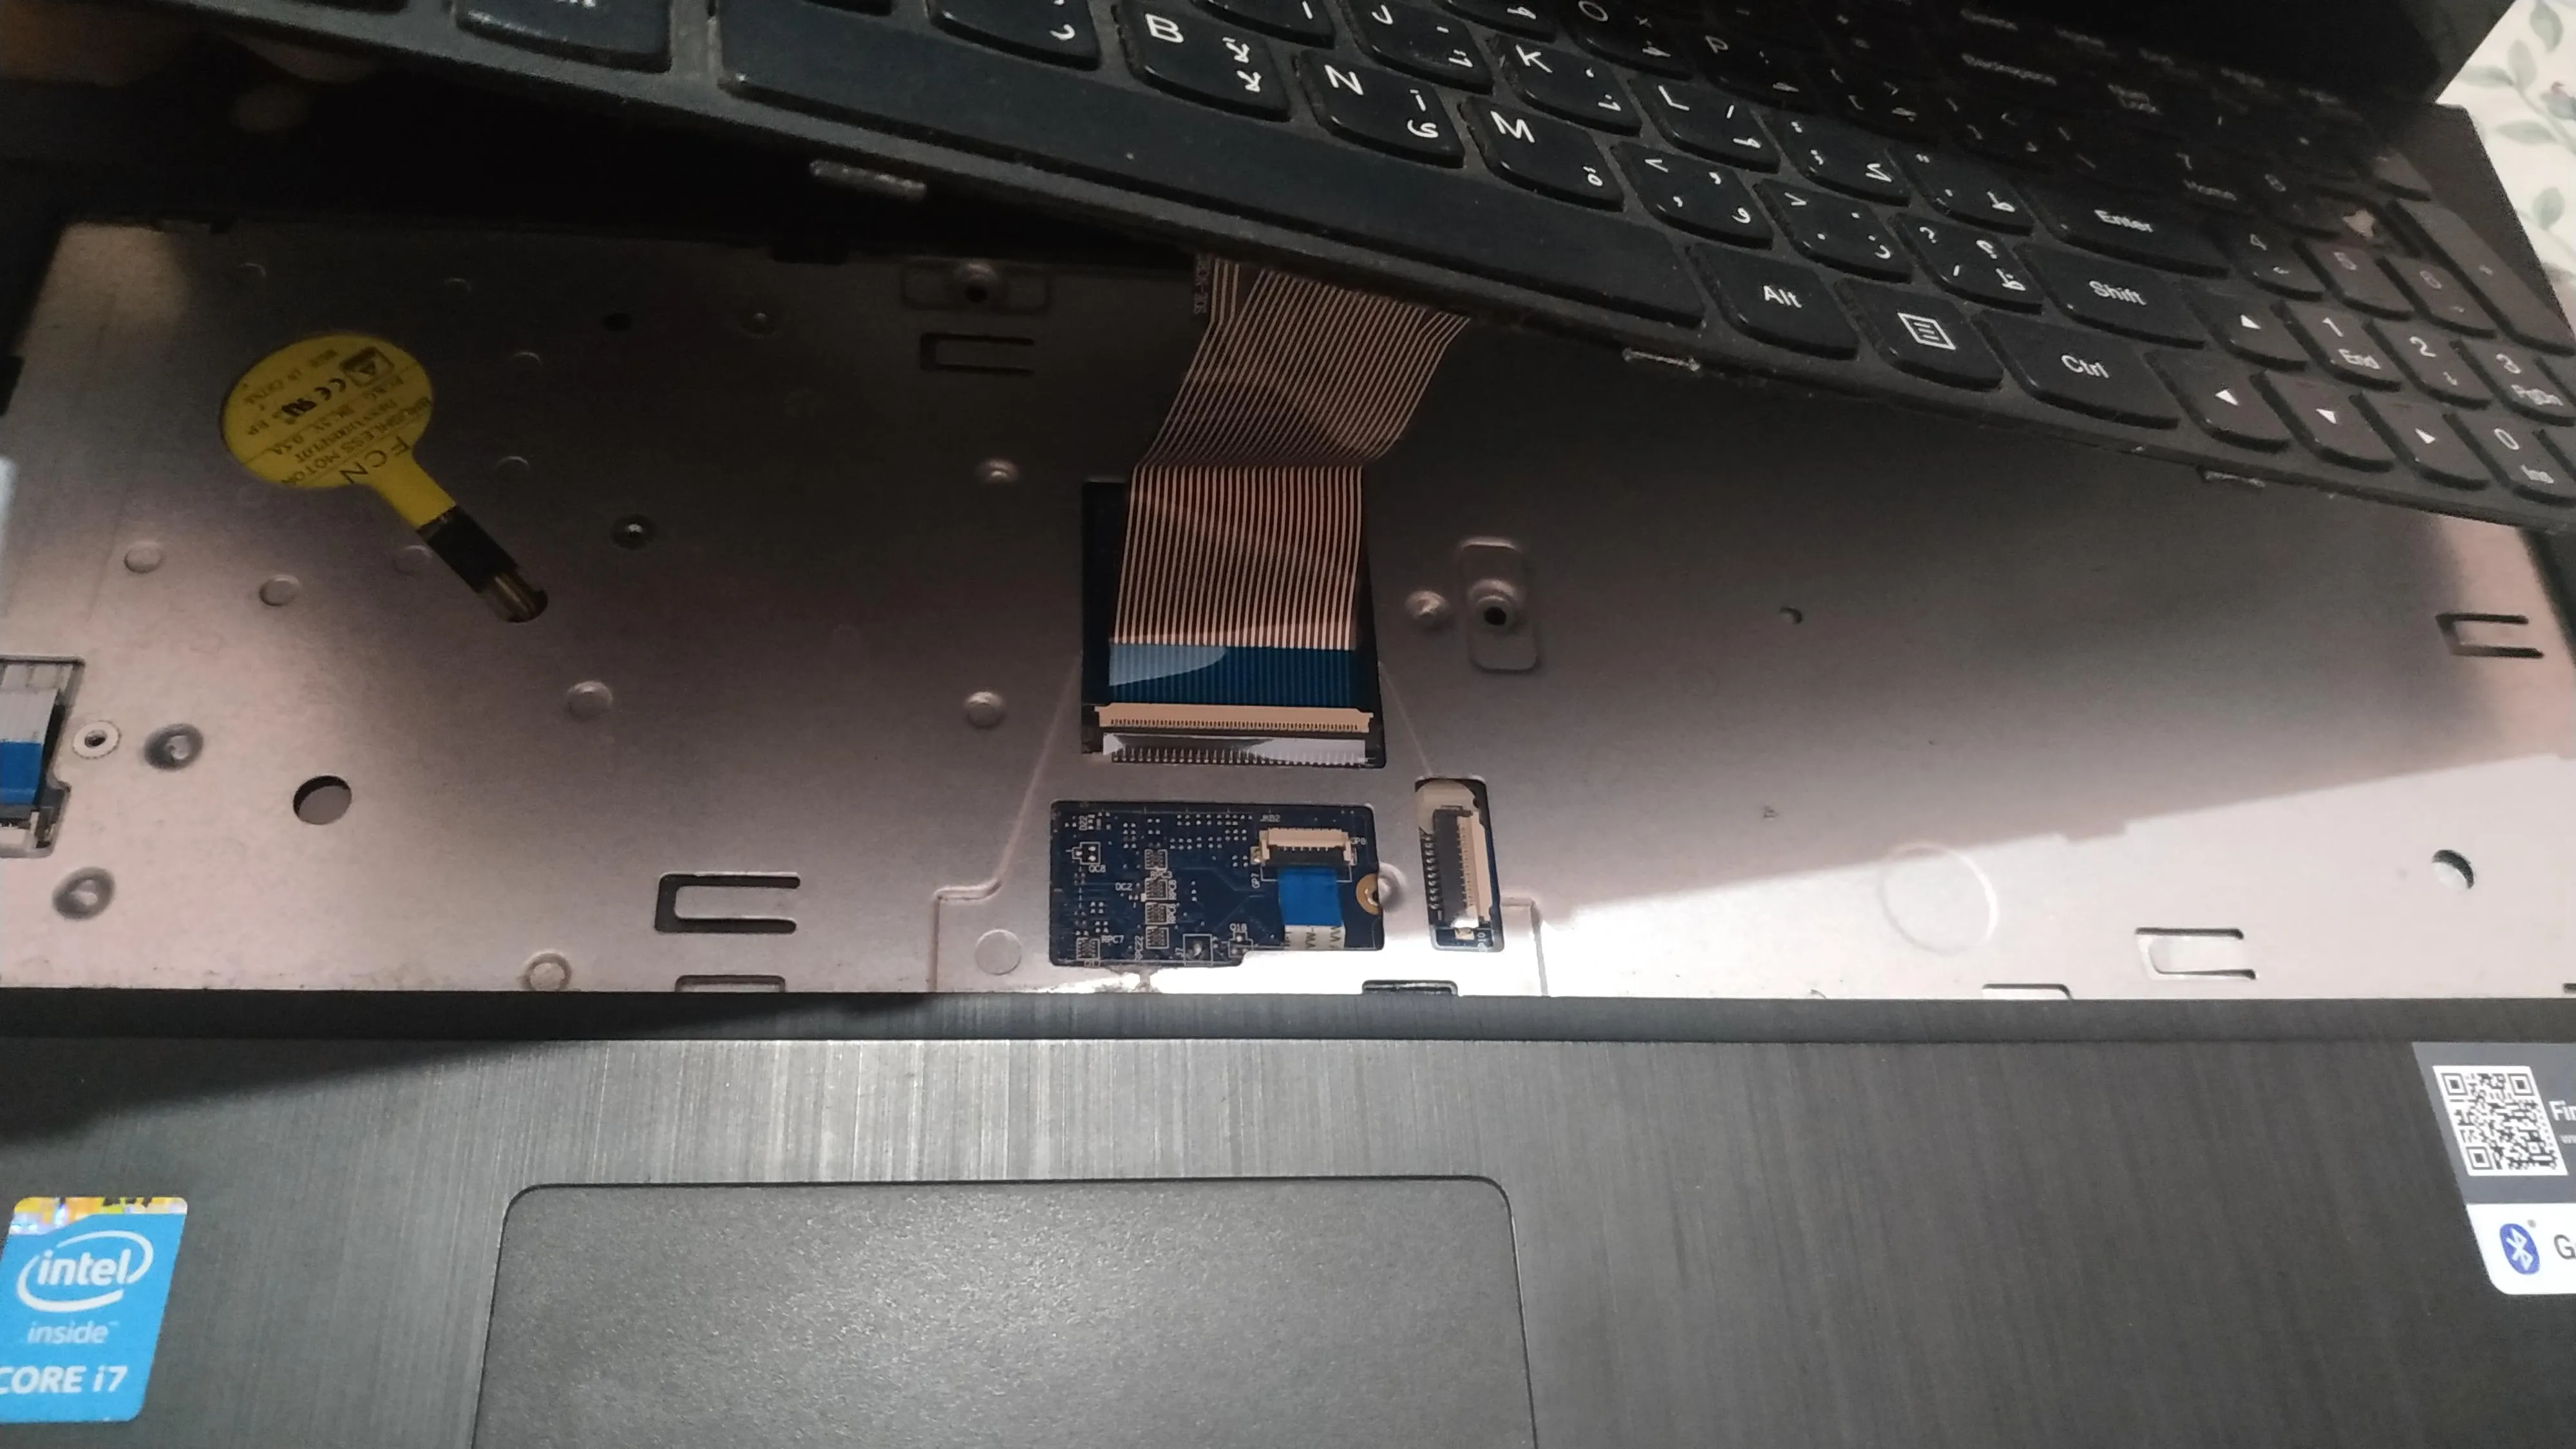
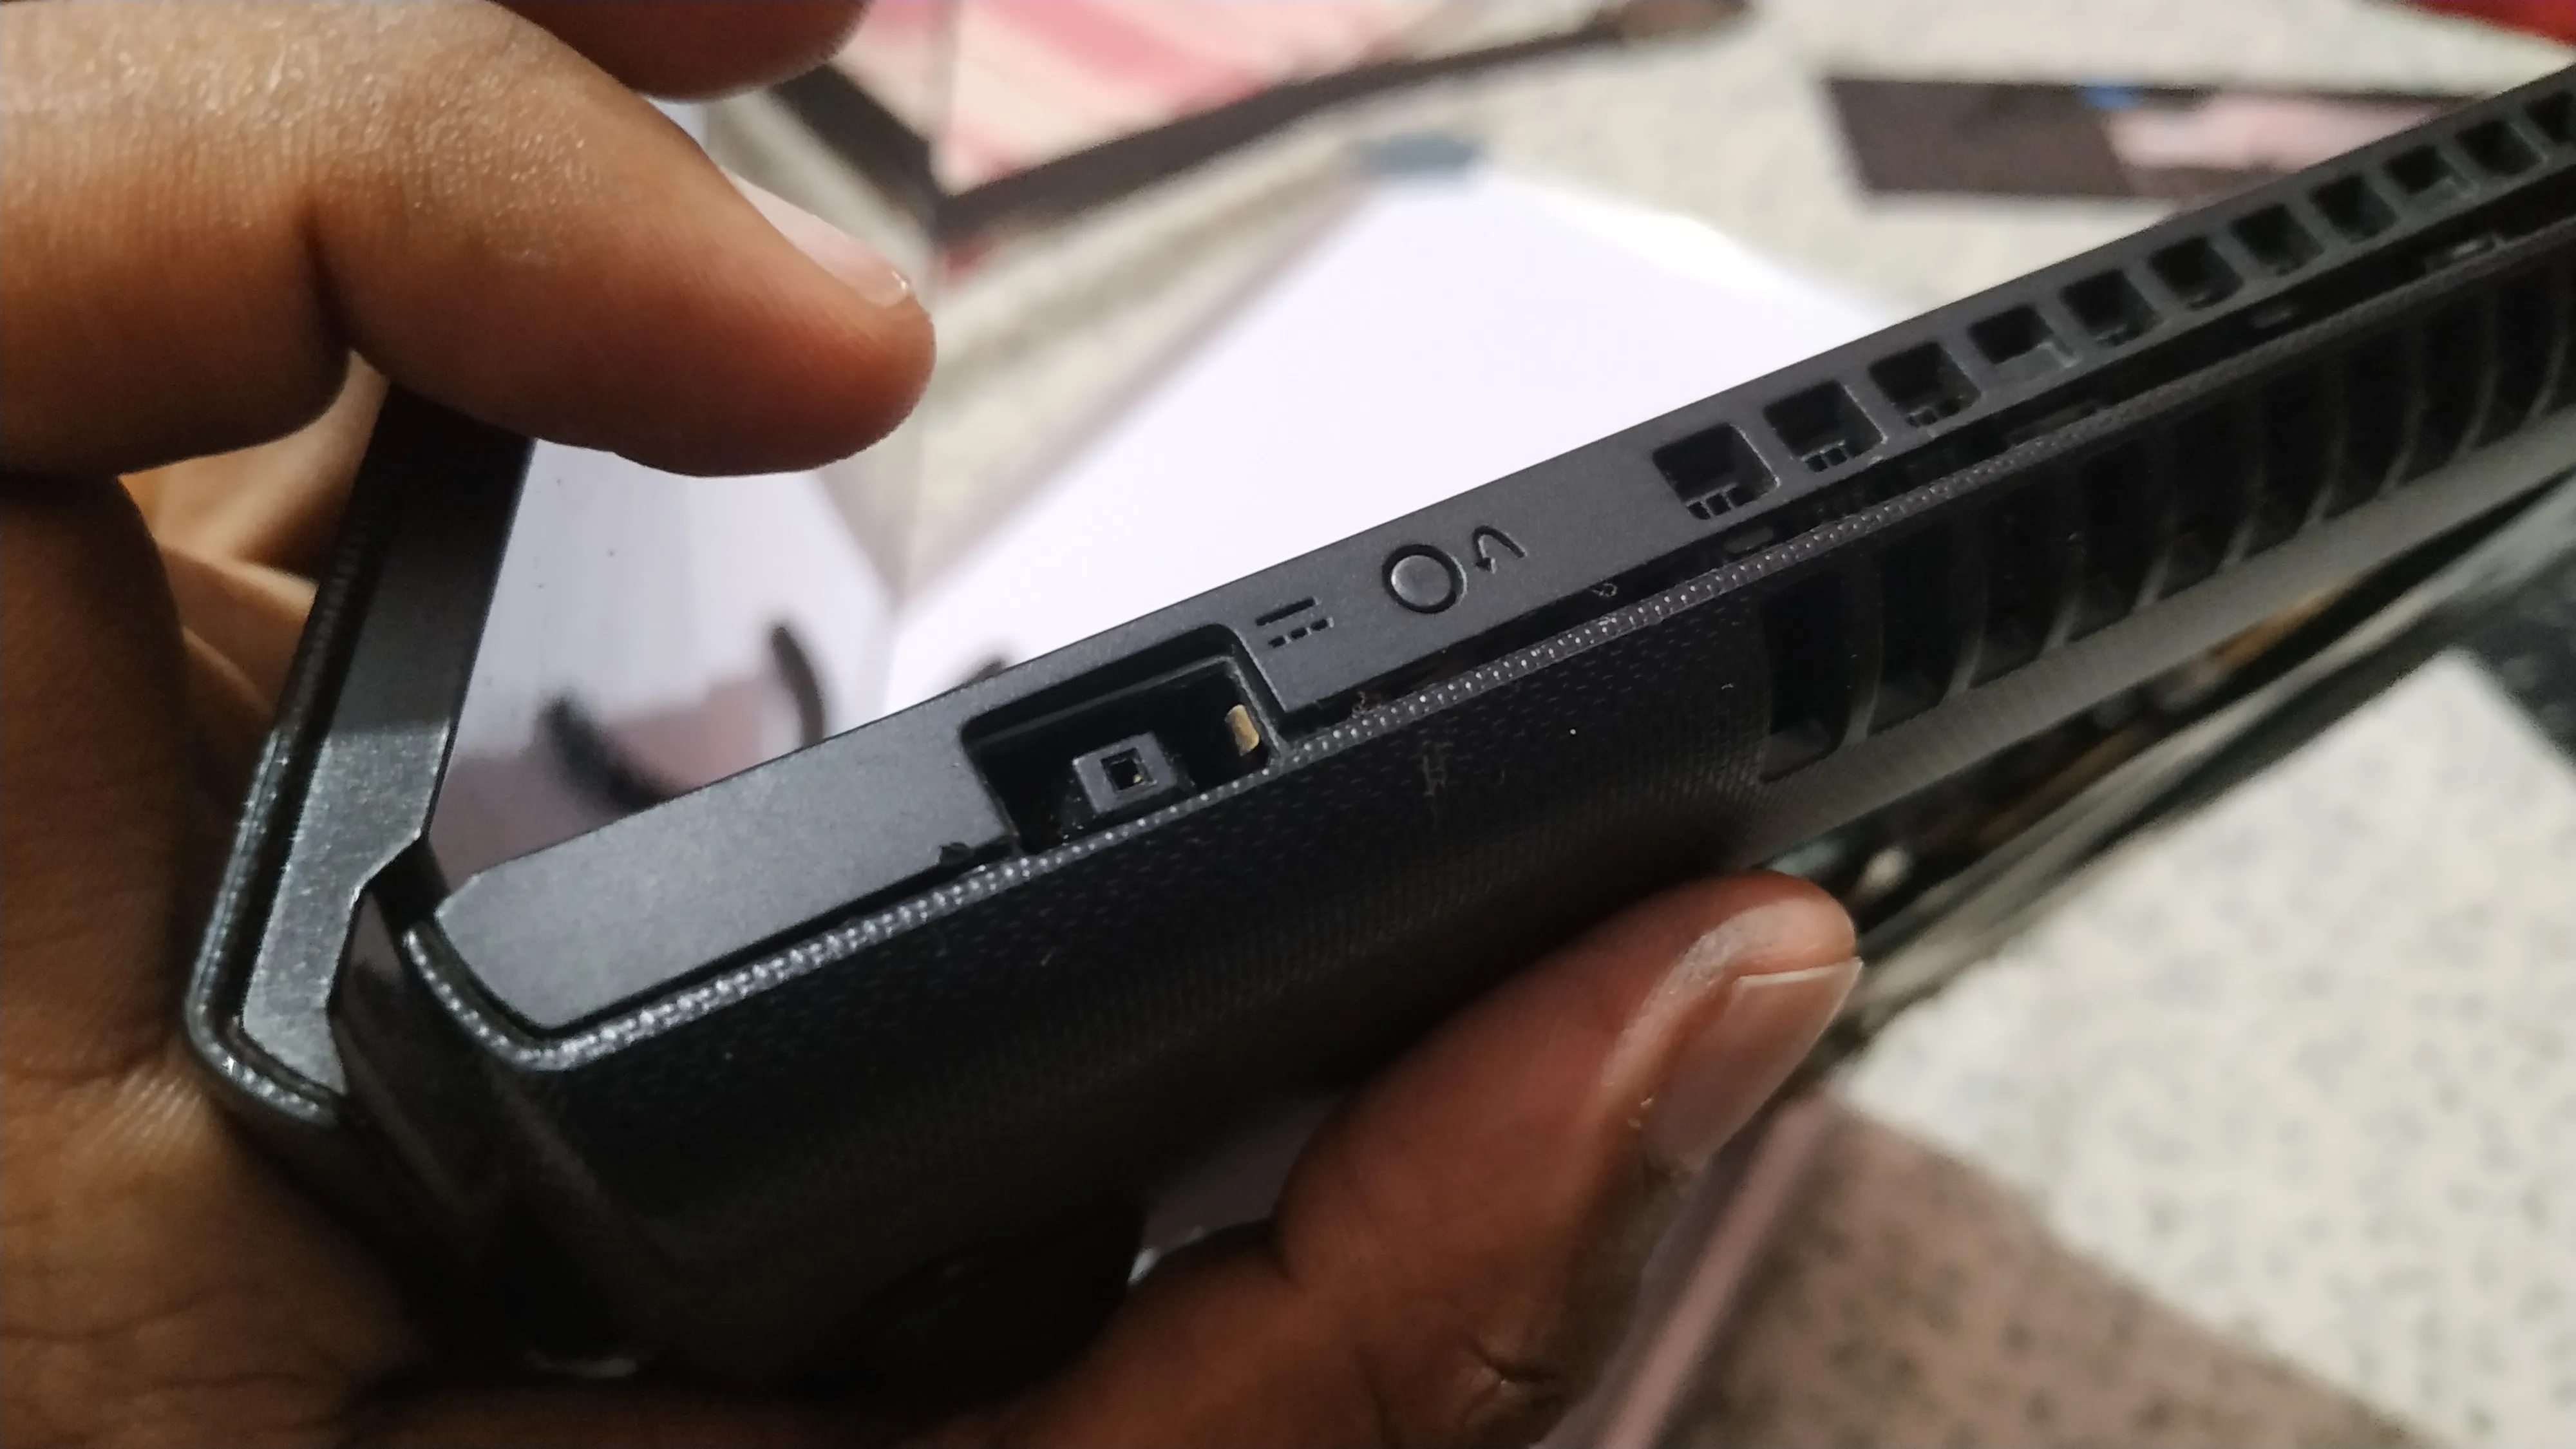
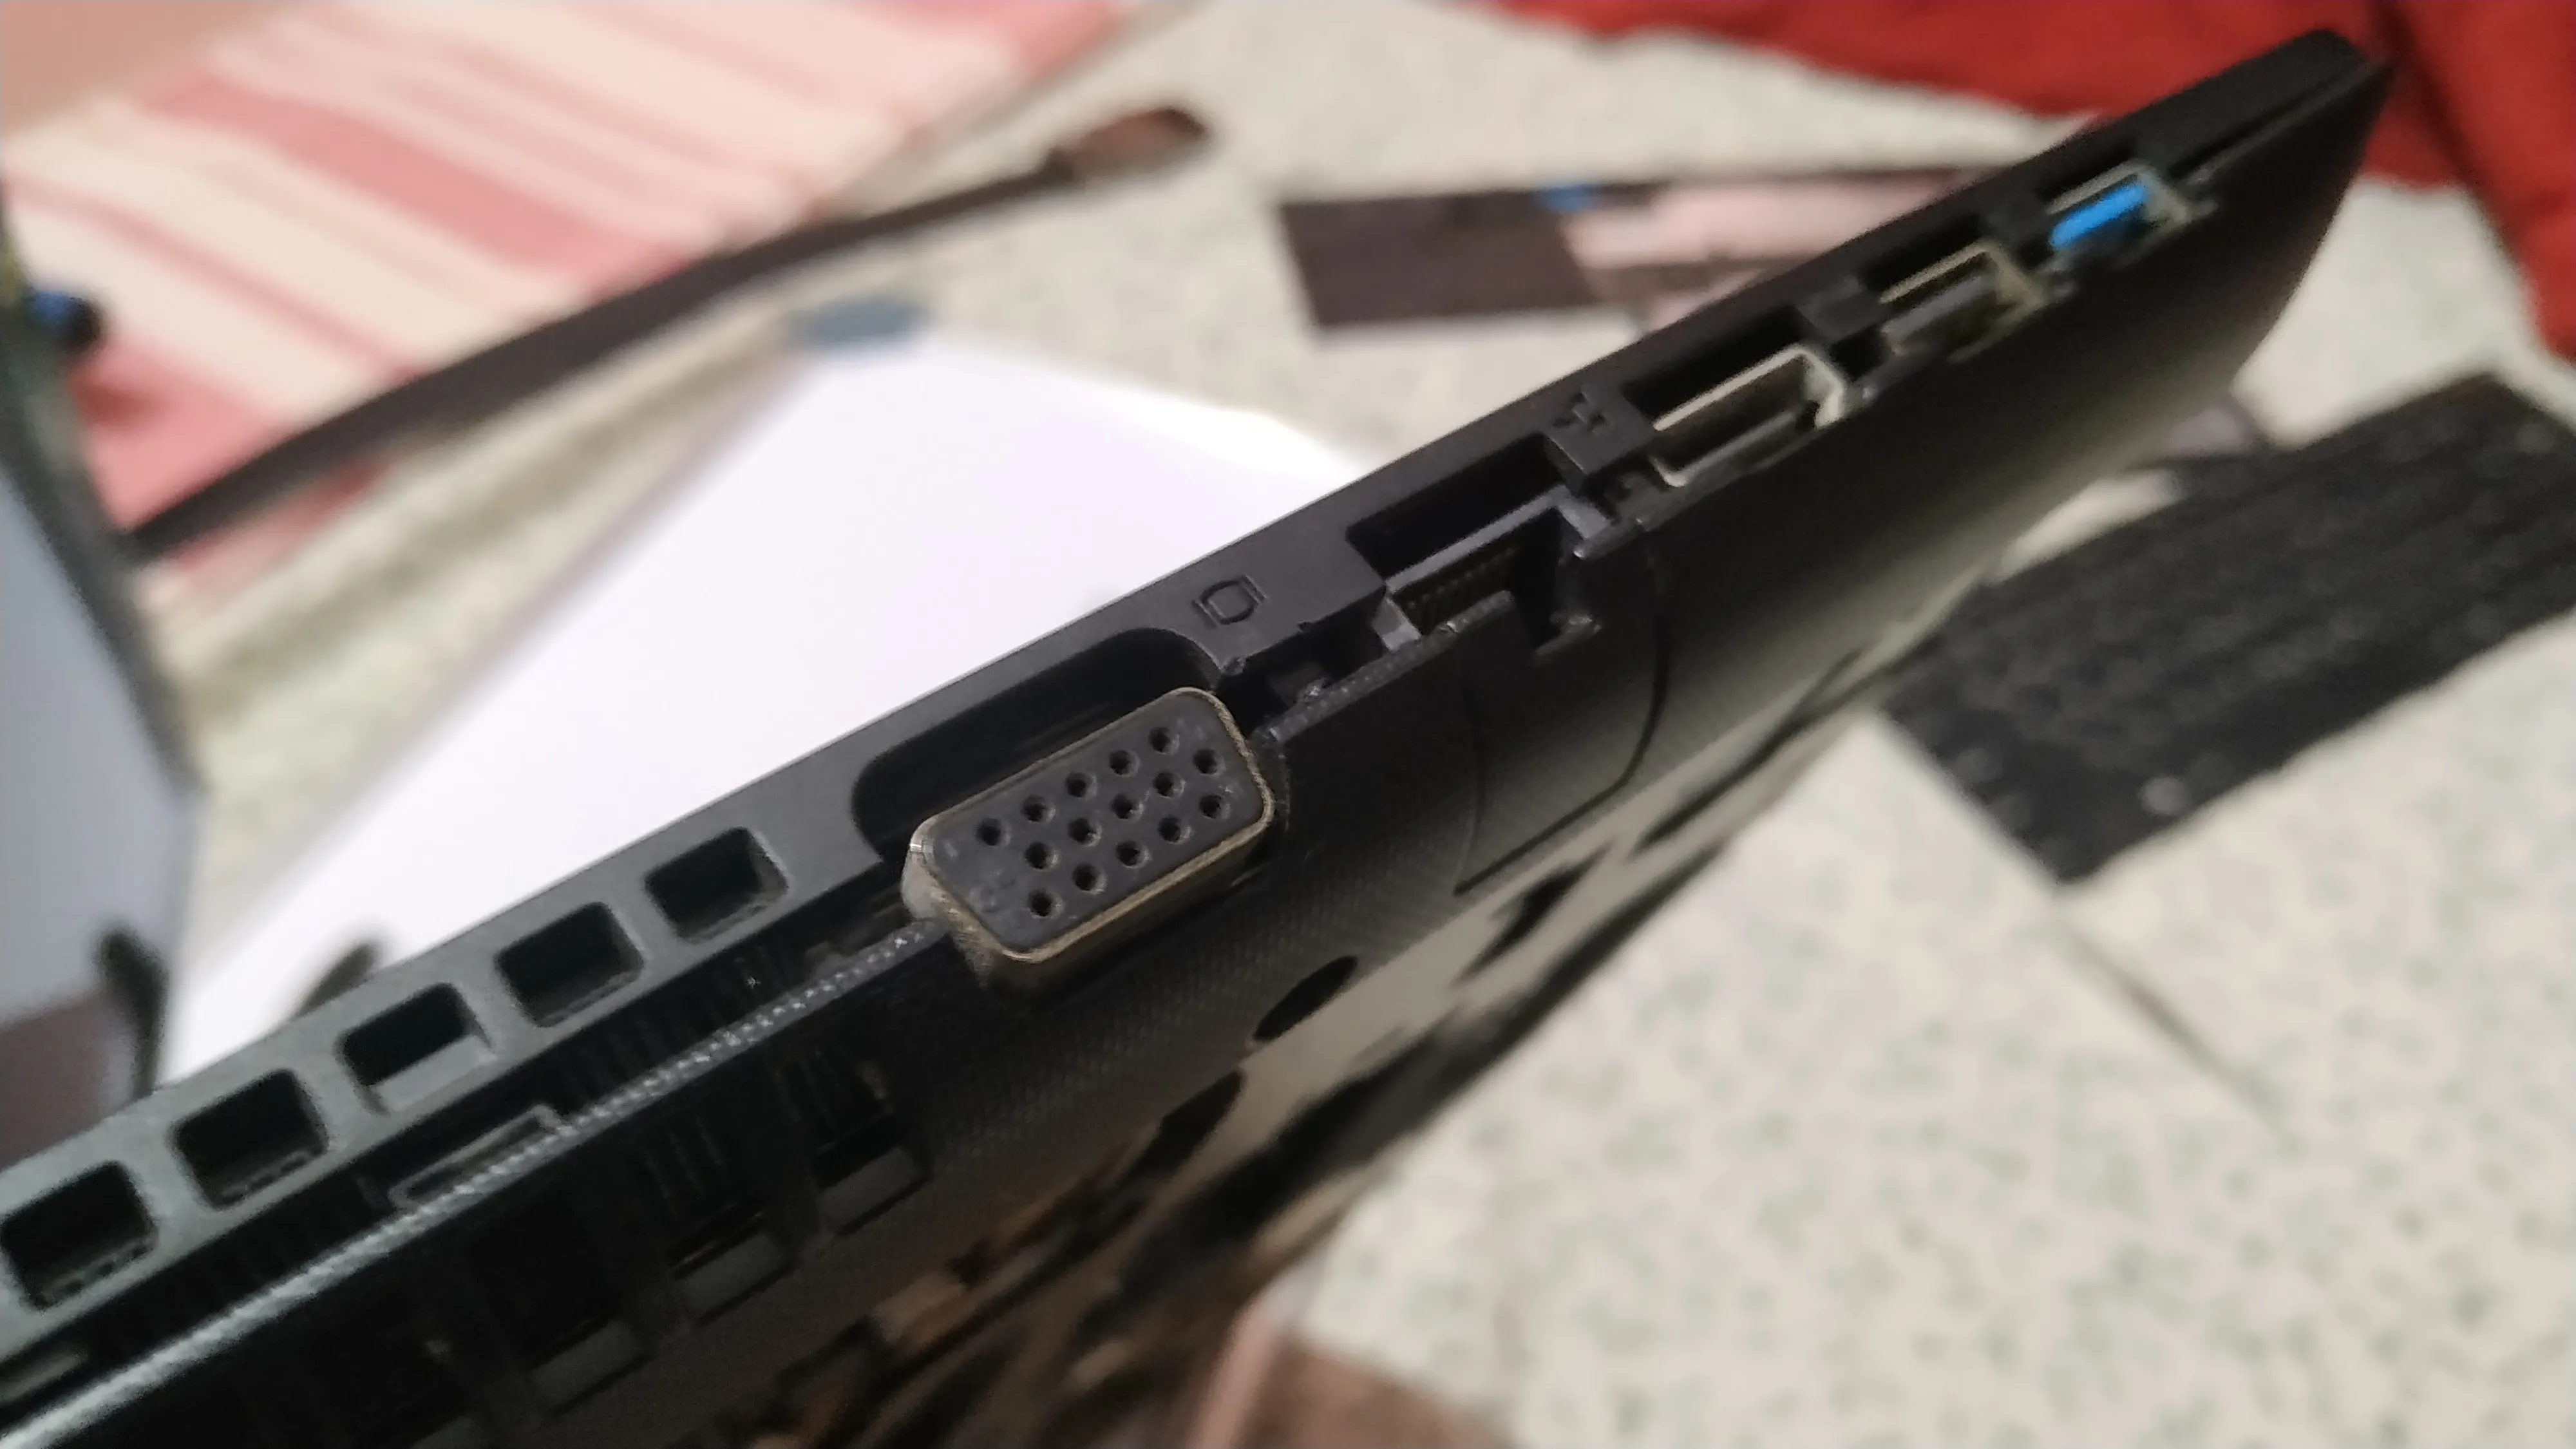
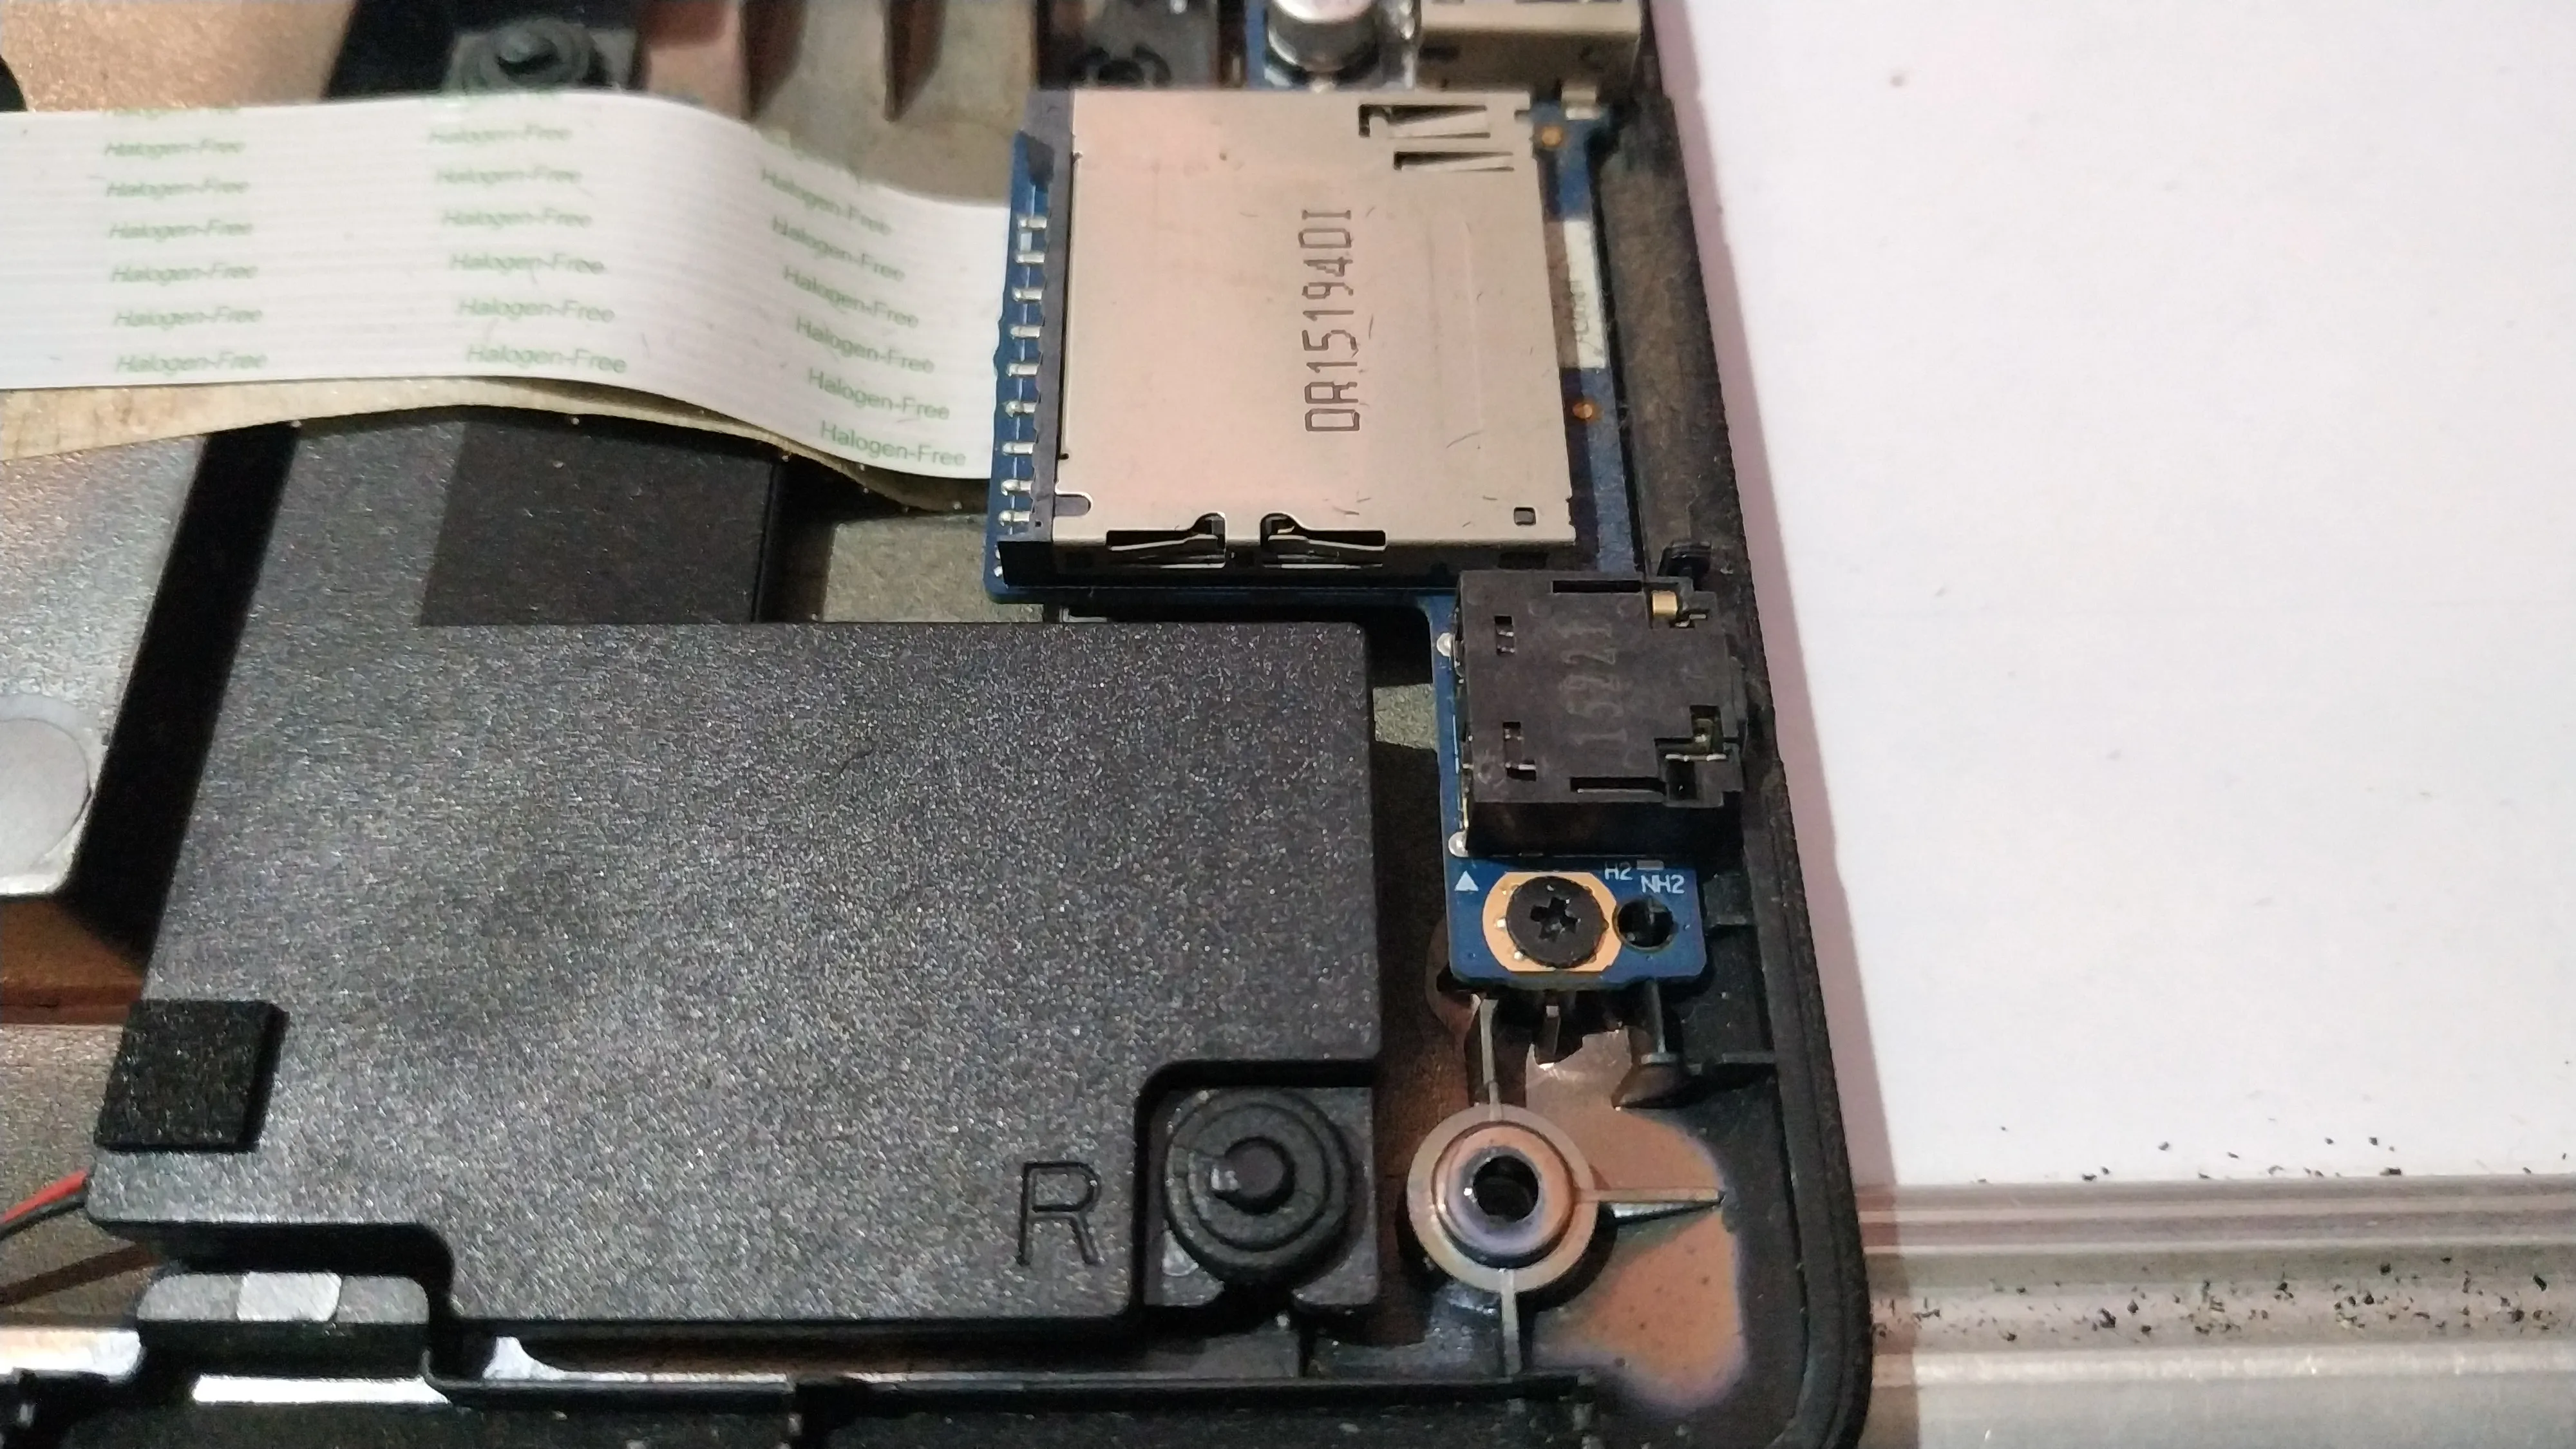
Then I checked if somebody has already made a teardown guide on ifixit. Thankfully, I found the teardown instructions for my specific laptop. This made things easy. Now, I didn’t have to spend time reading everything in the reference manual. I’ve opened my laptop’s bottom panel several times in the past and I knew that I couldn’t access the hinge from the bottom, so I directly went to the ifixit guide that showed the top panel removal.
Even if you don’t find an ifixit guide for your laptop, then there’s nothing to worry all these things will also be written in the official service manual.


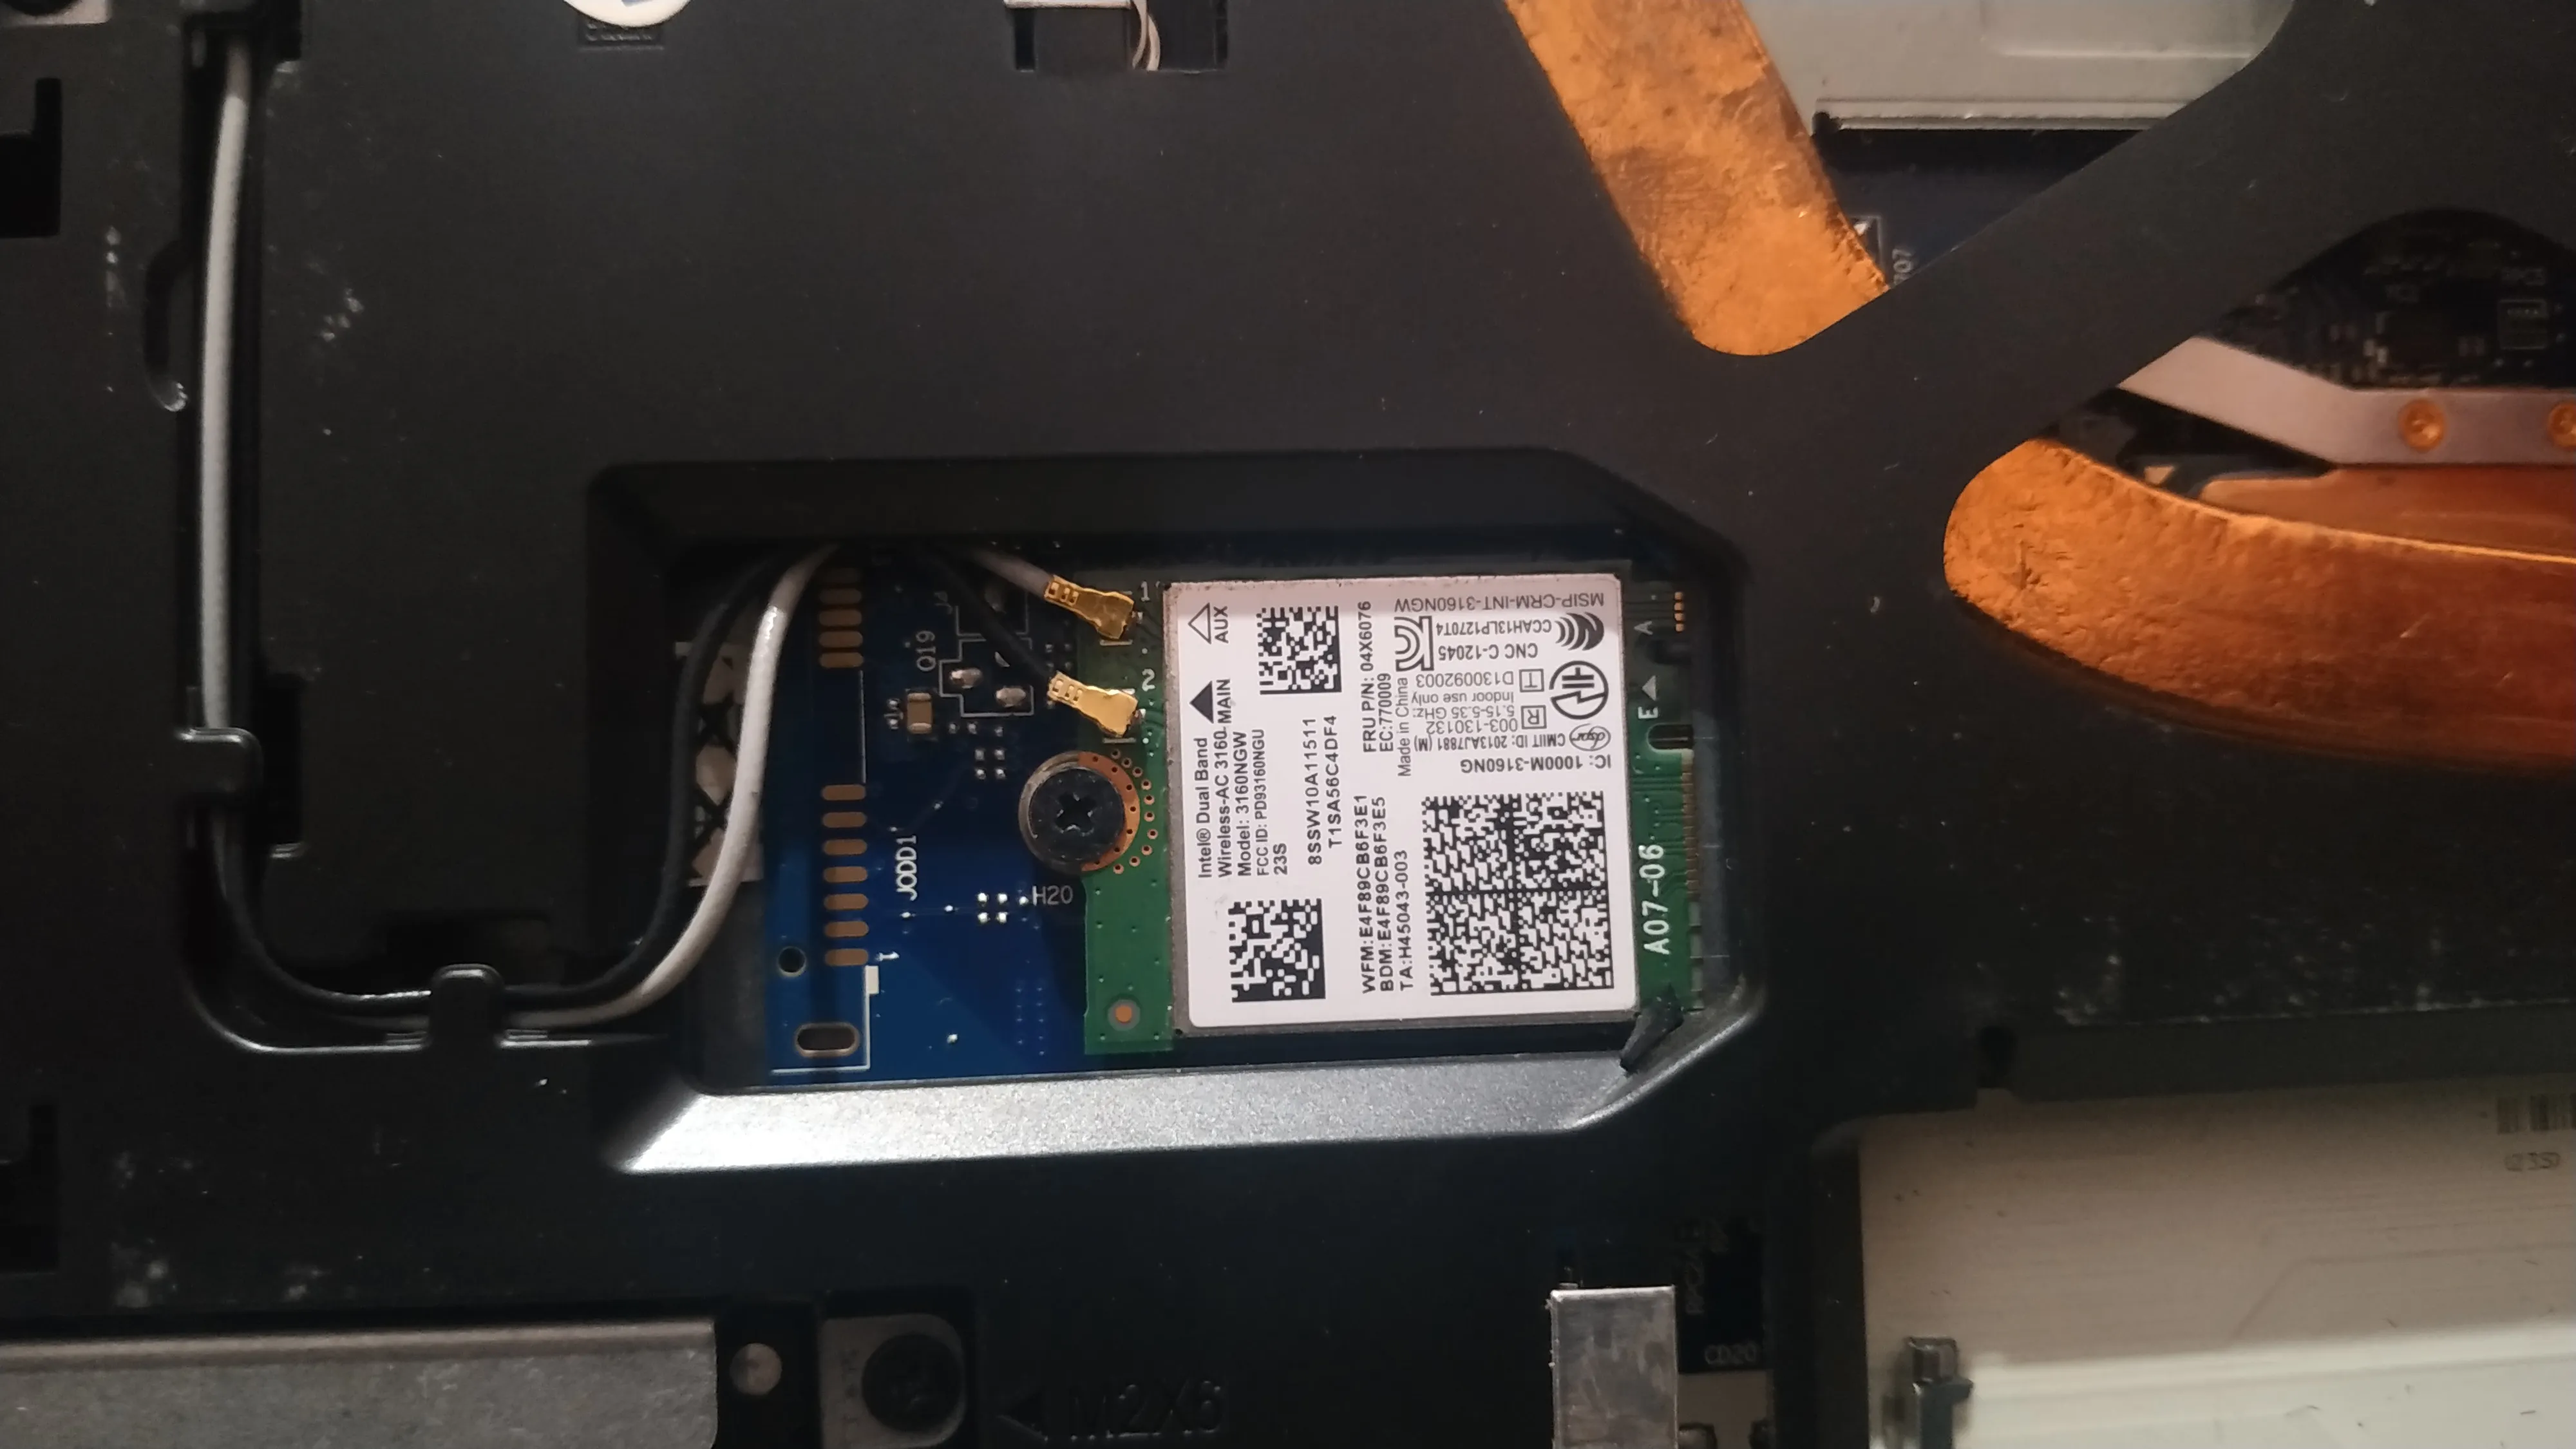
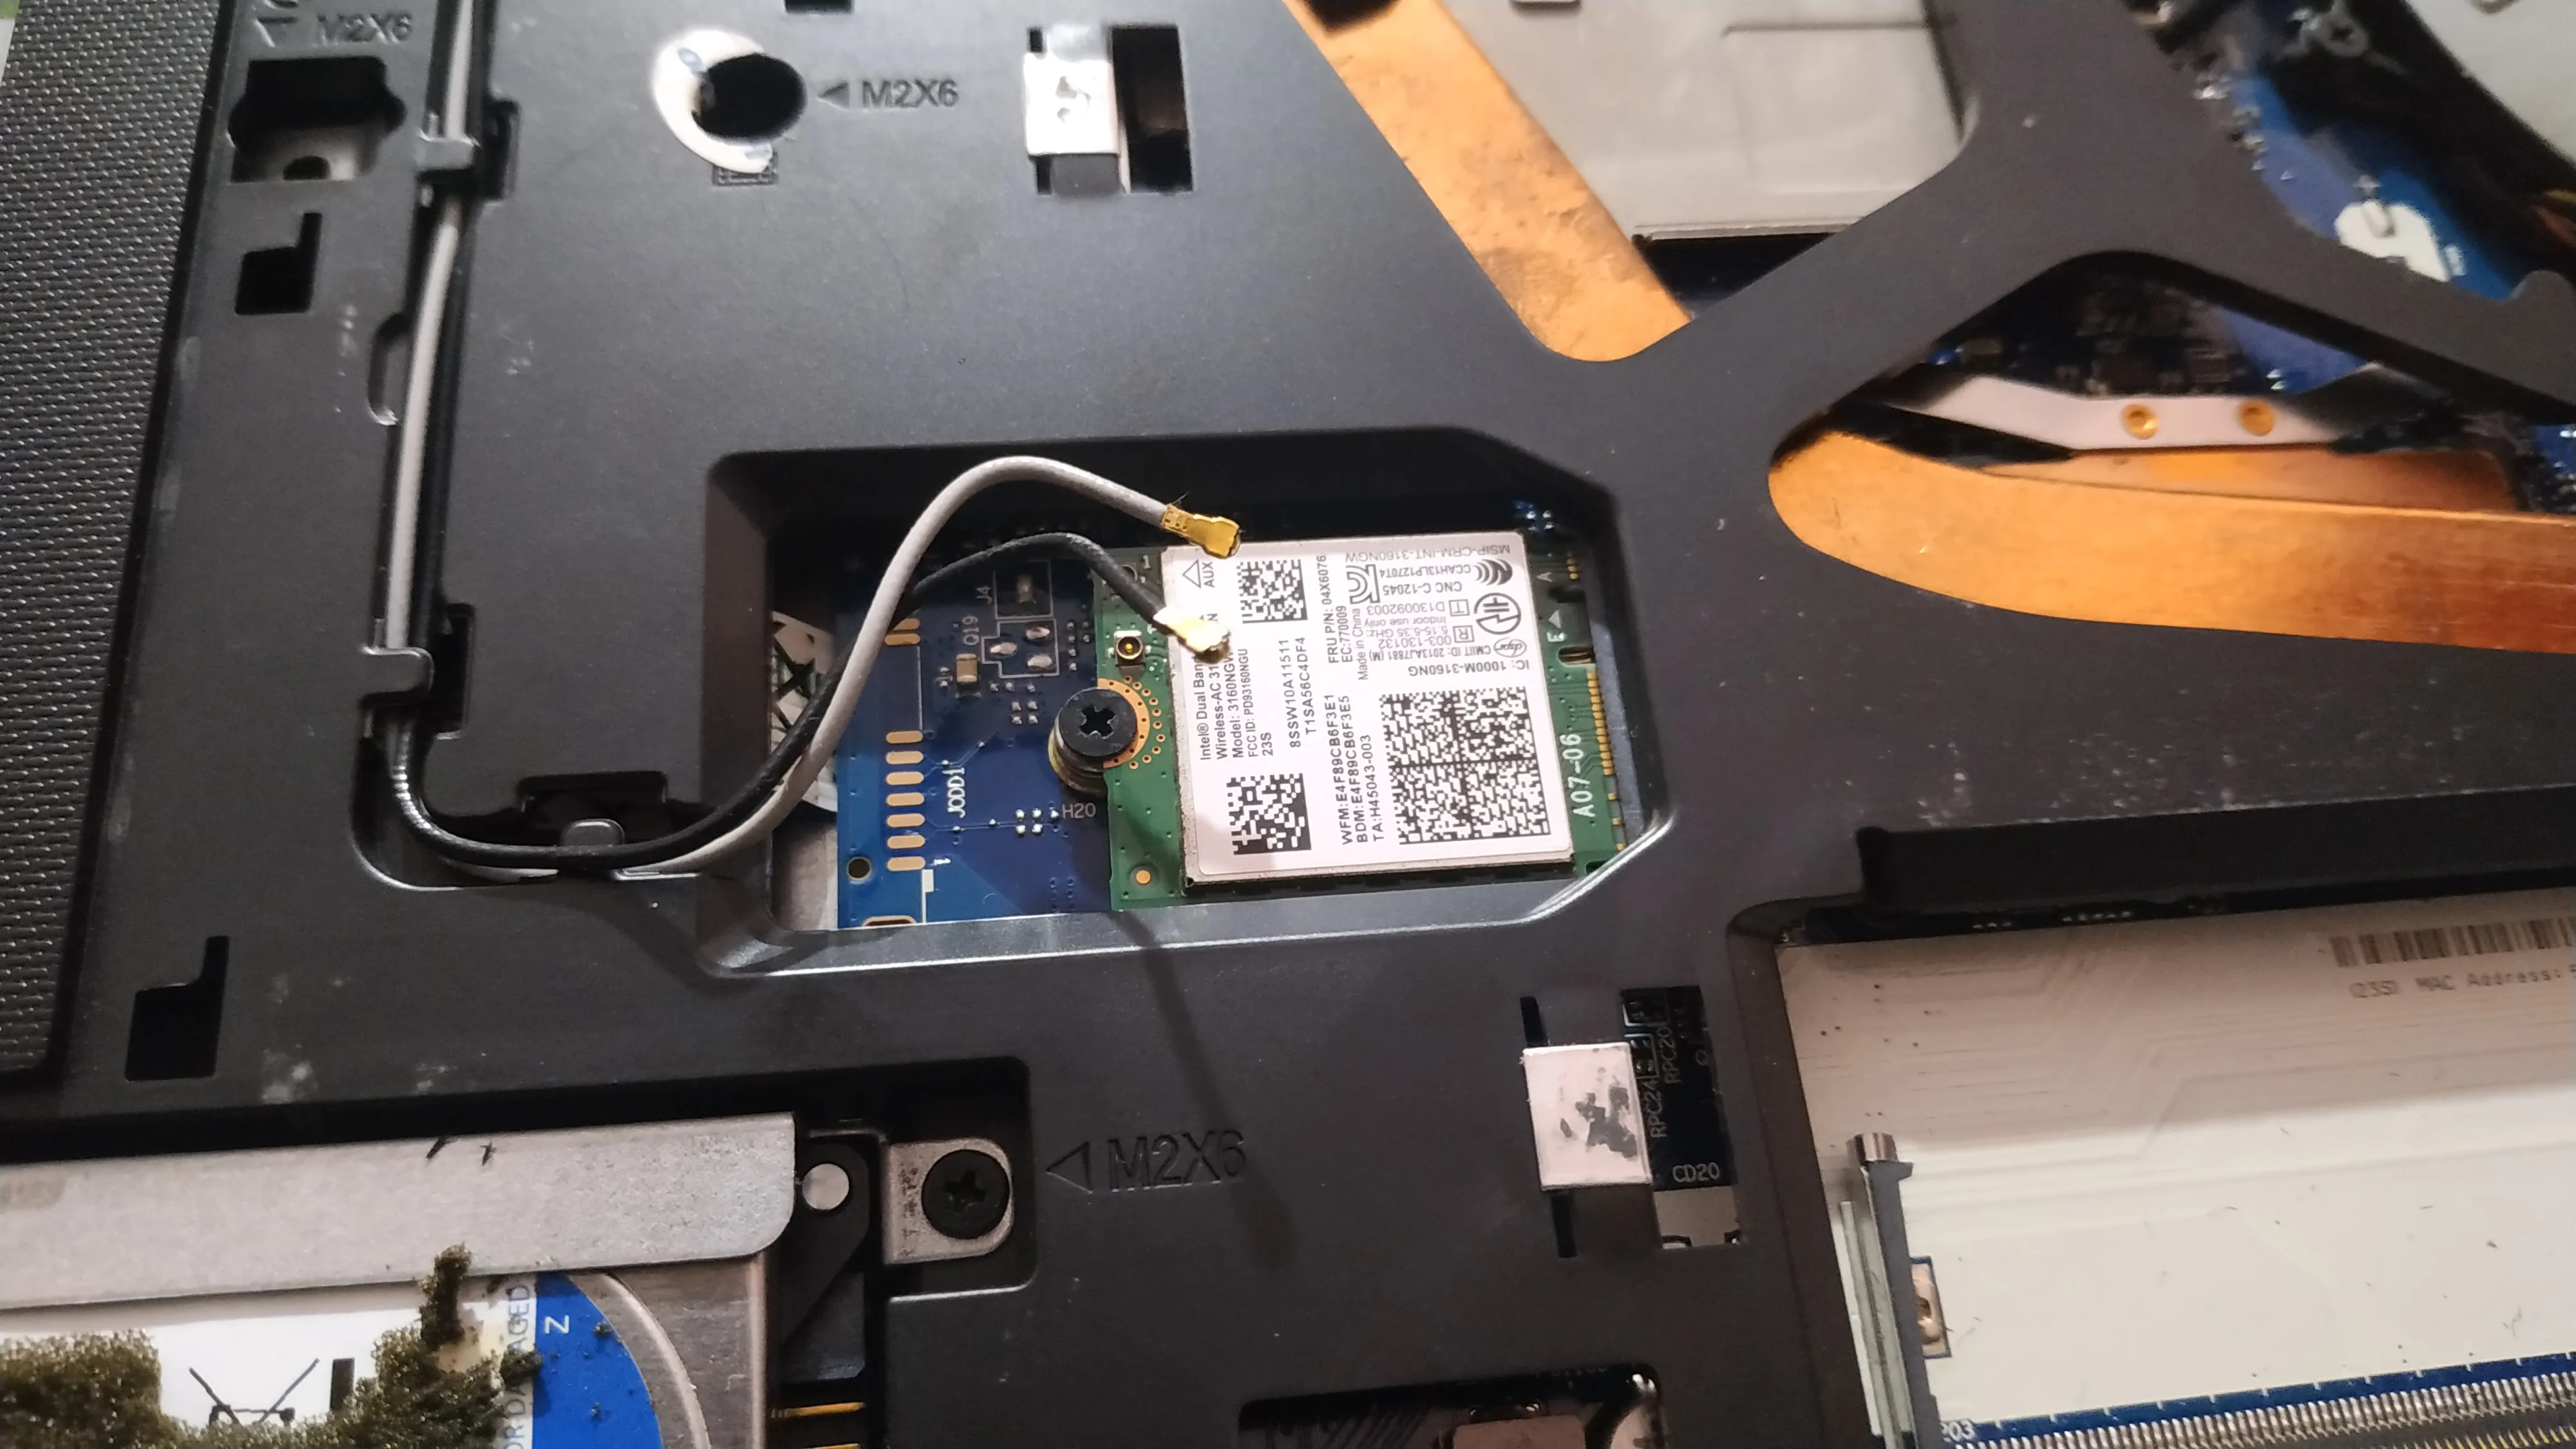
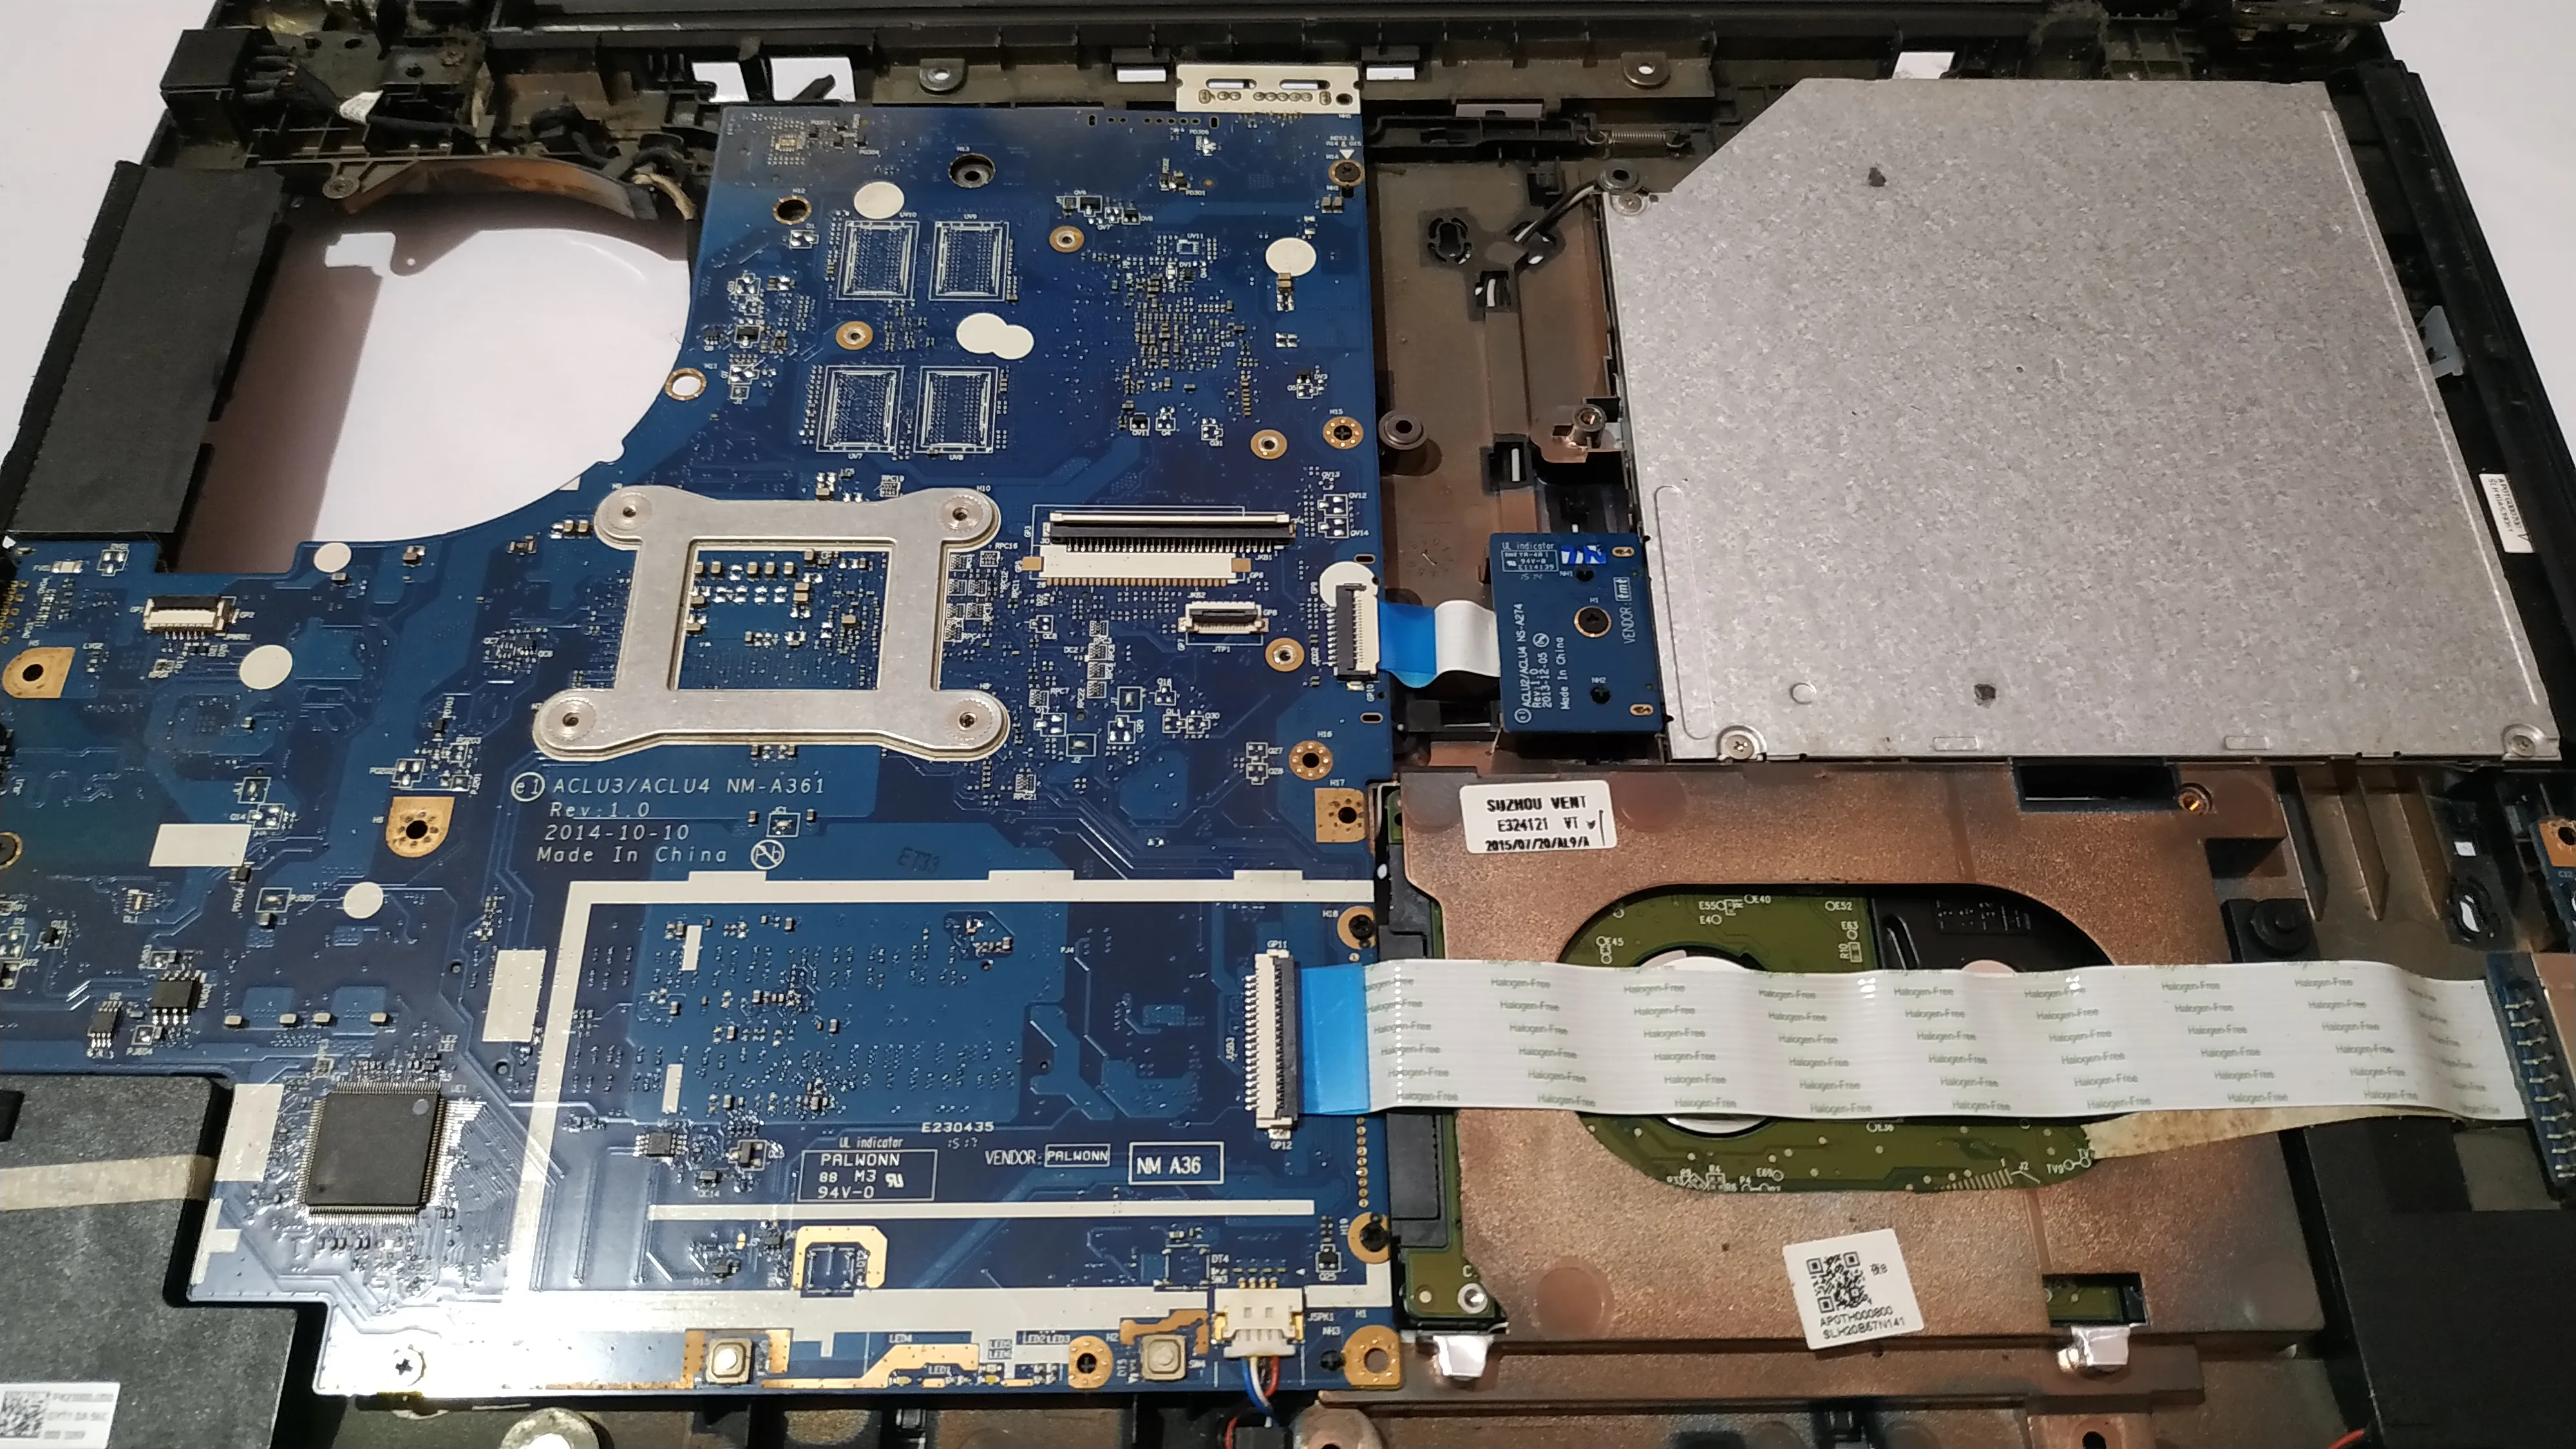
I had to do this as the WiFi antennas are actually located on the top corners of the screen. I got to know this when I fully opened up another MSI laptop a while ago and I was surprised to find the antennas there. No wonder laptops have good range.
Checkout my WiFi RSSI testing results in this blog post.
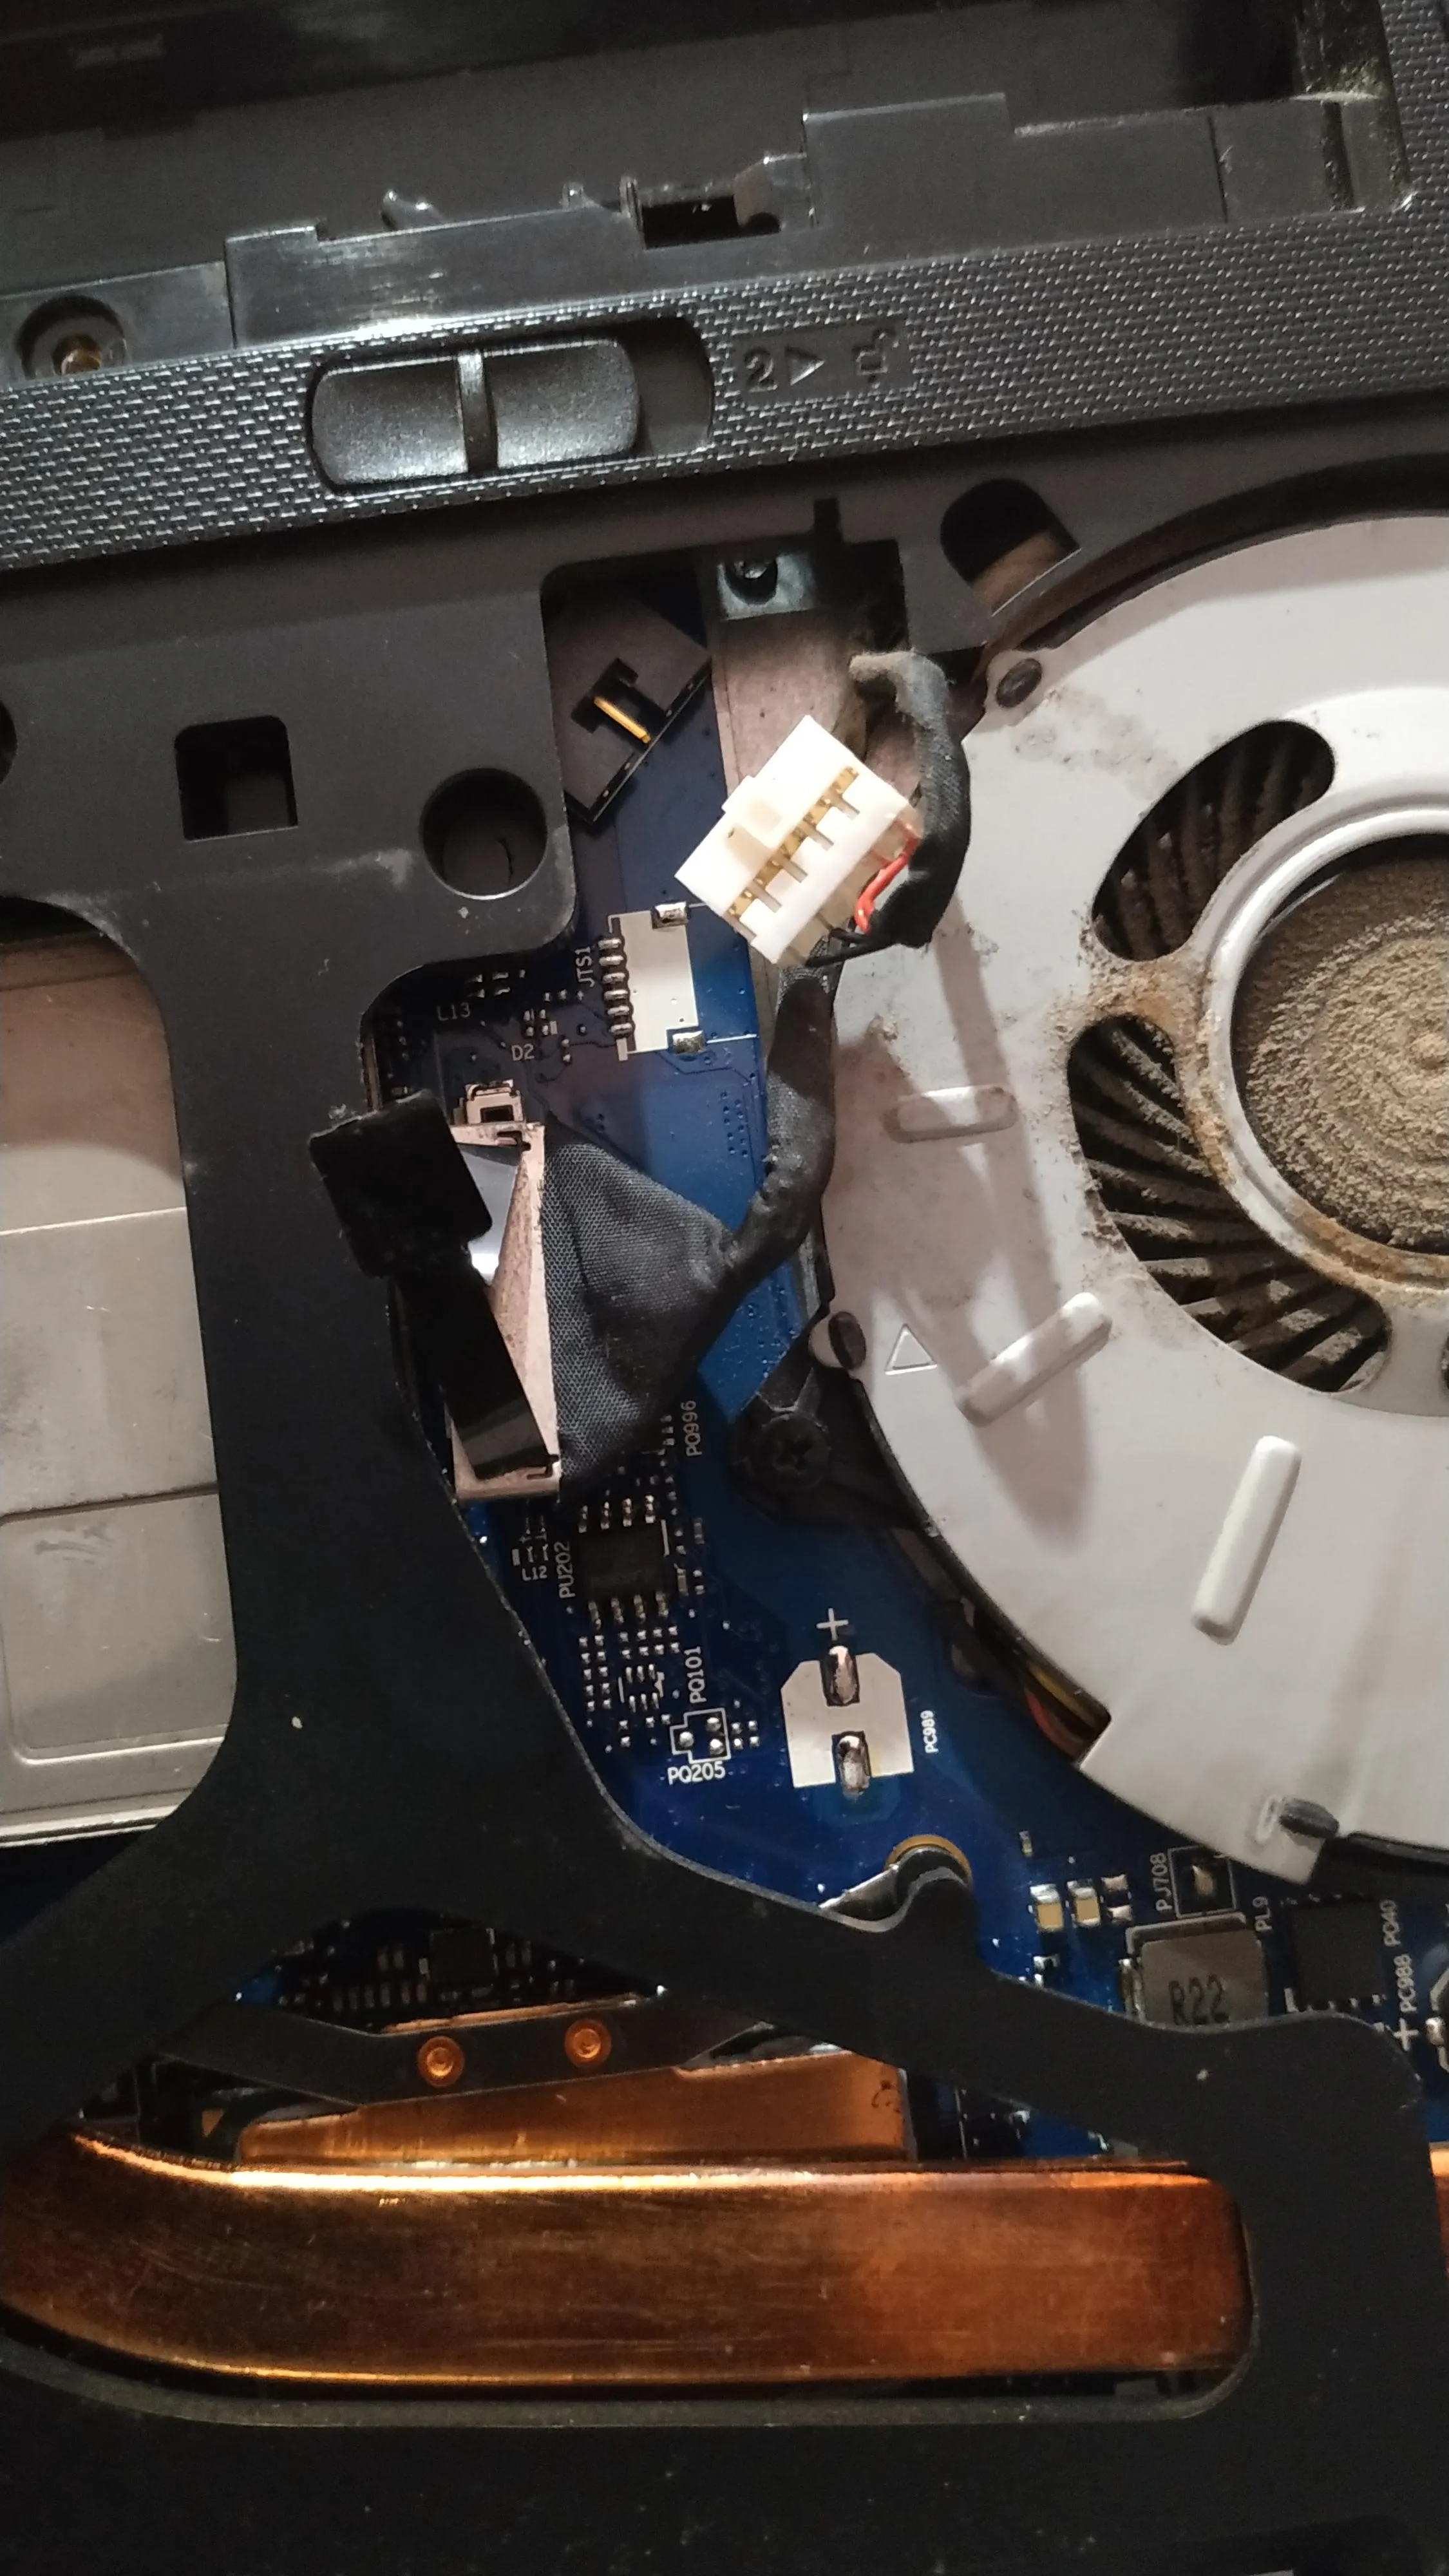
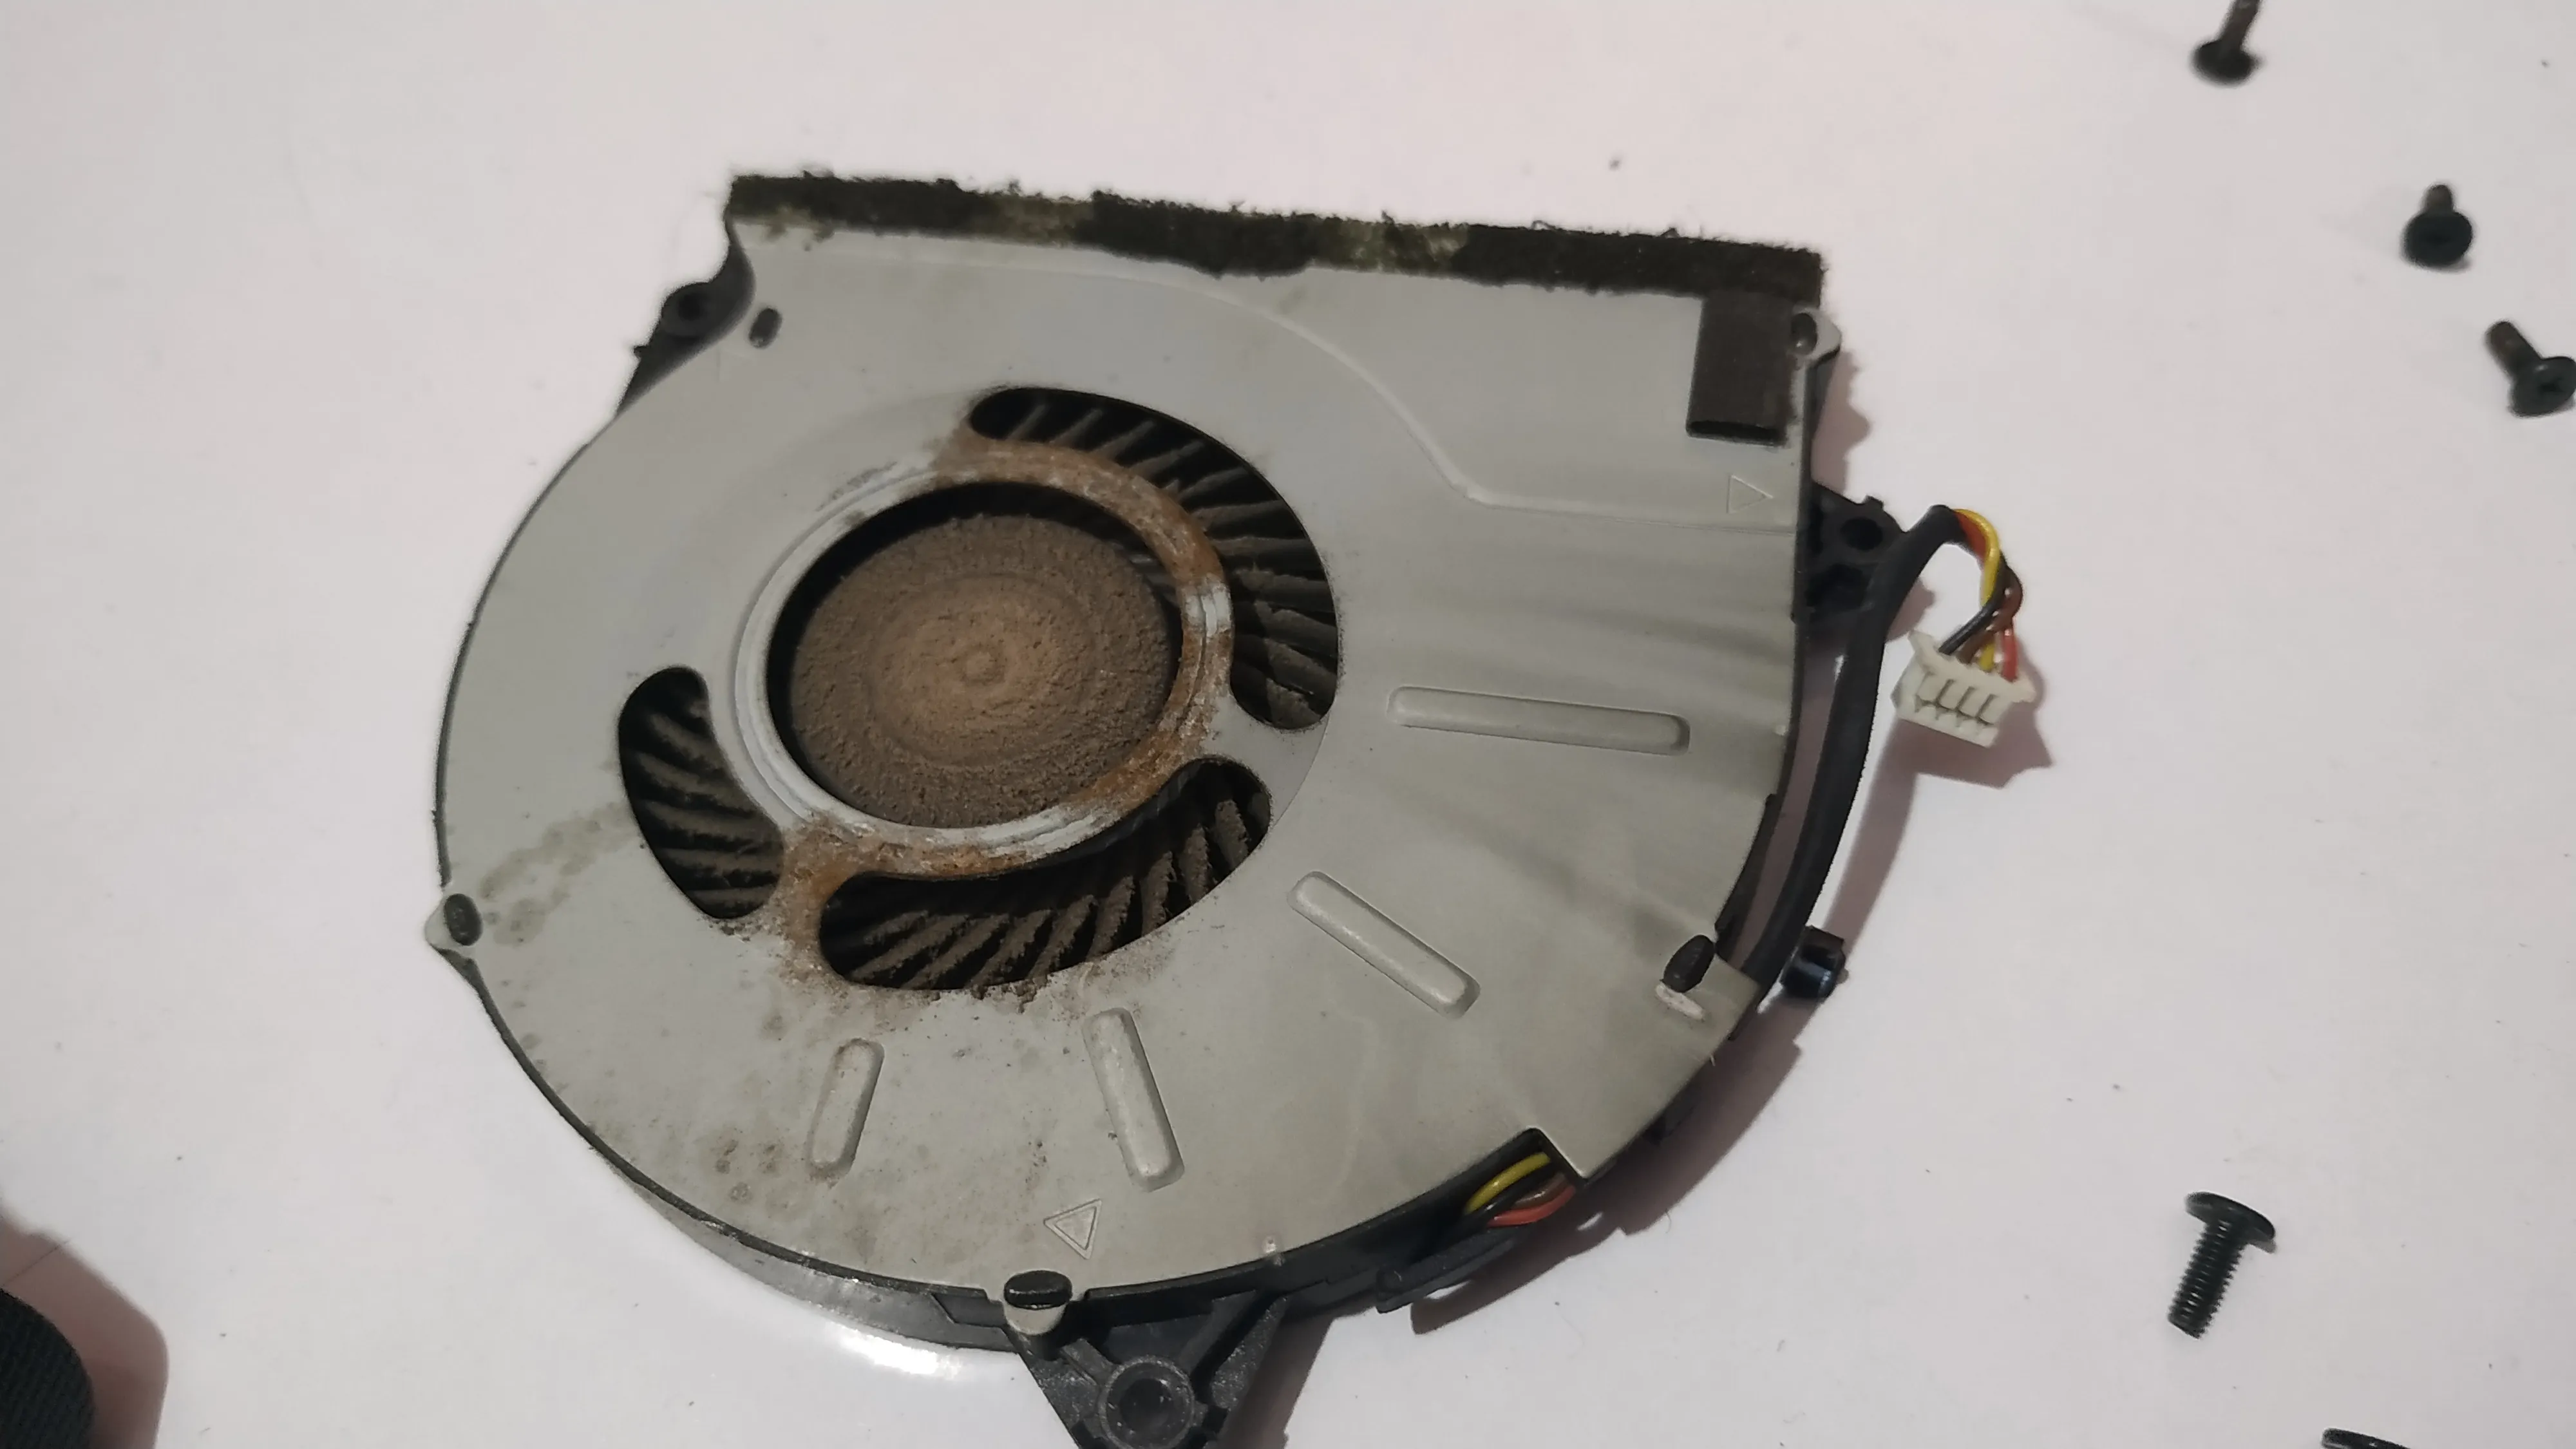
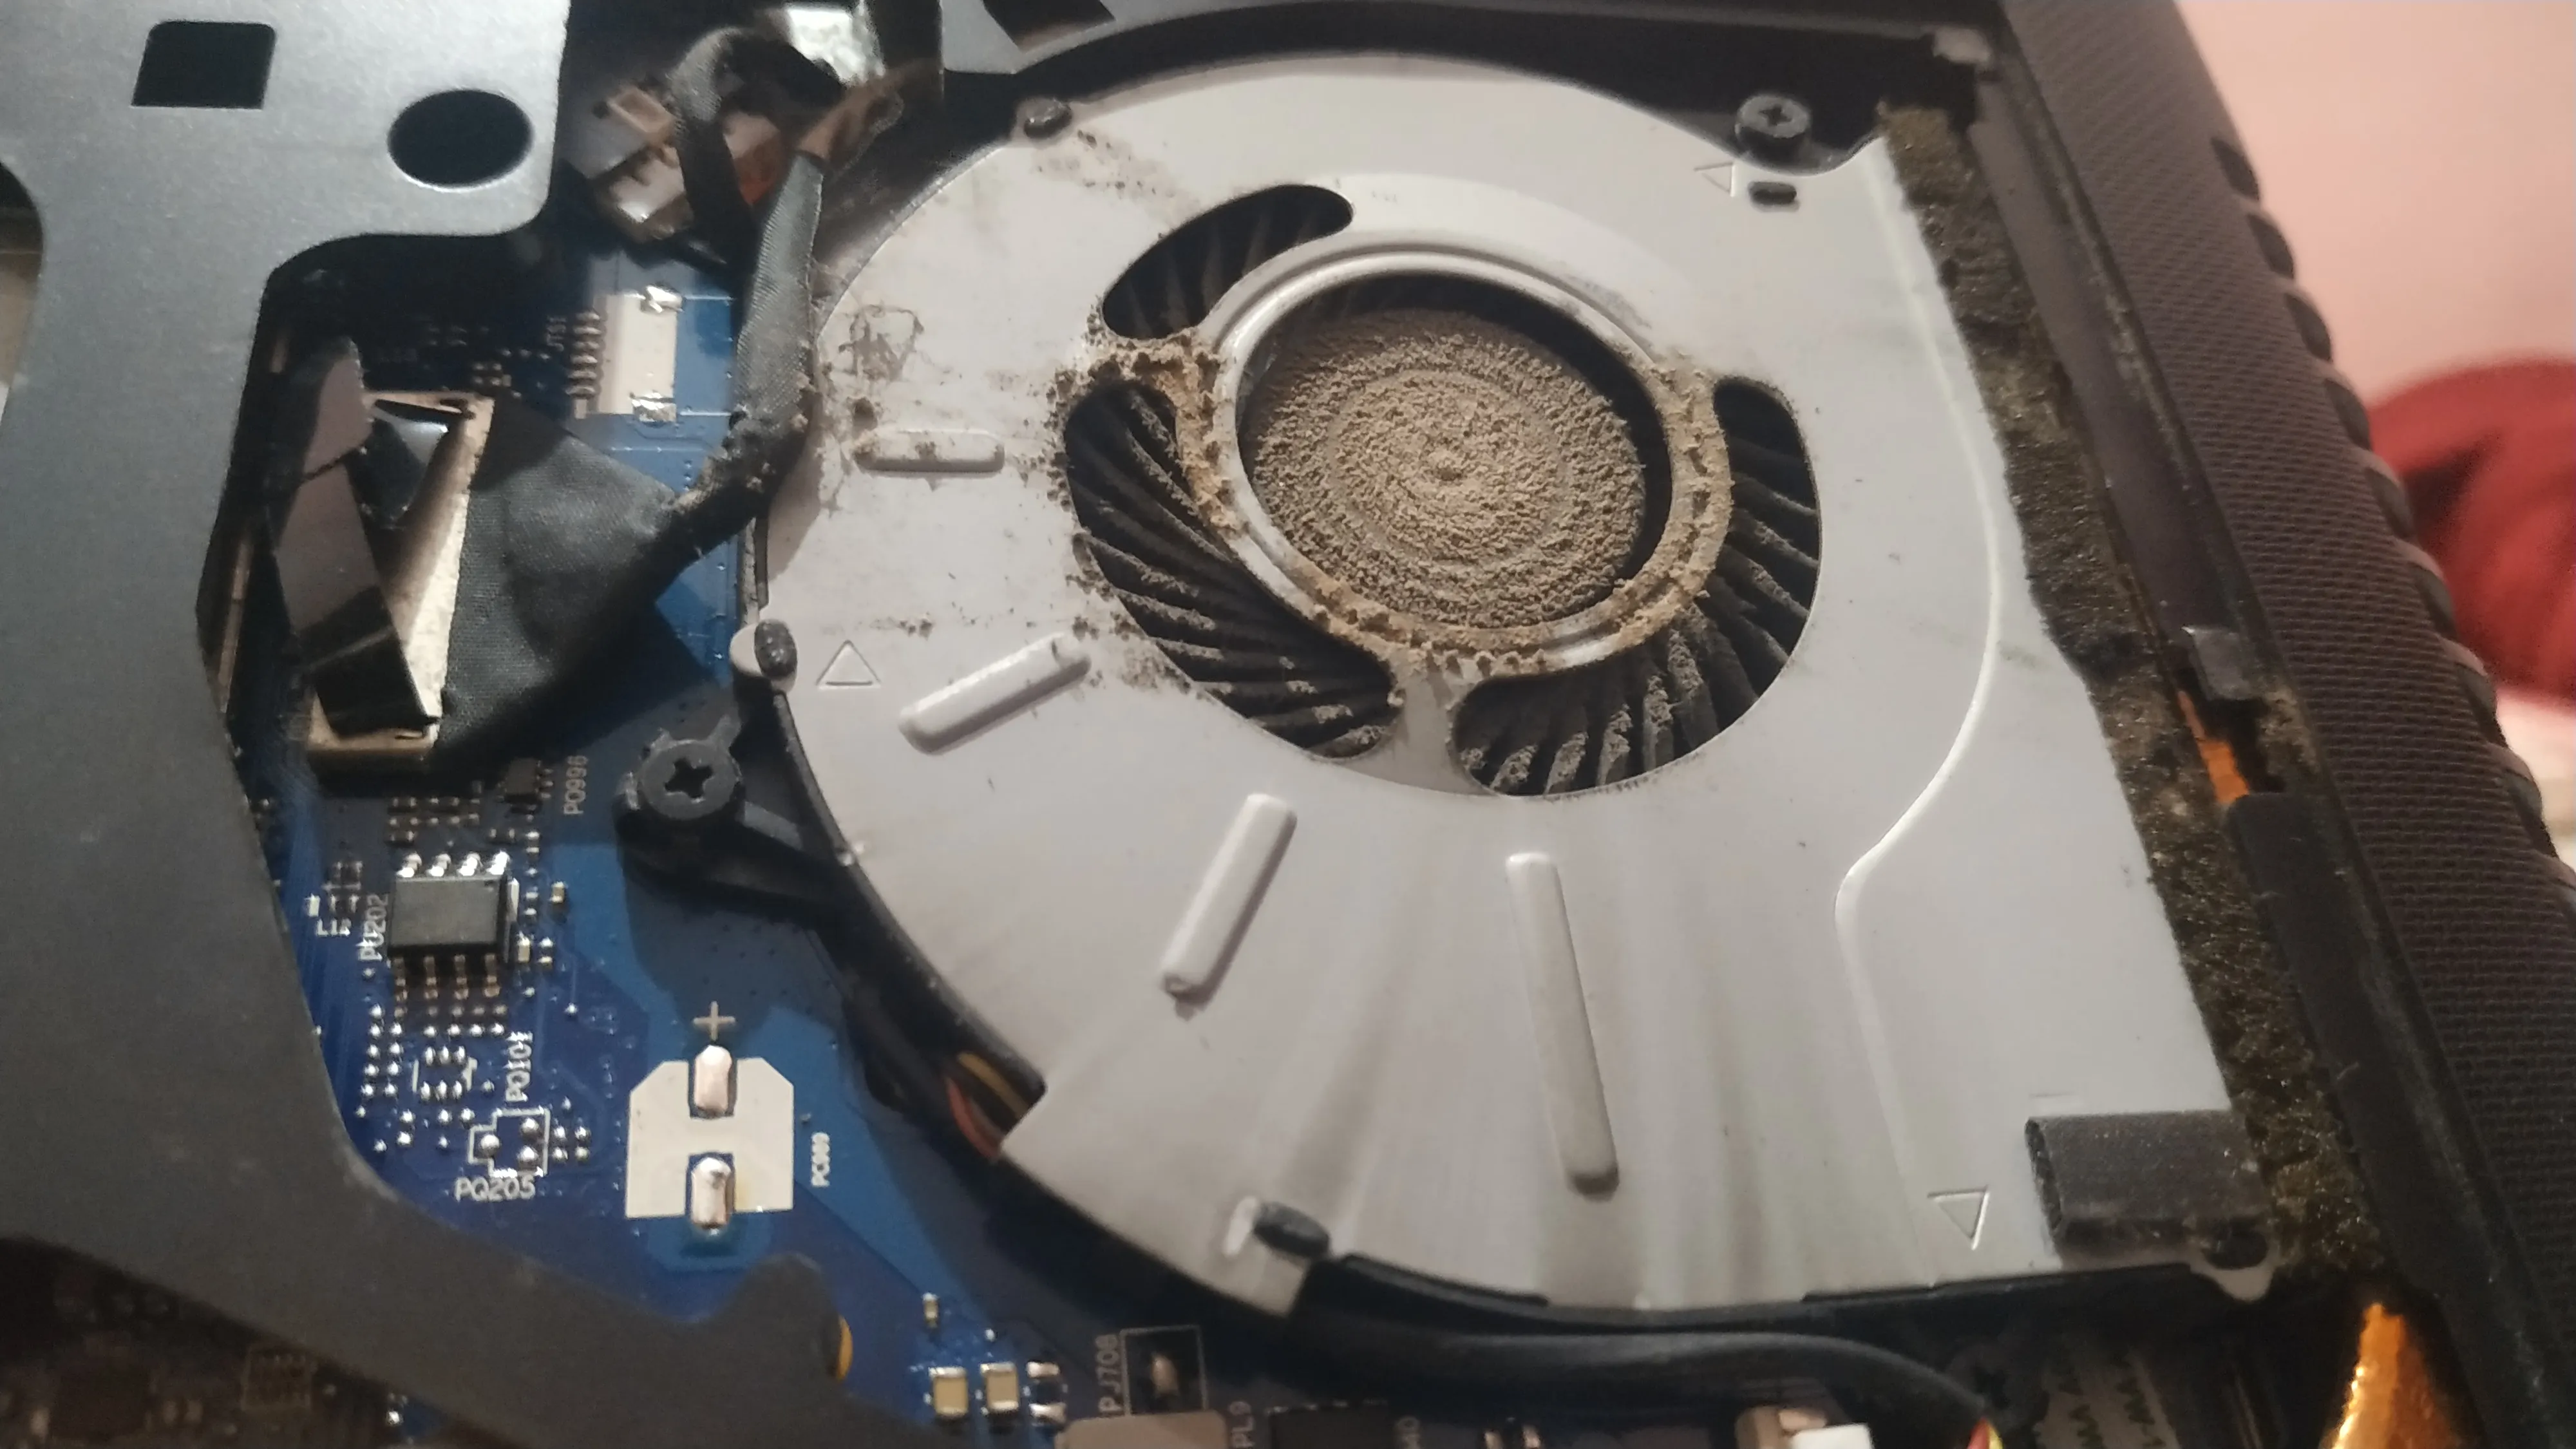
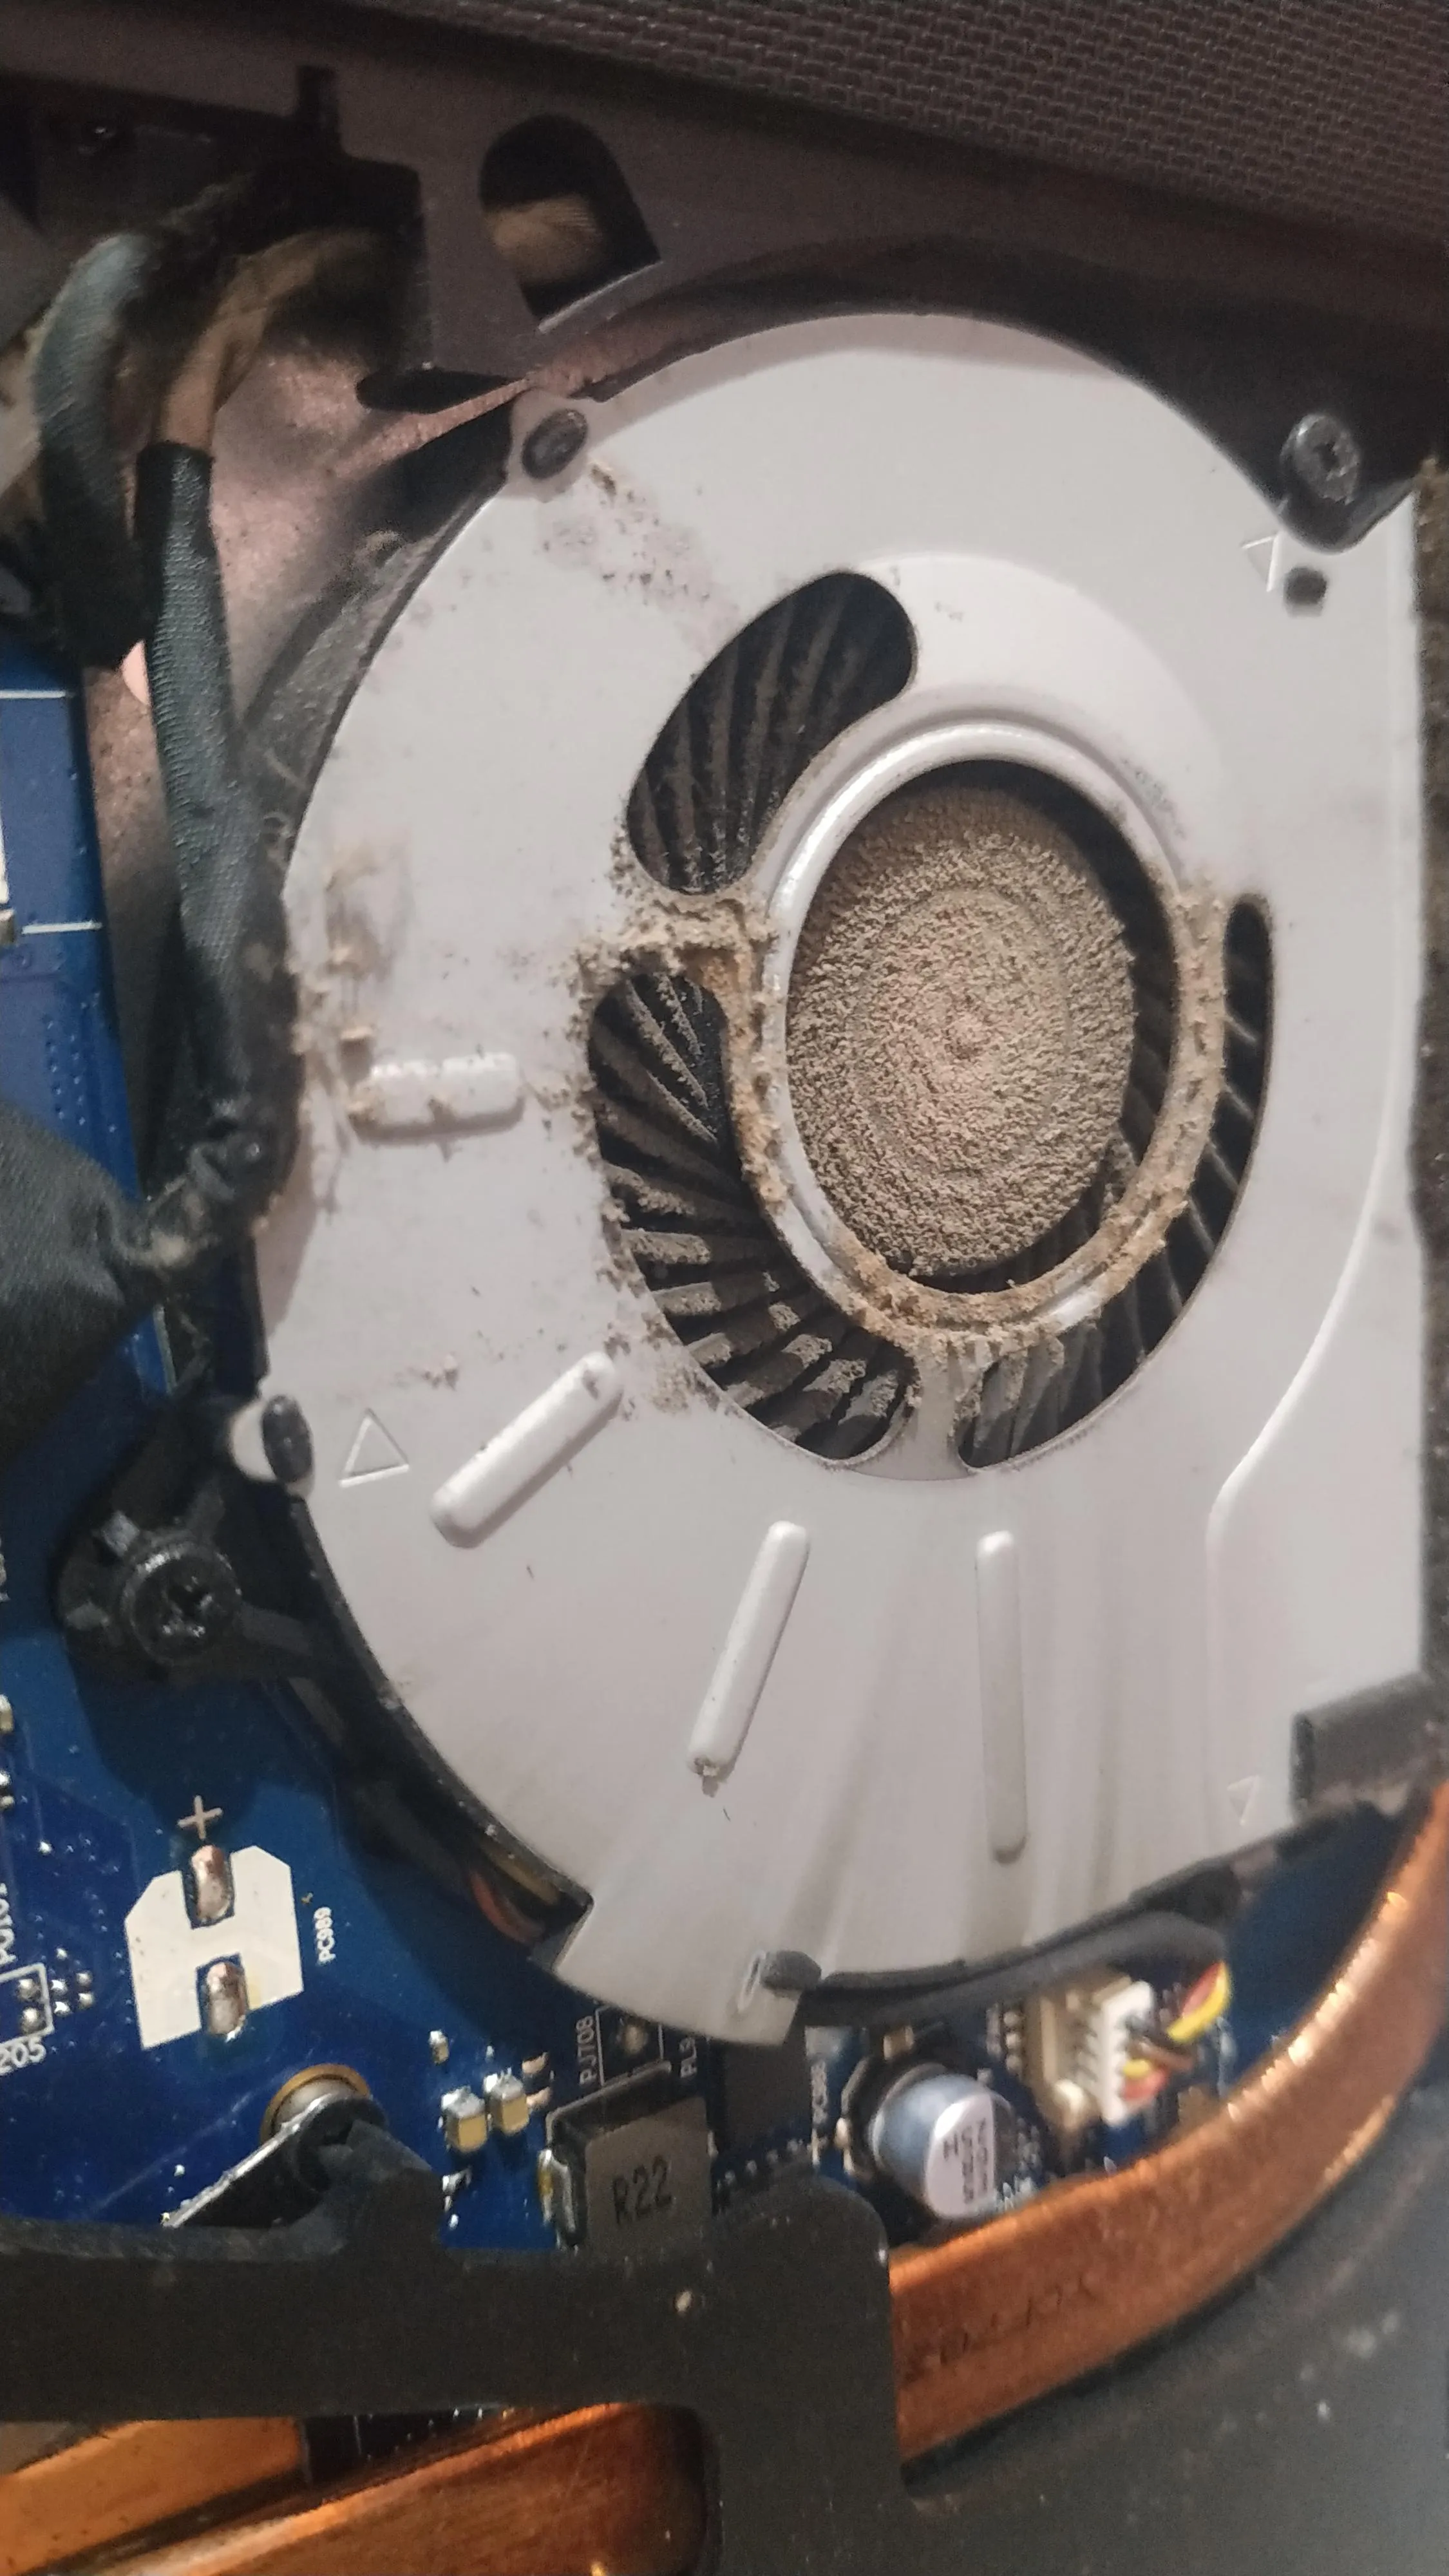
I was a bit skeptical when the ifixit guide listed the removal of the cooling fan. Nevertheless, I didn’t have time to go after the reference manual. I just followed suit.
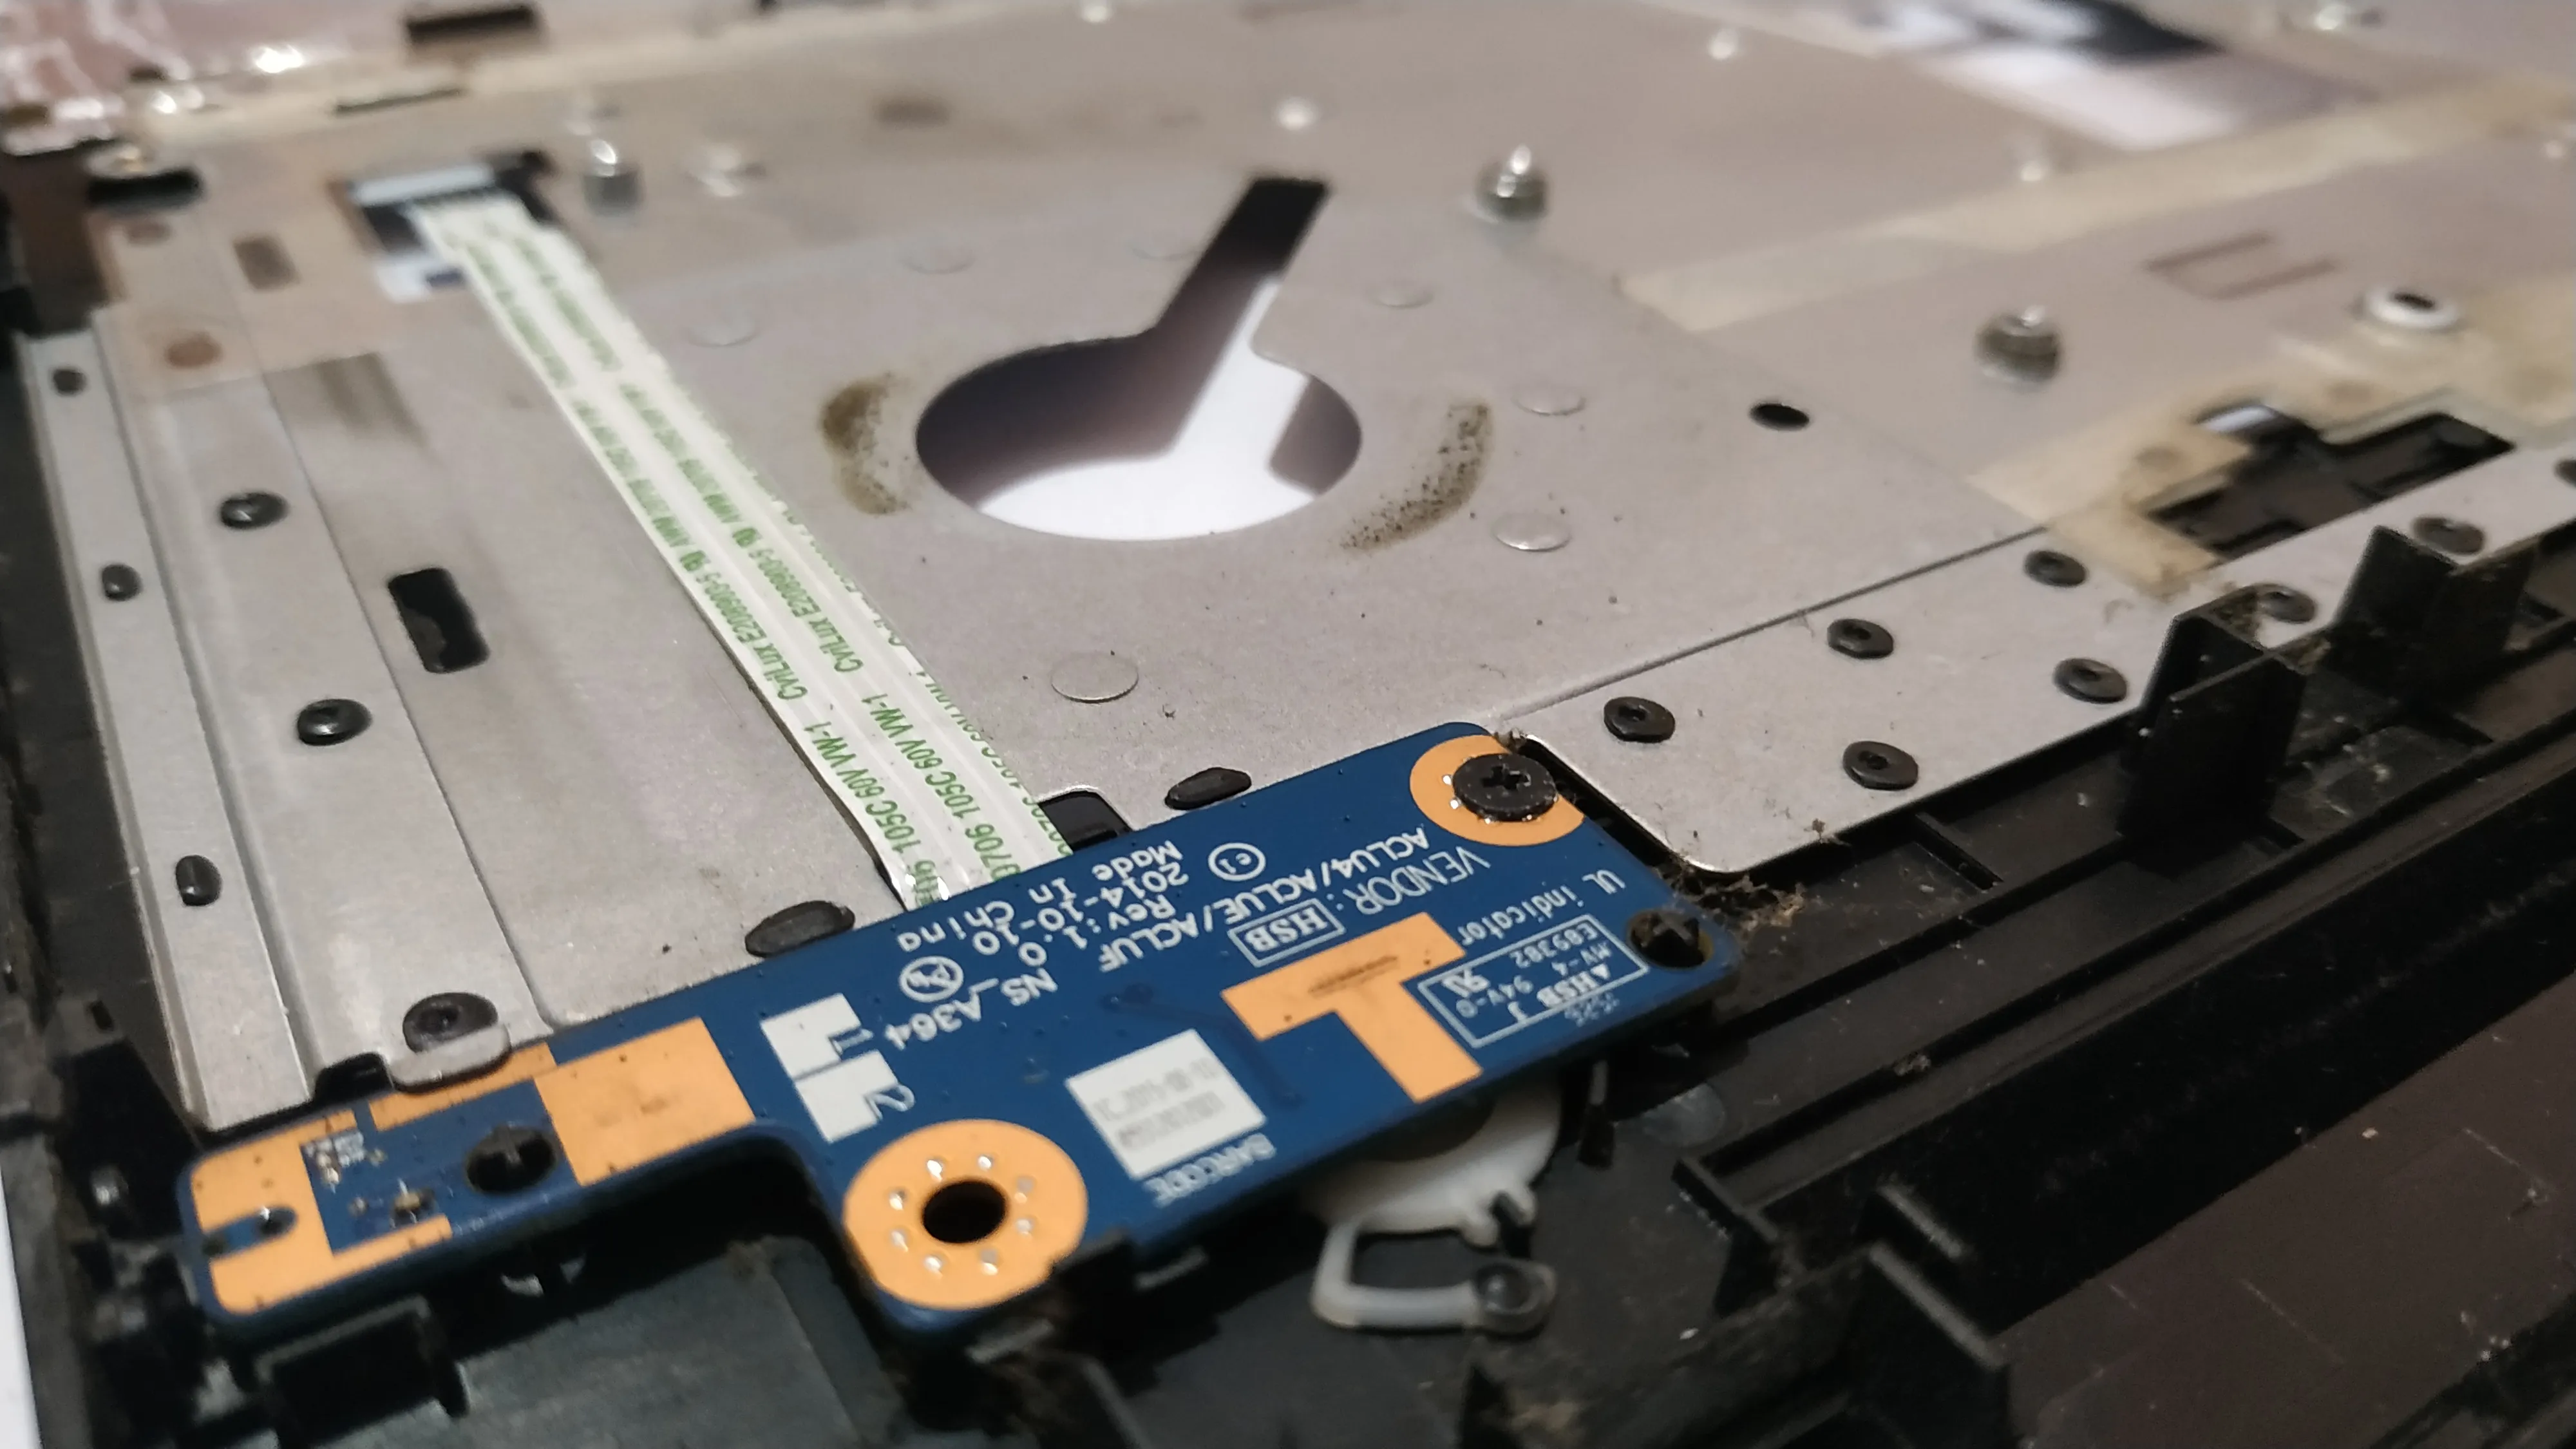
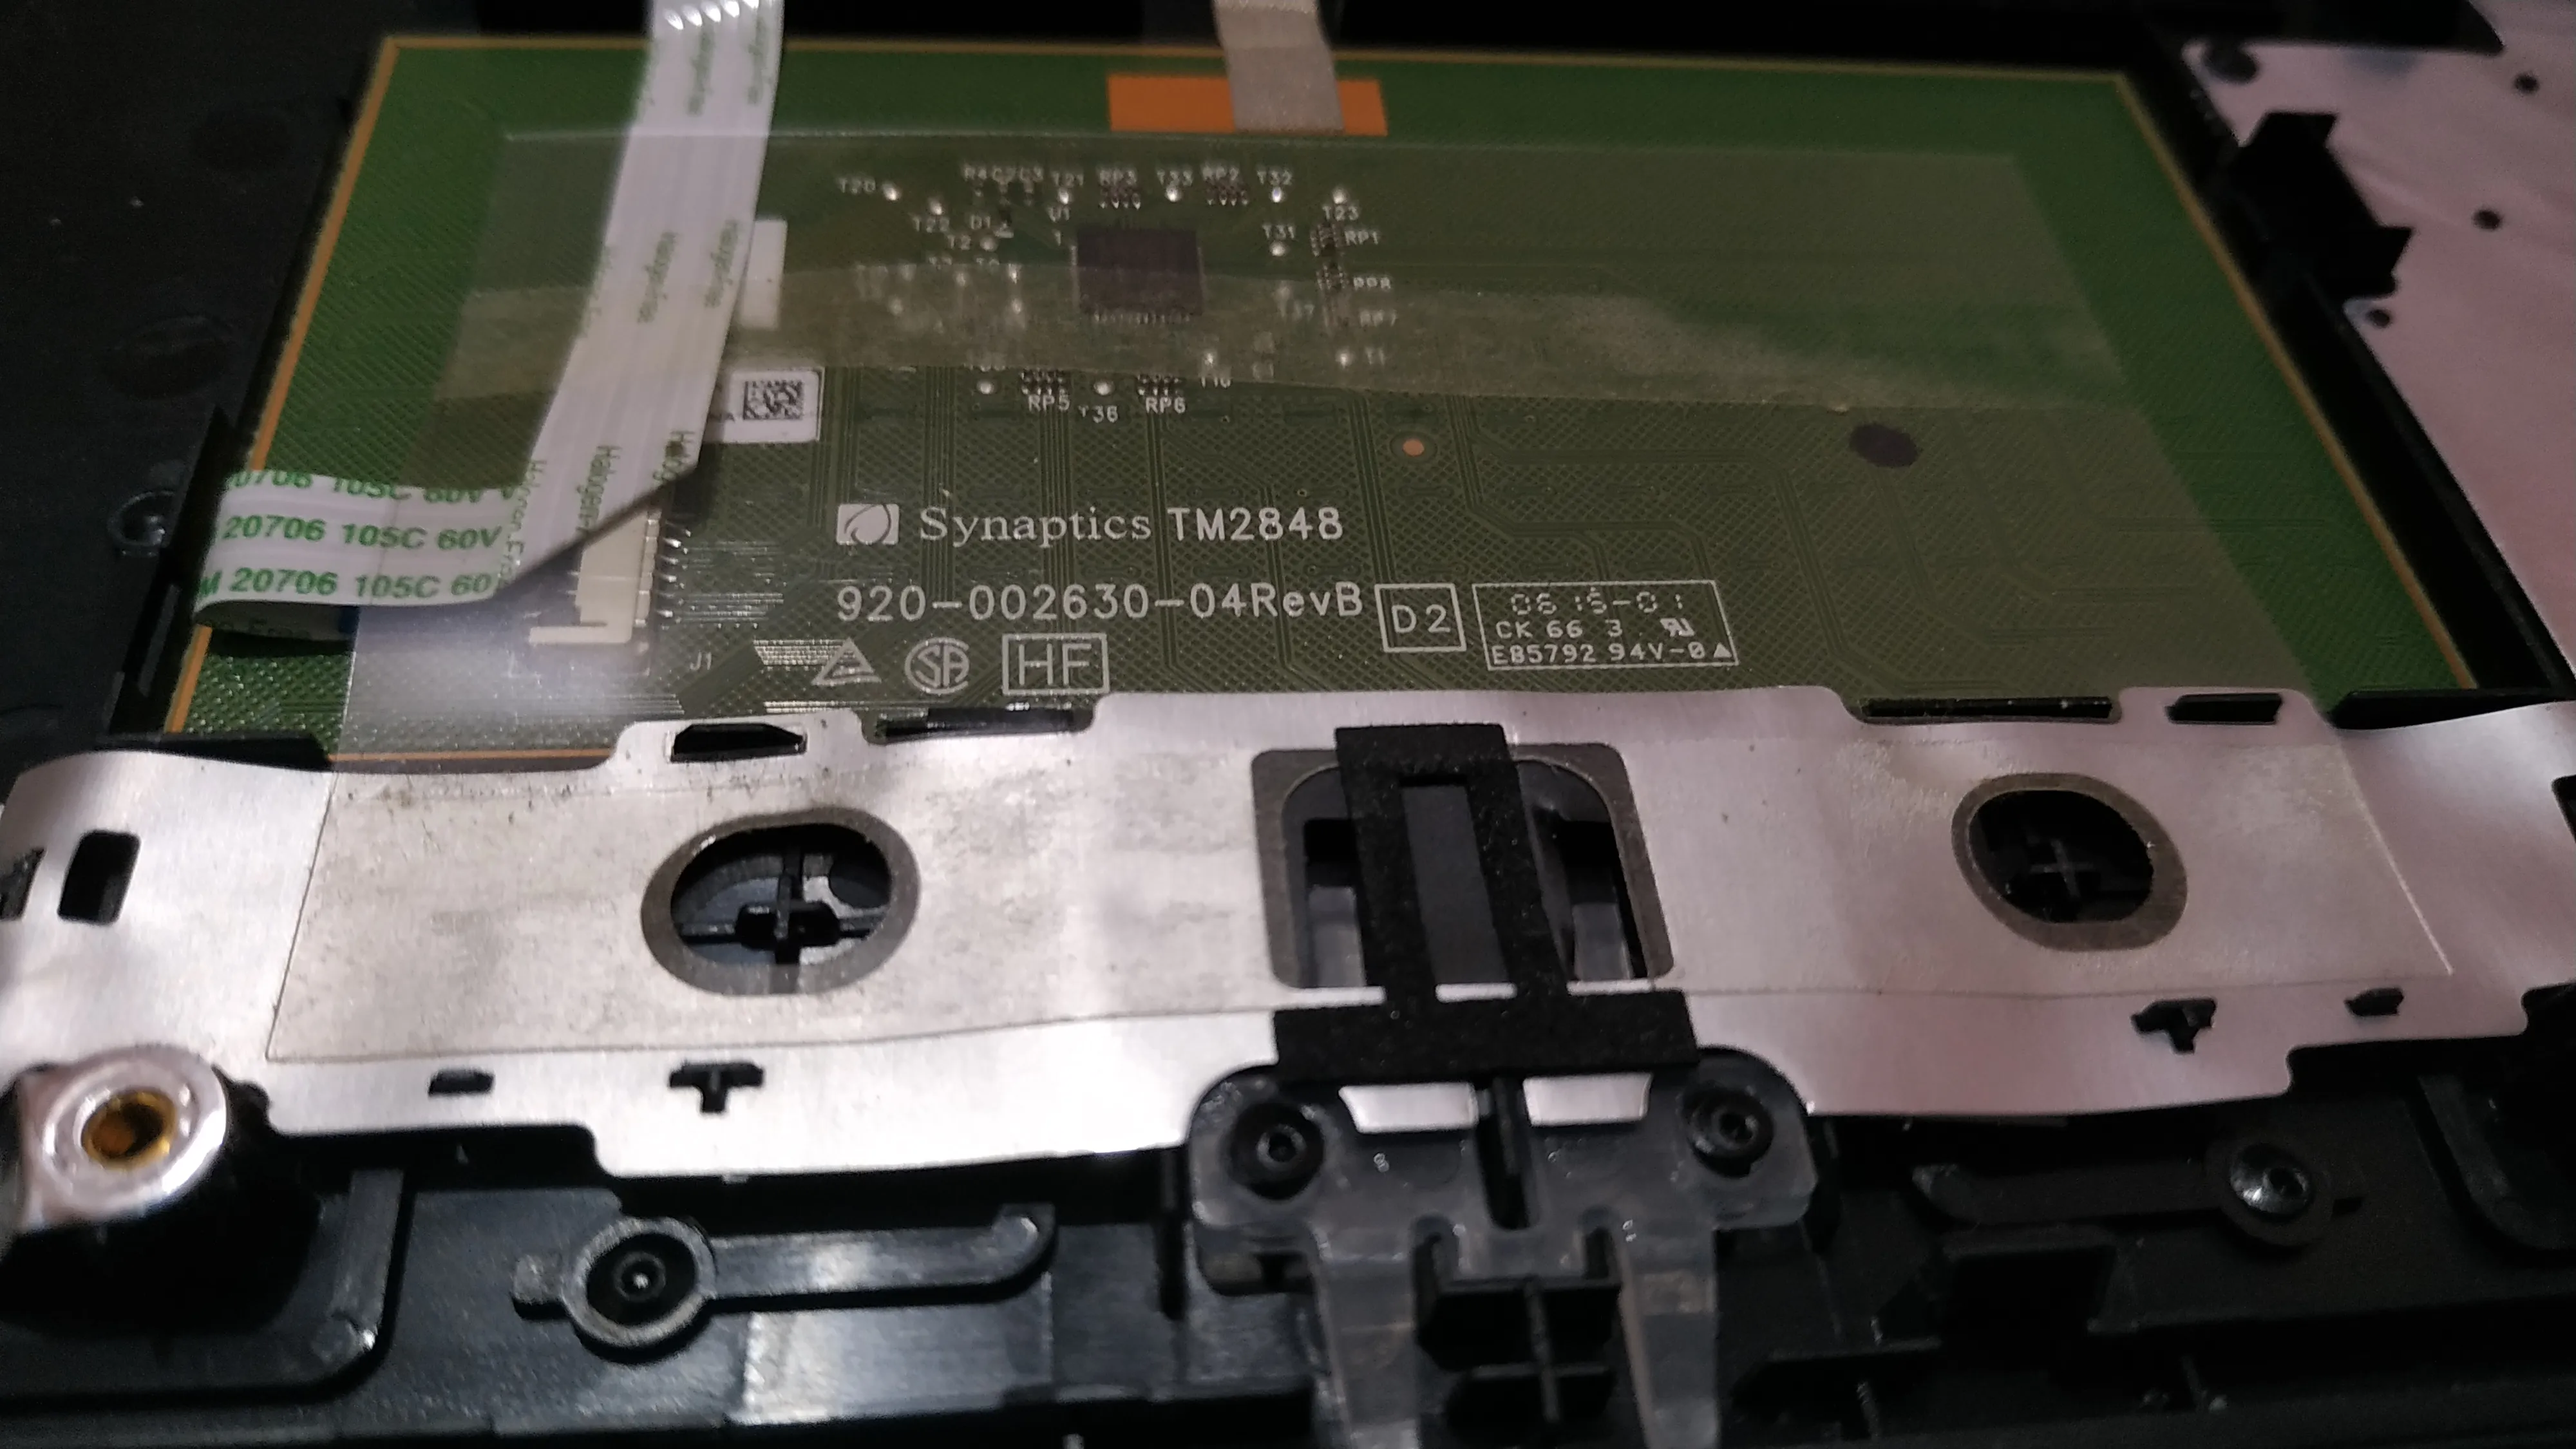
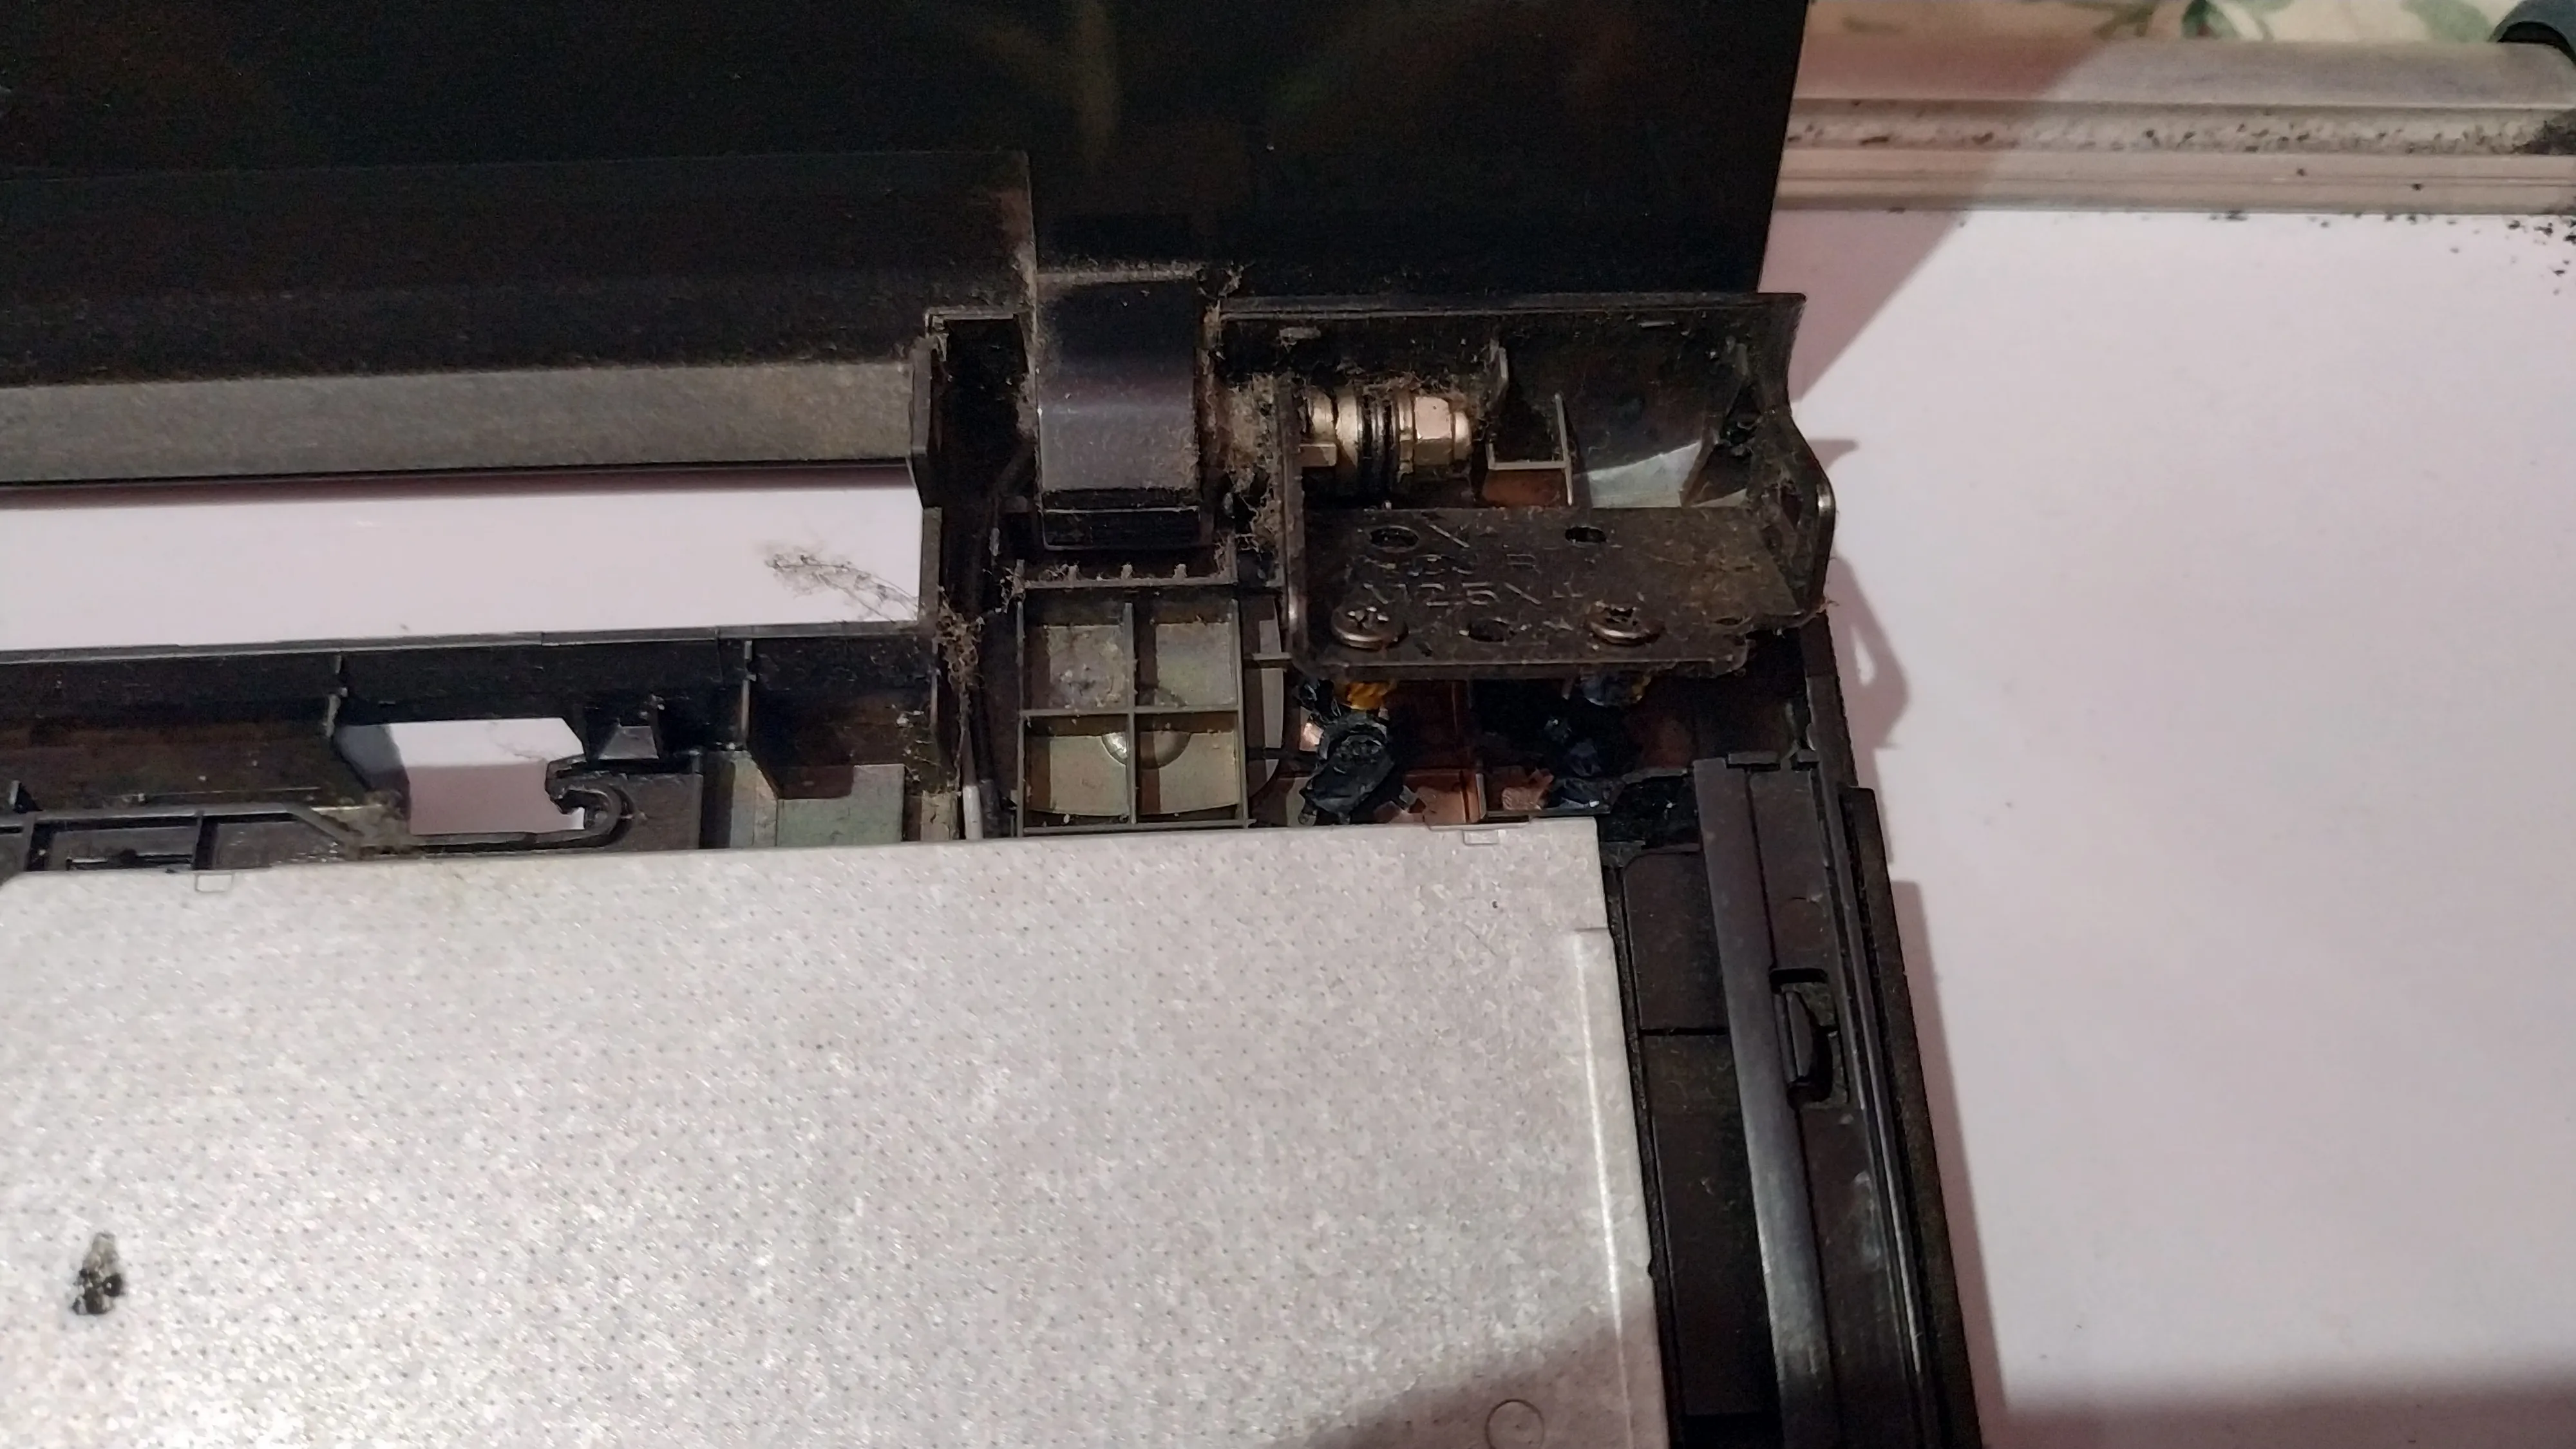
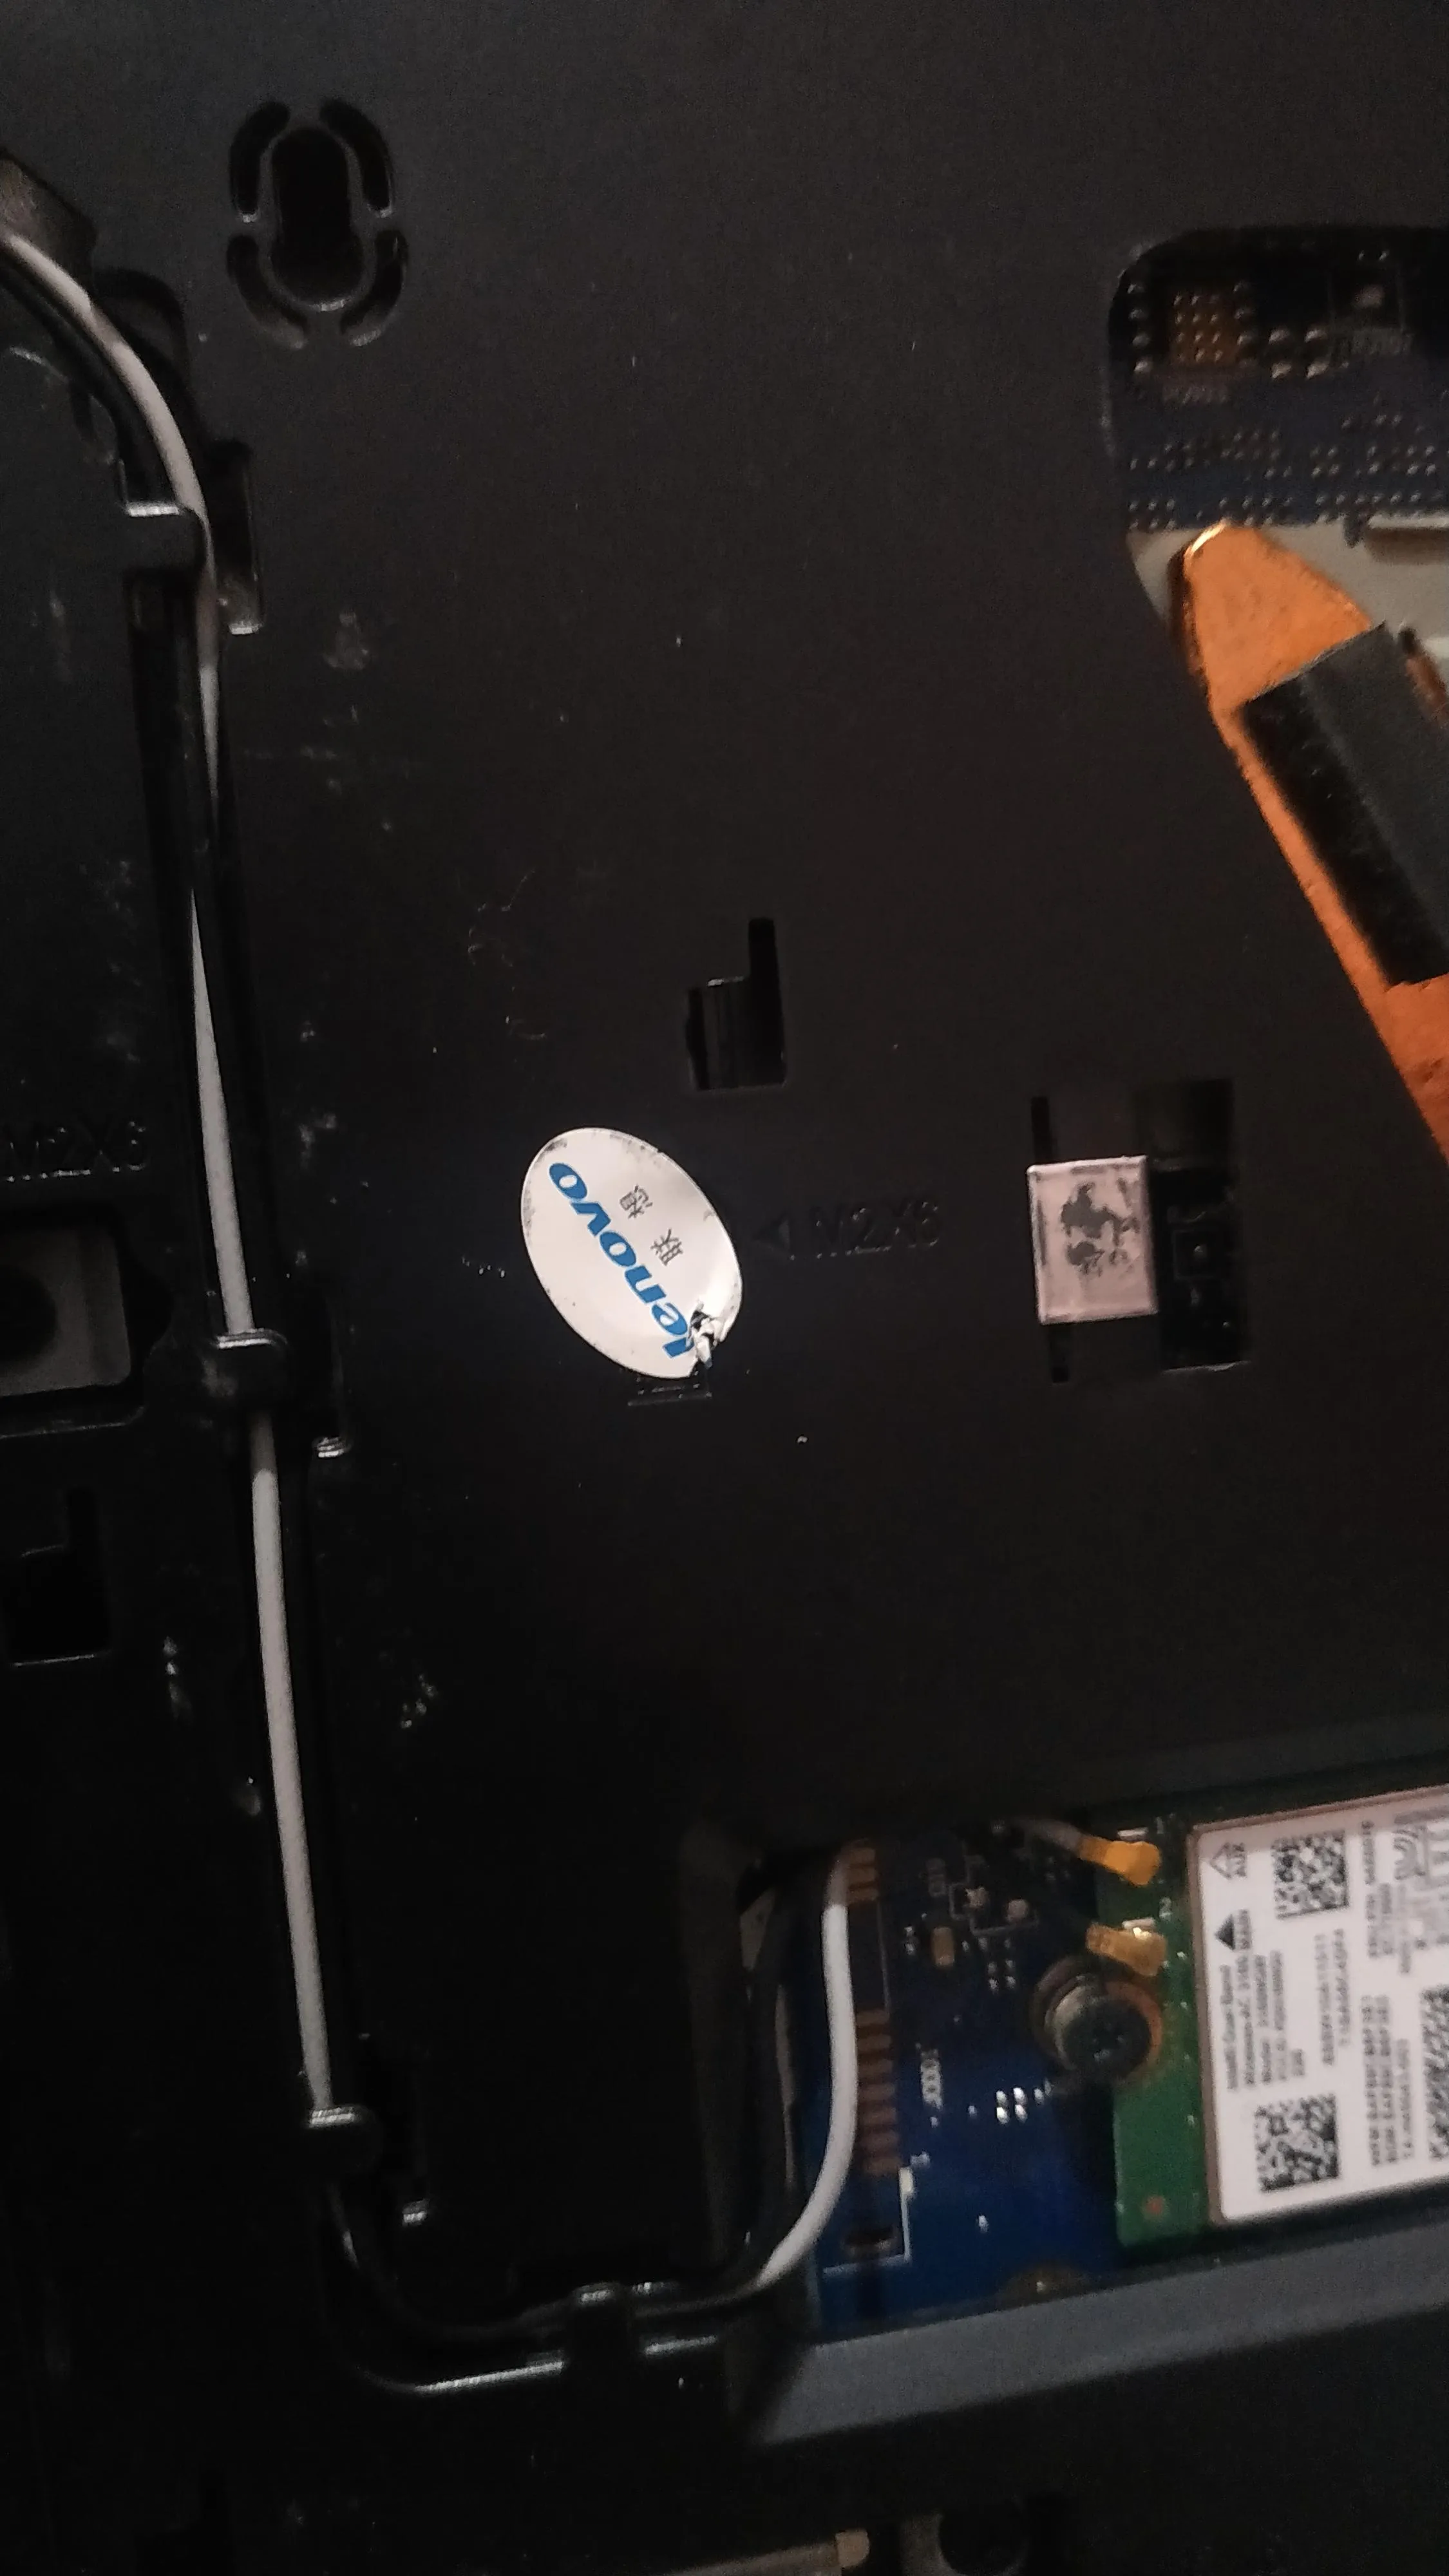
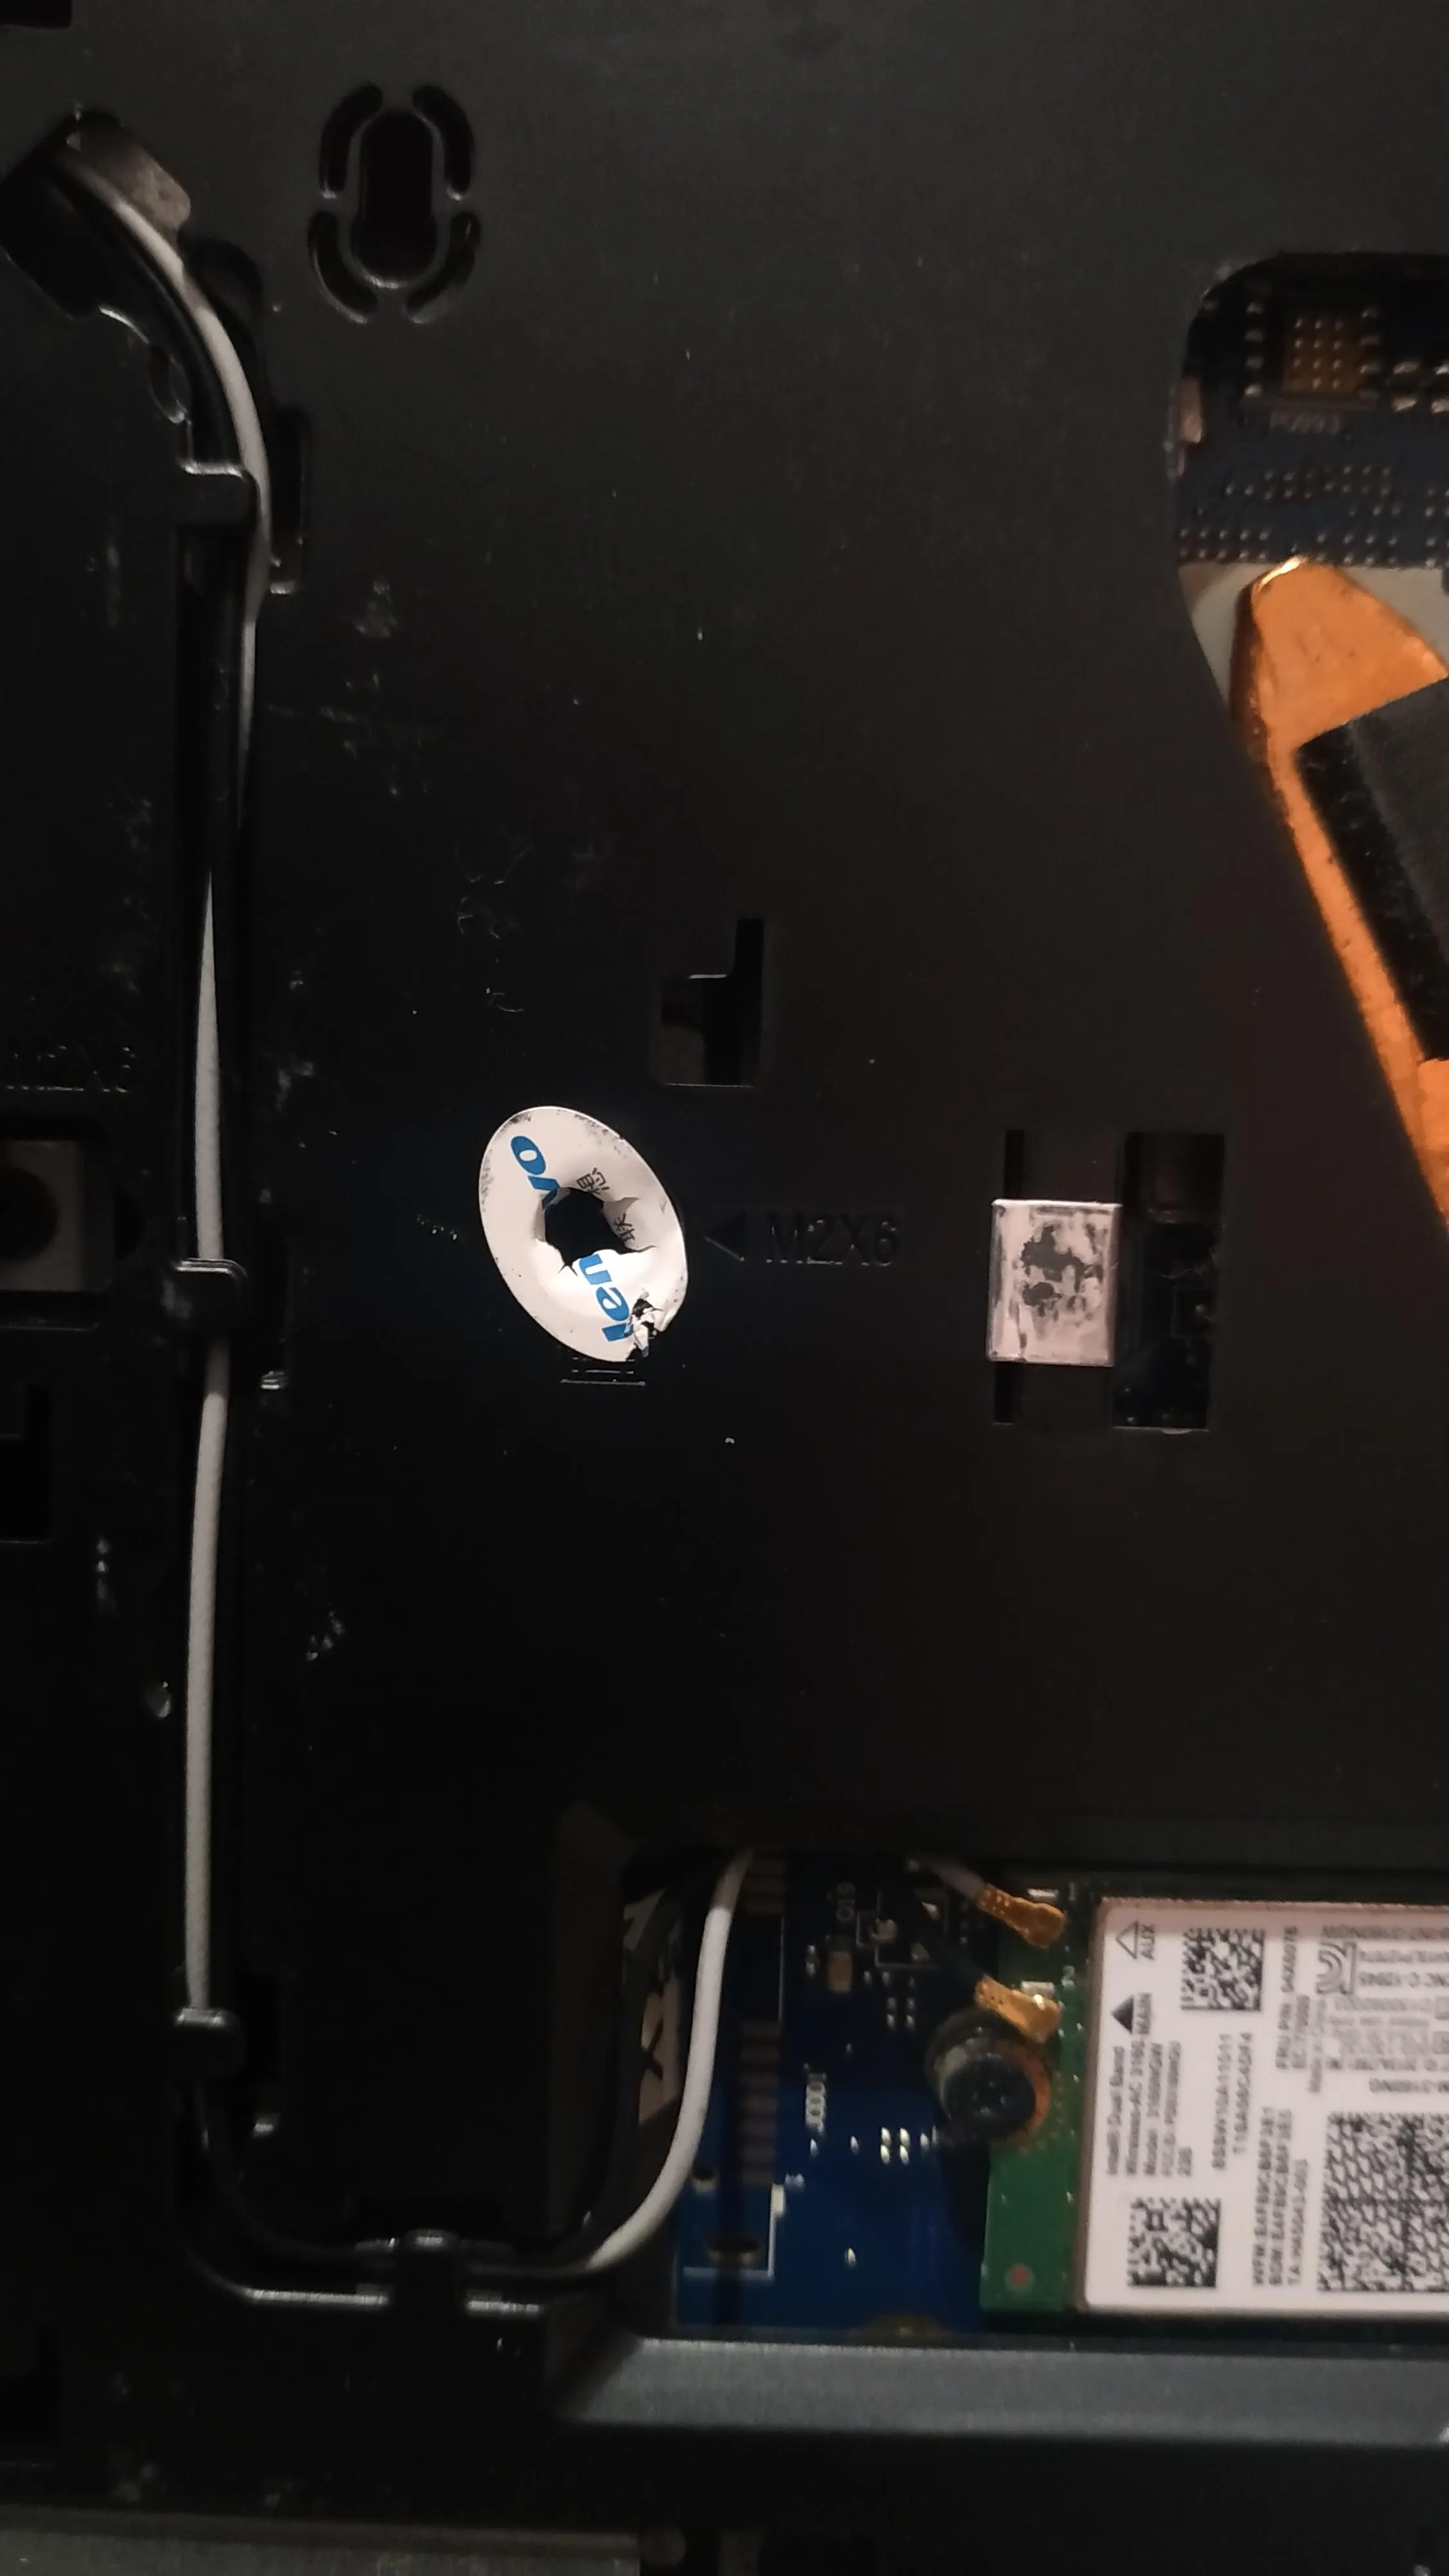
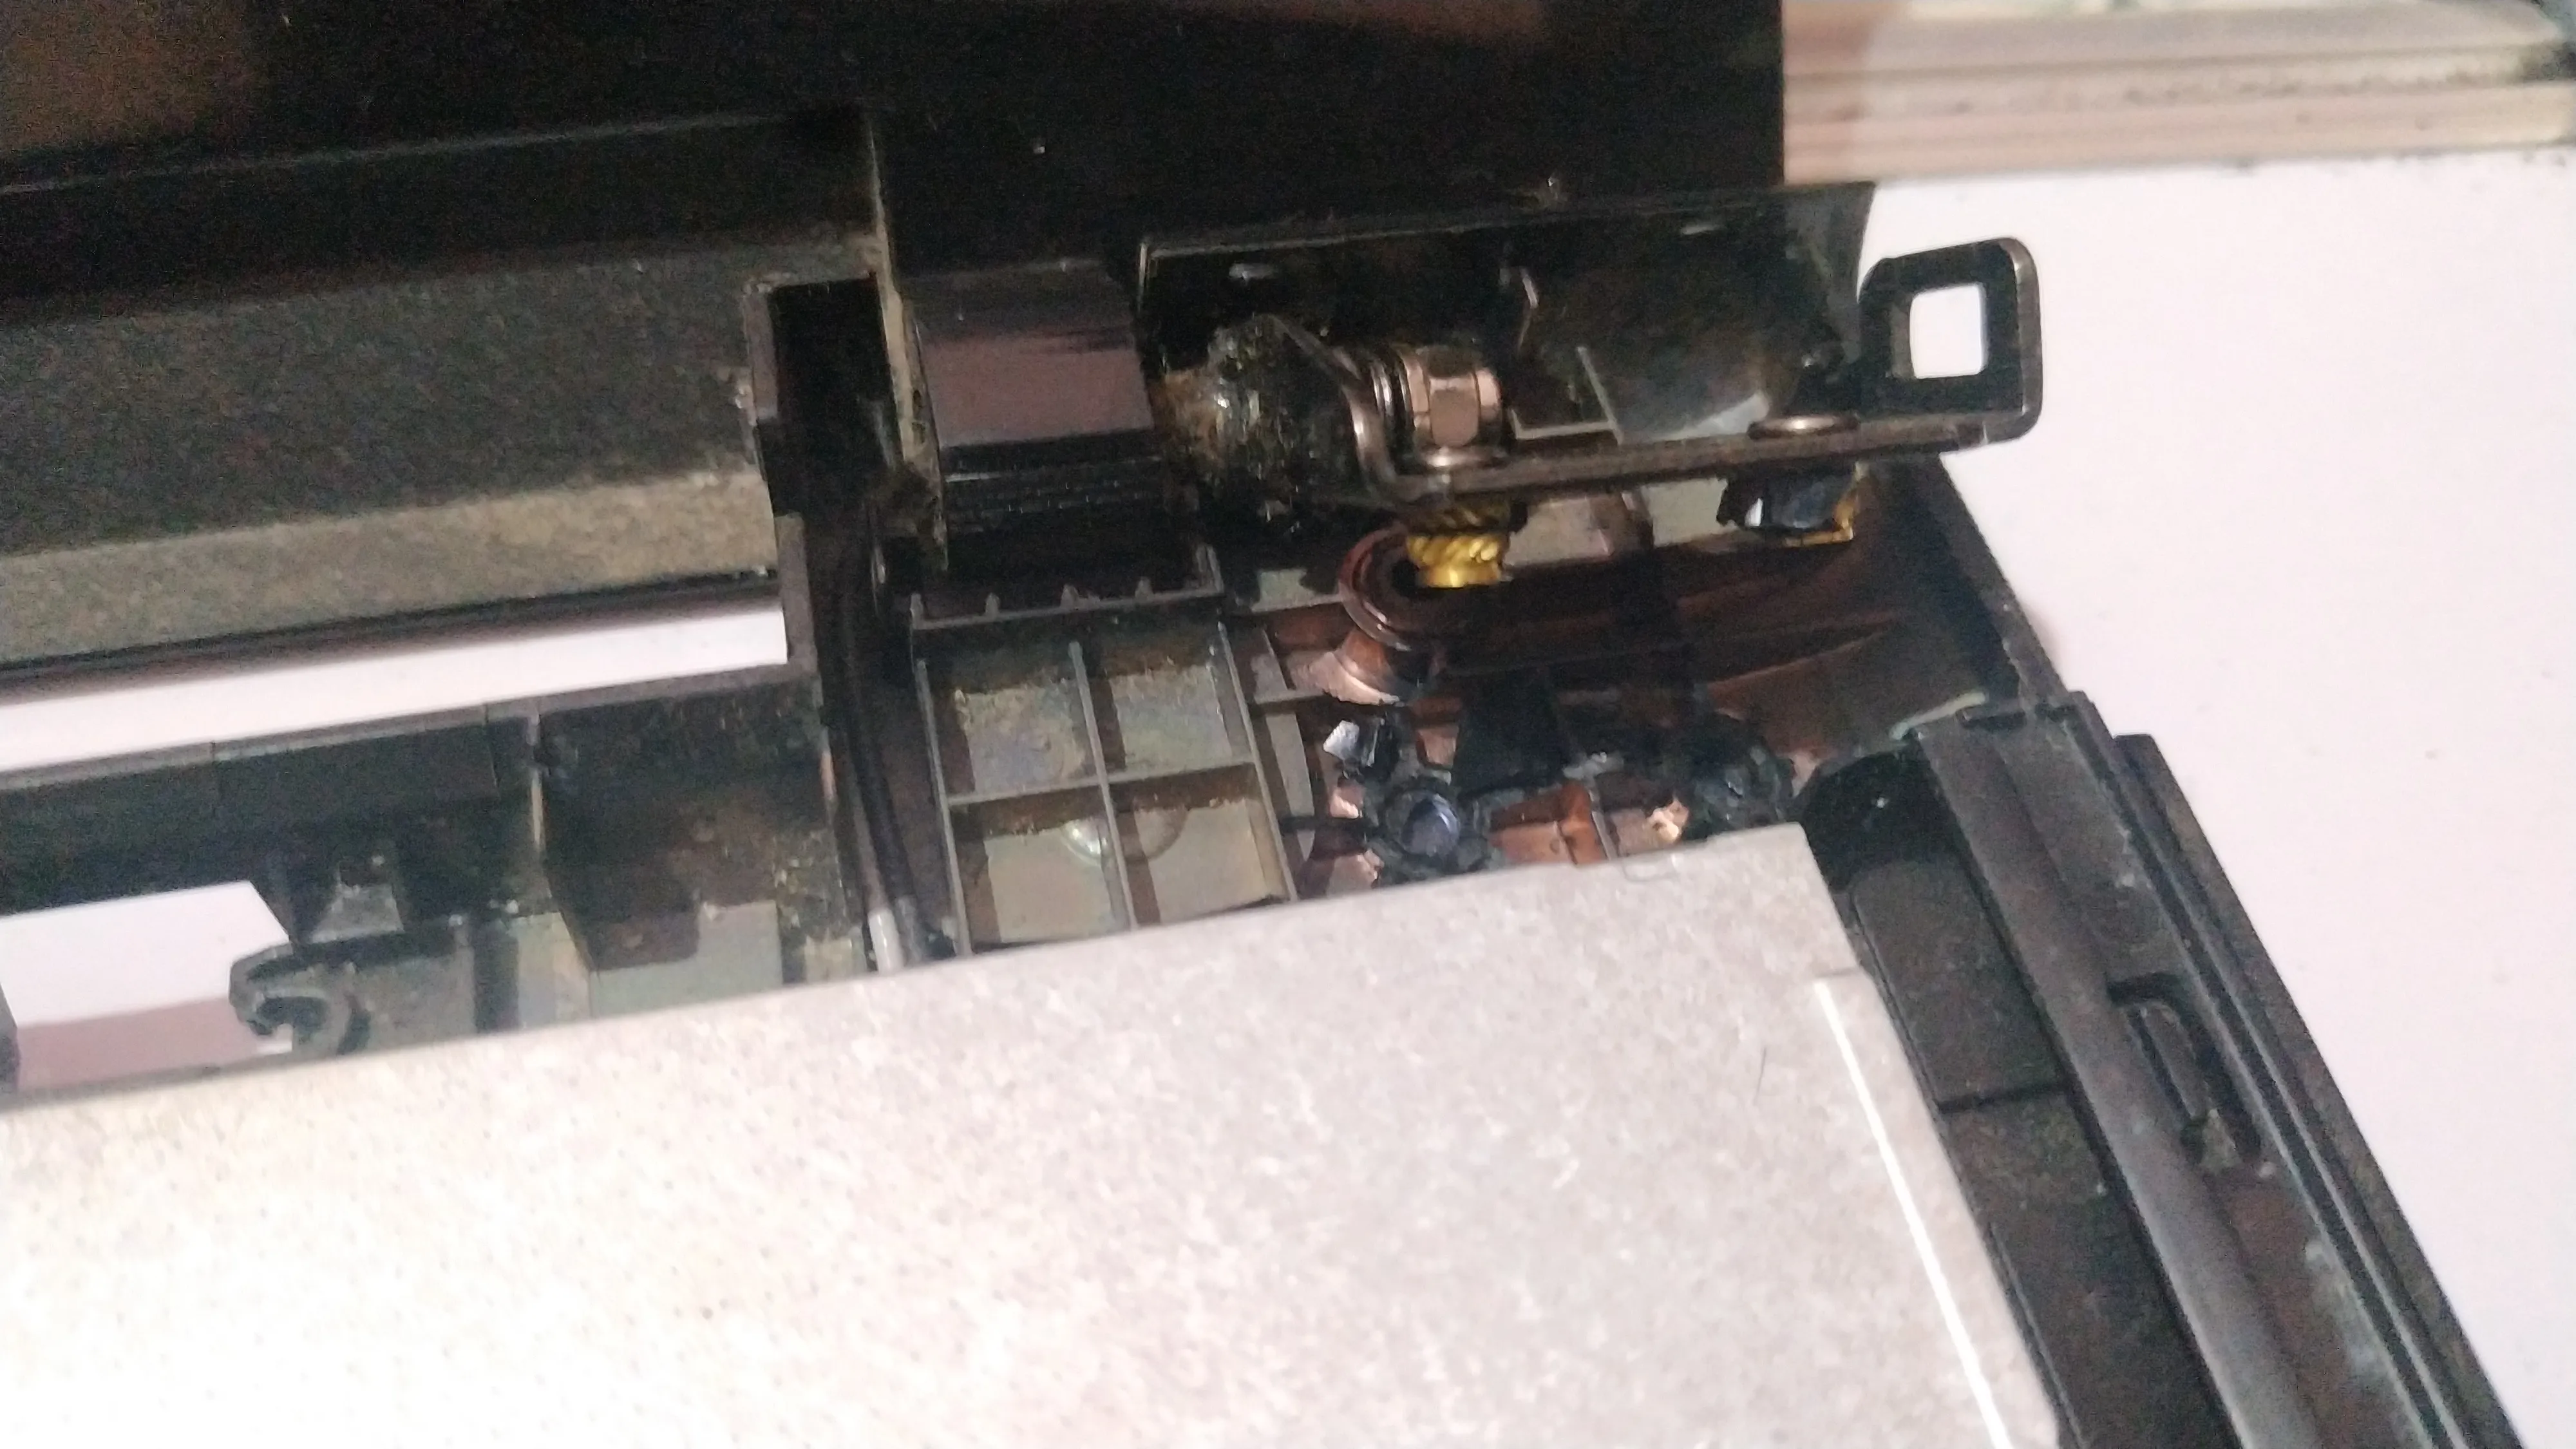
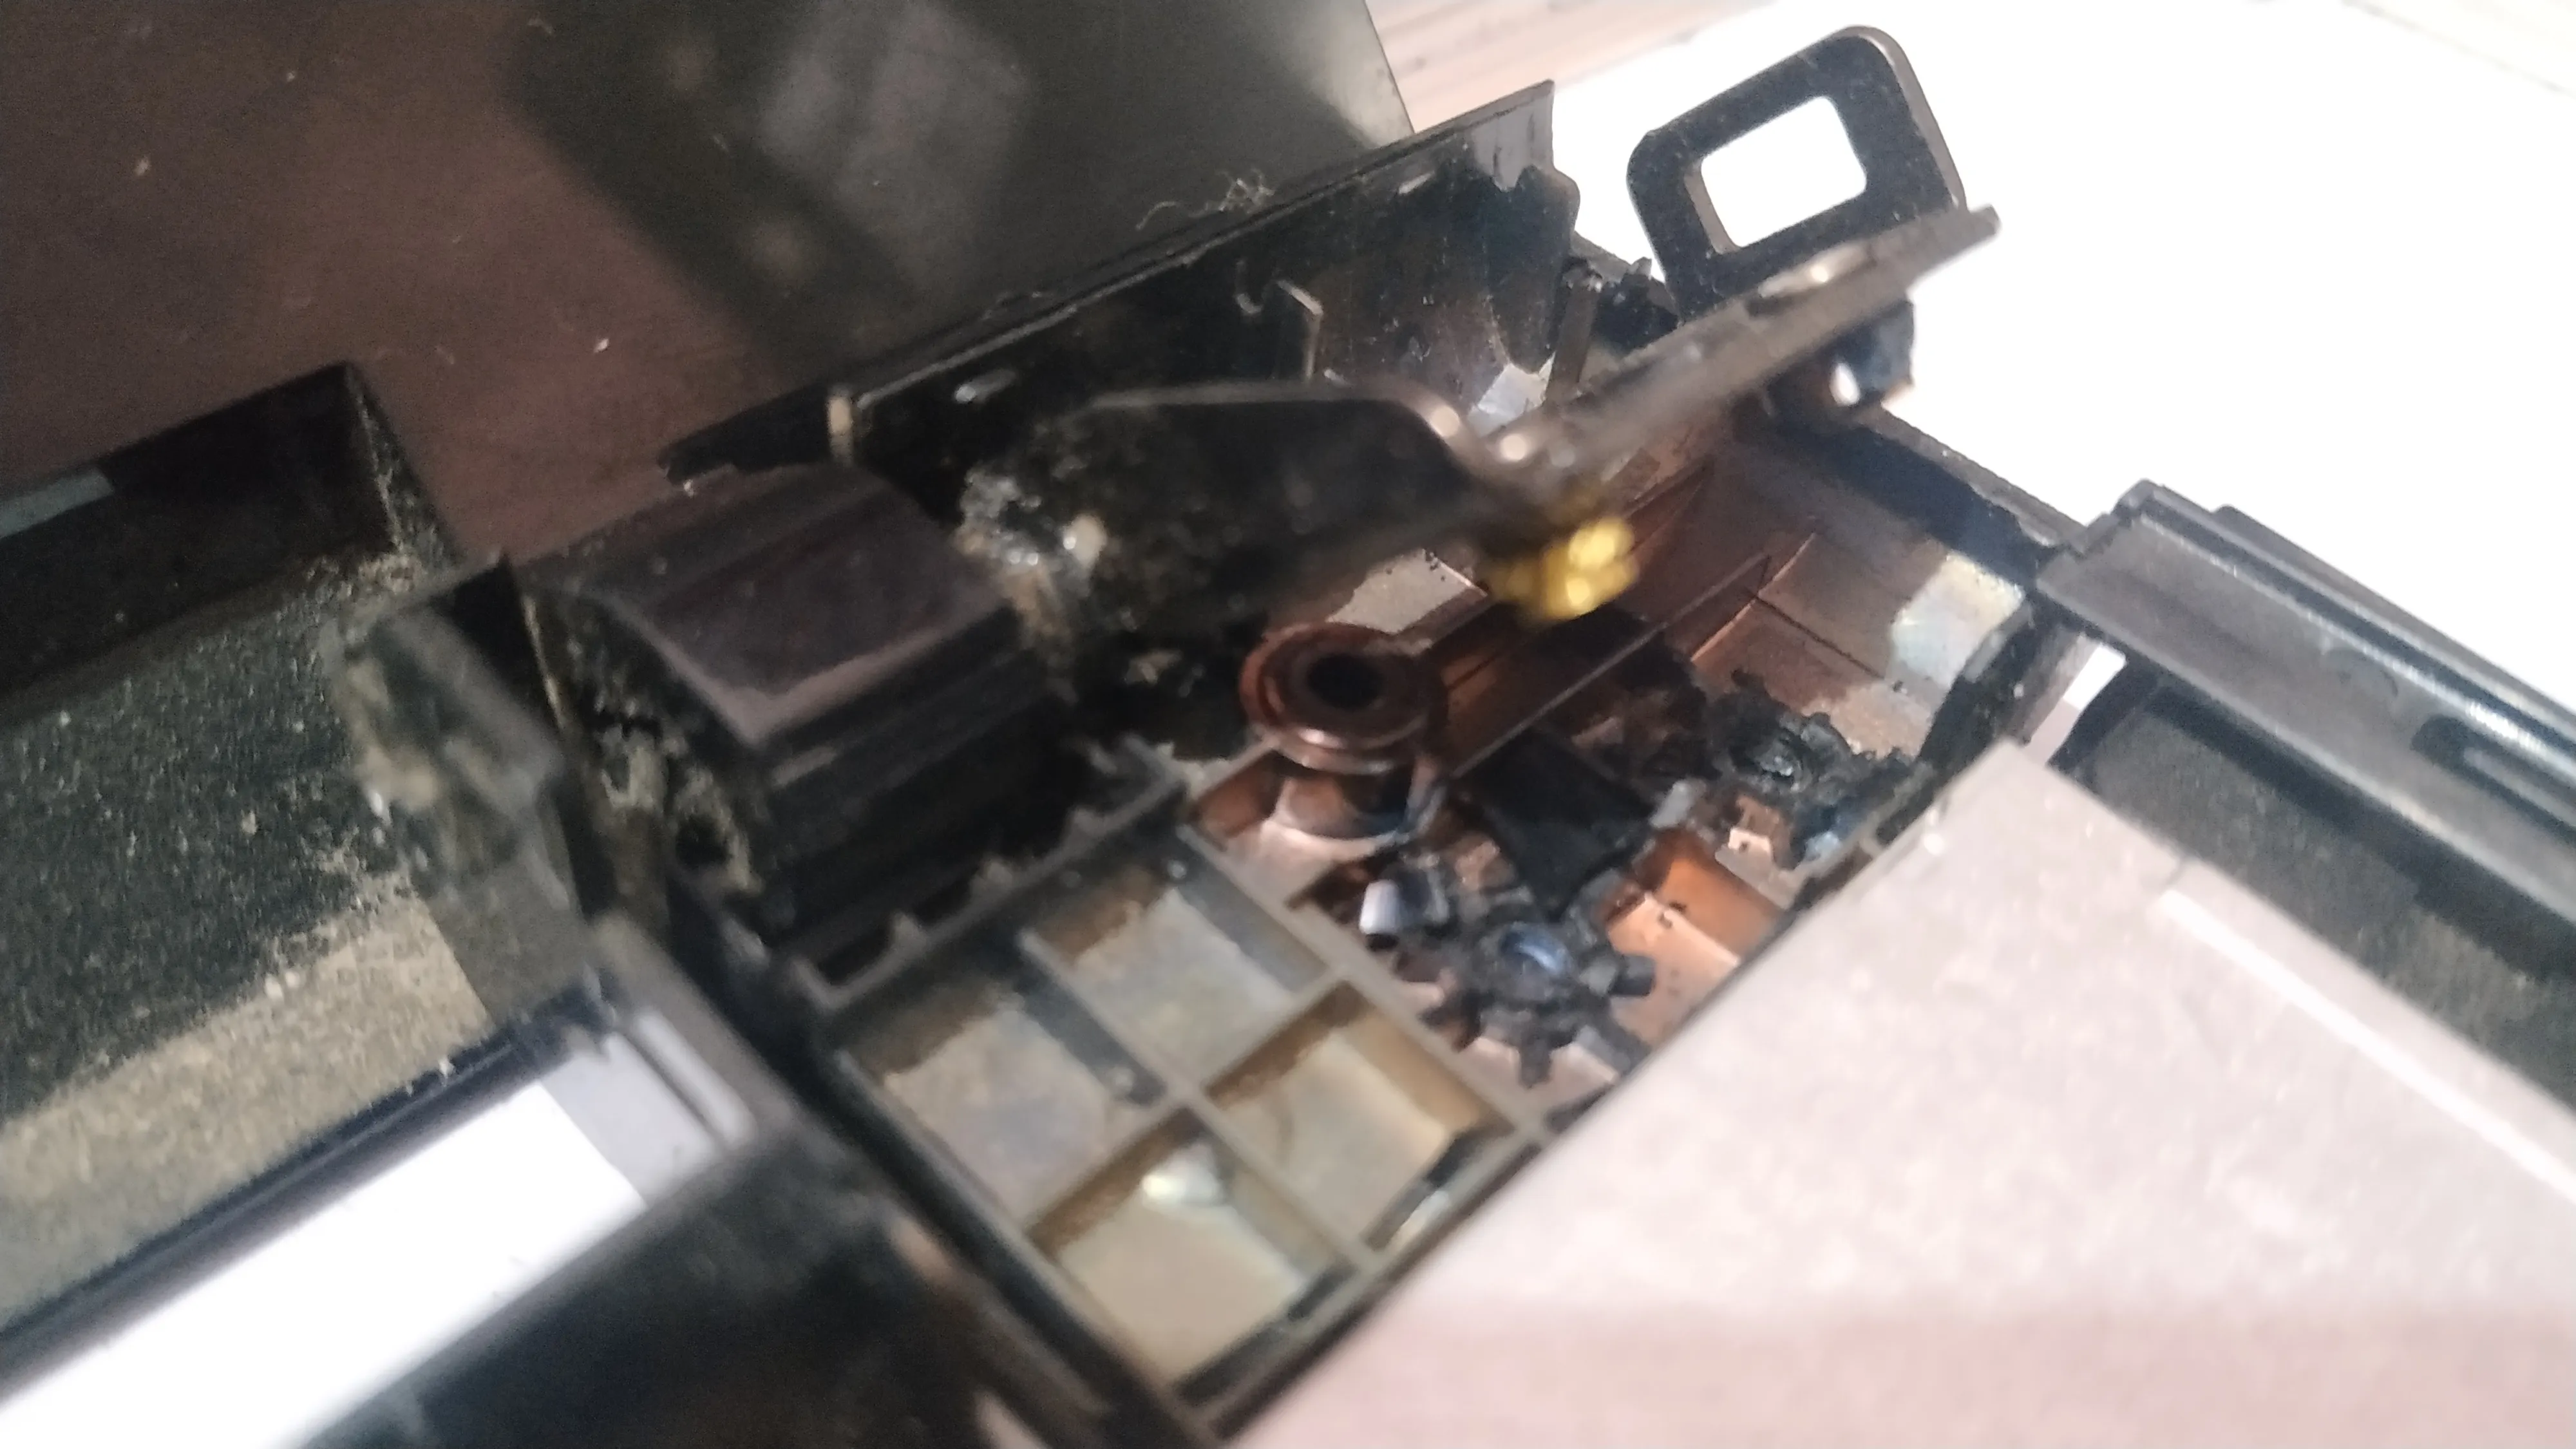
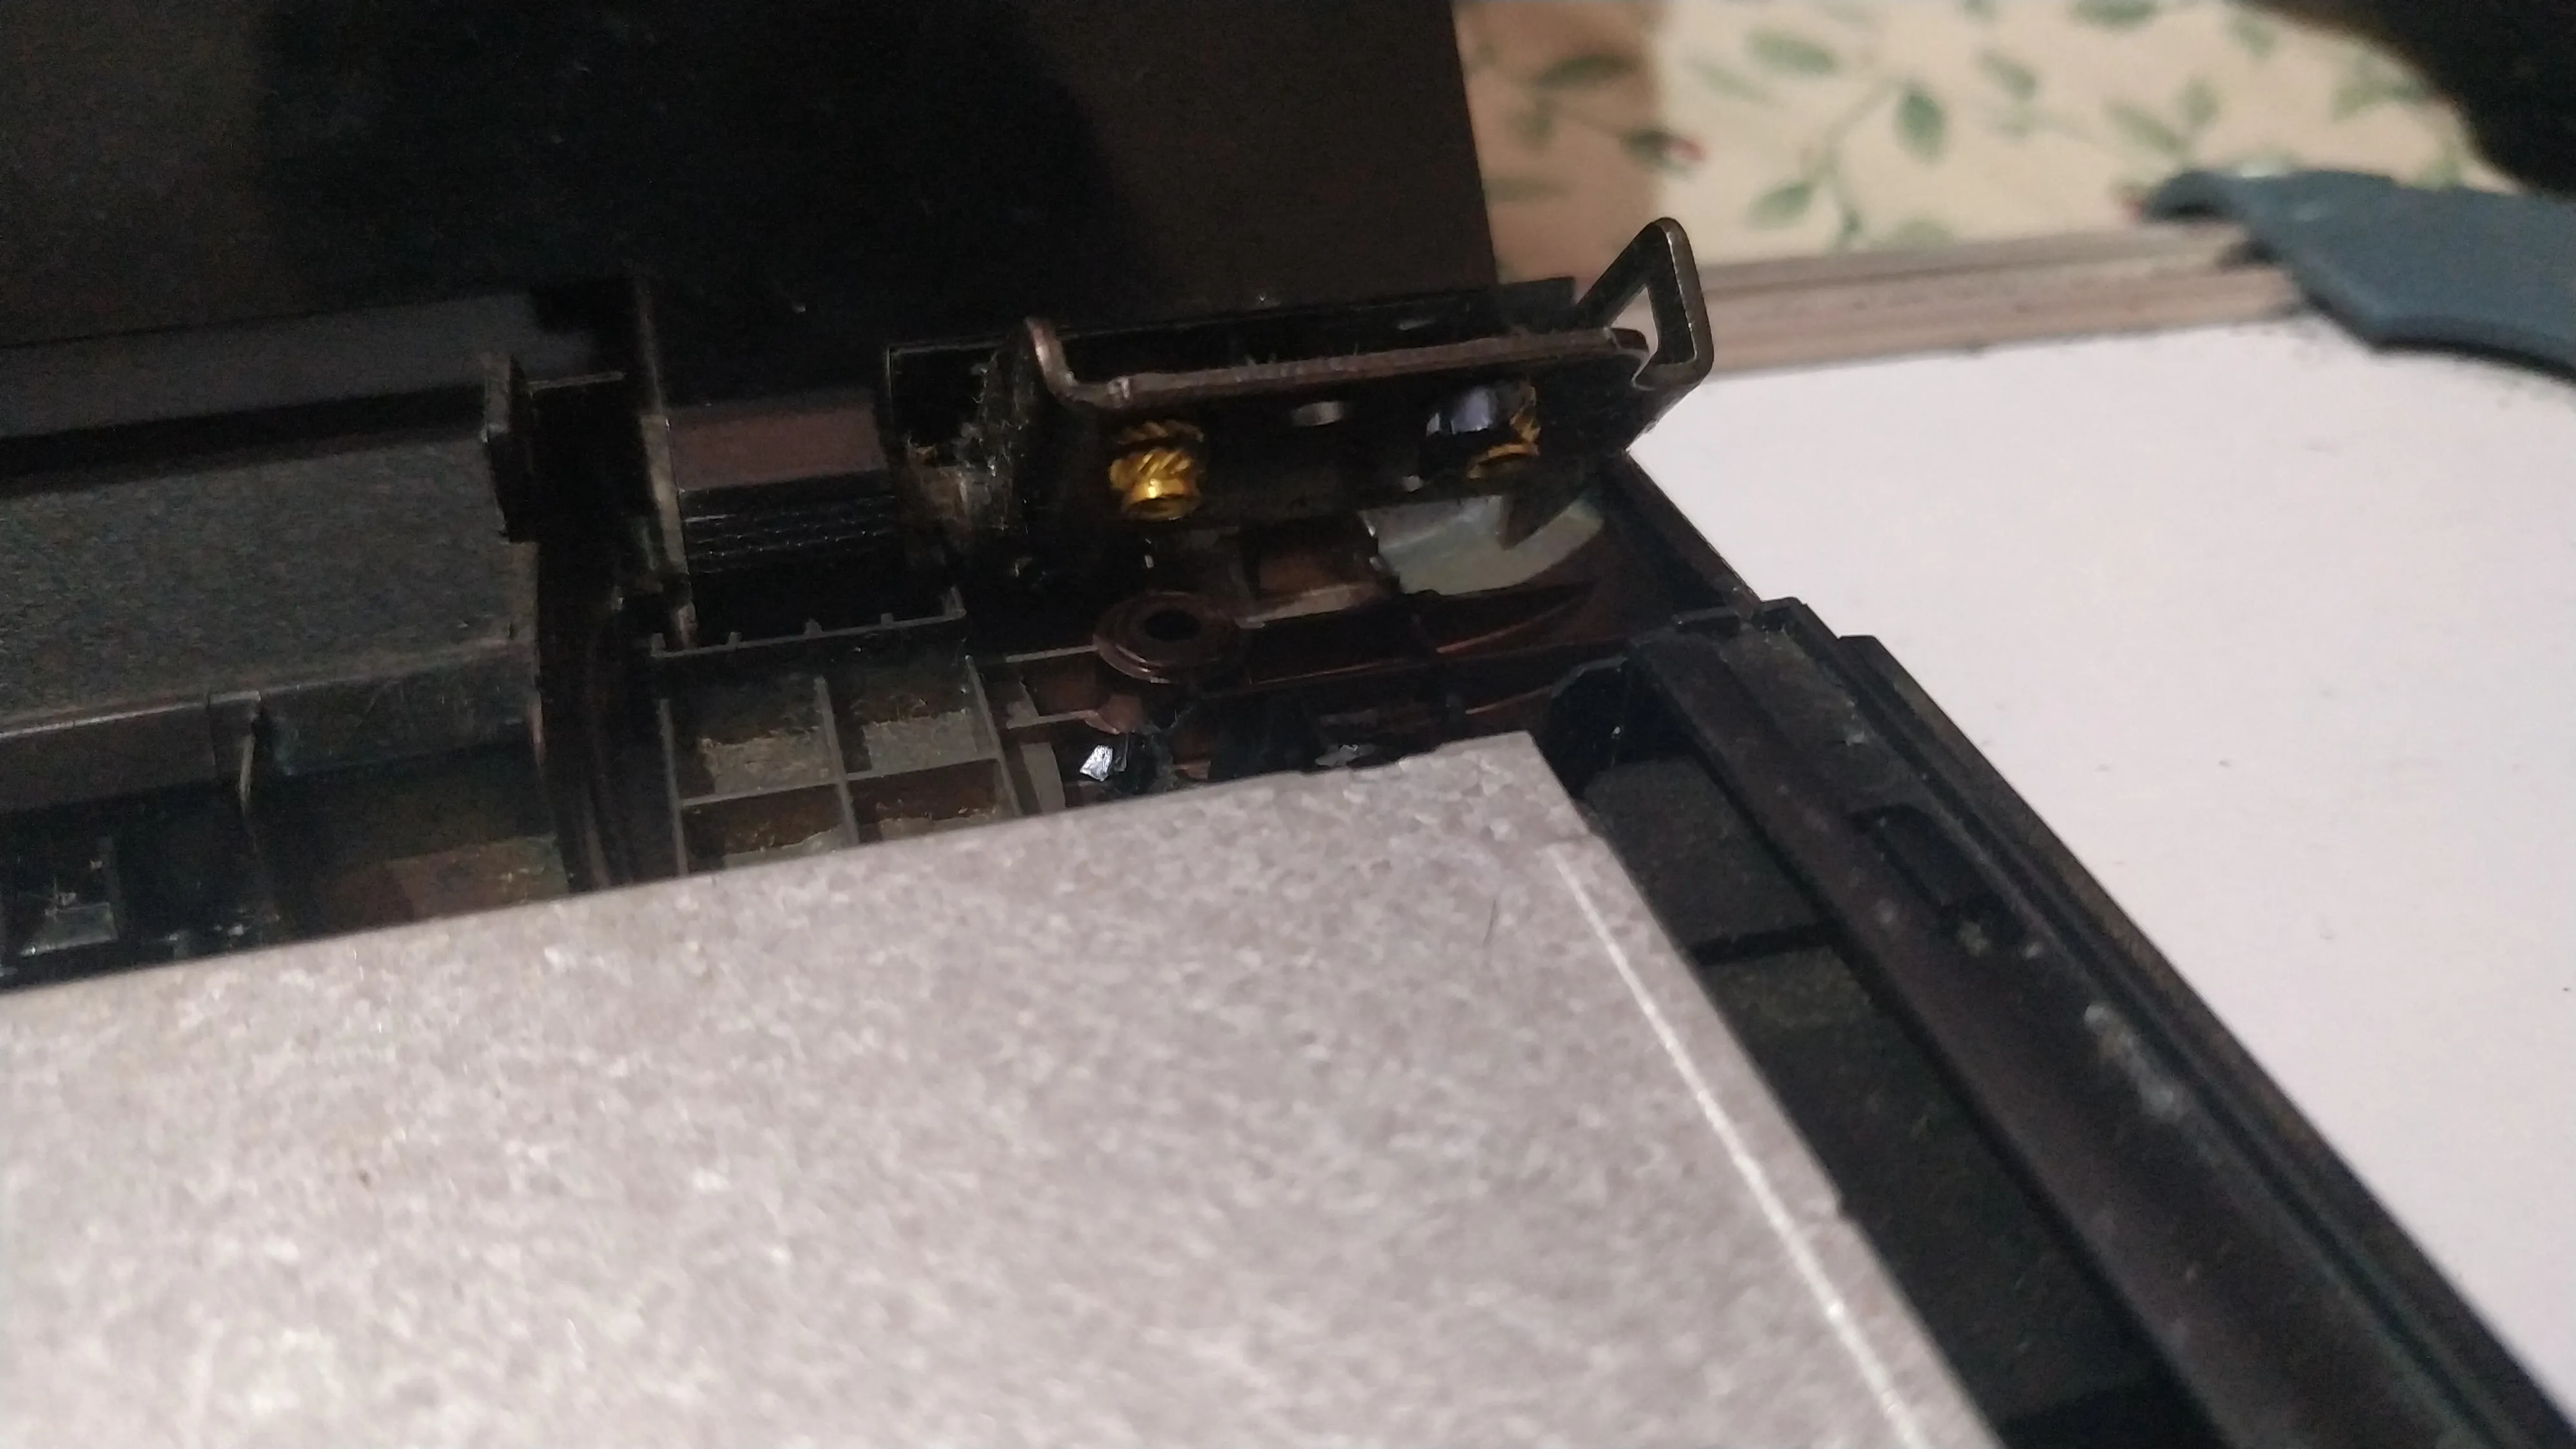
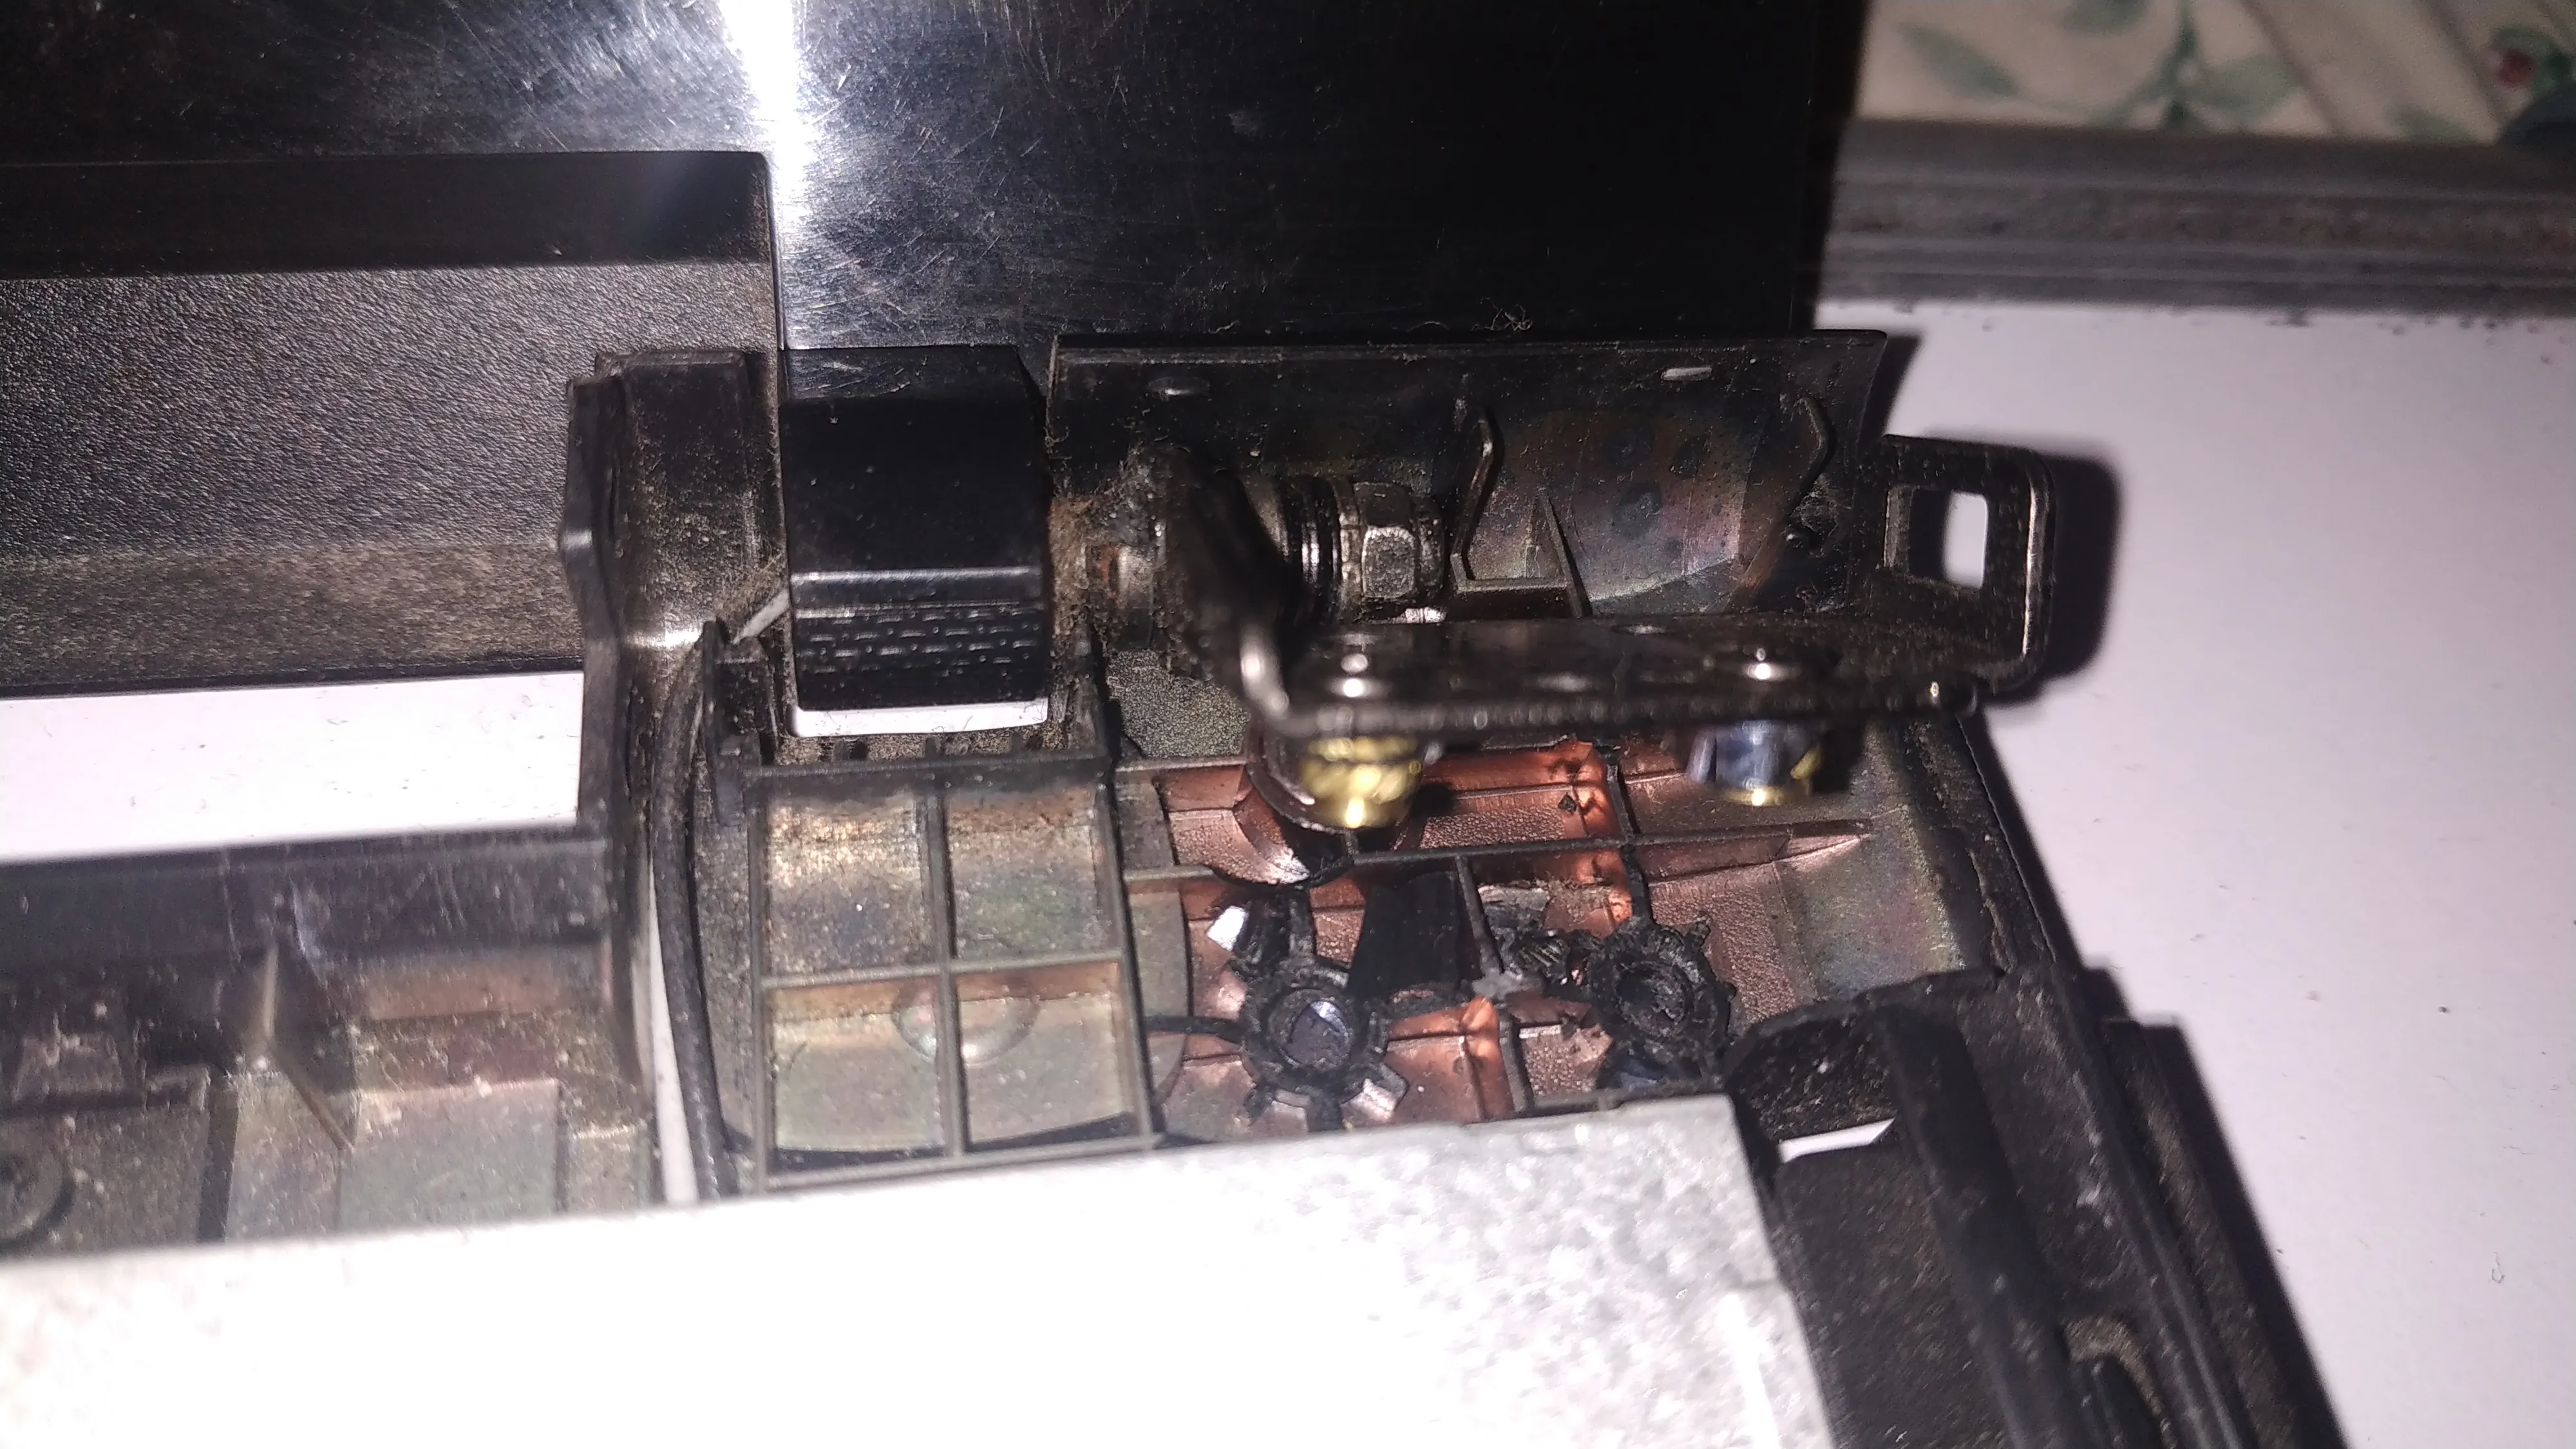
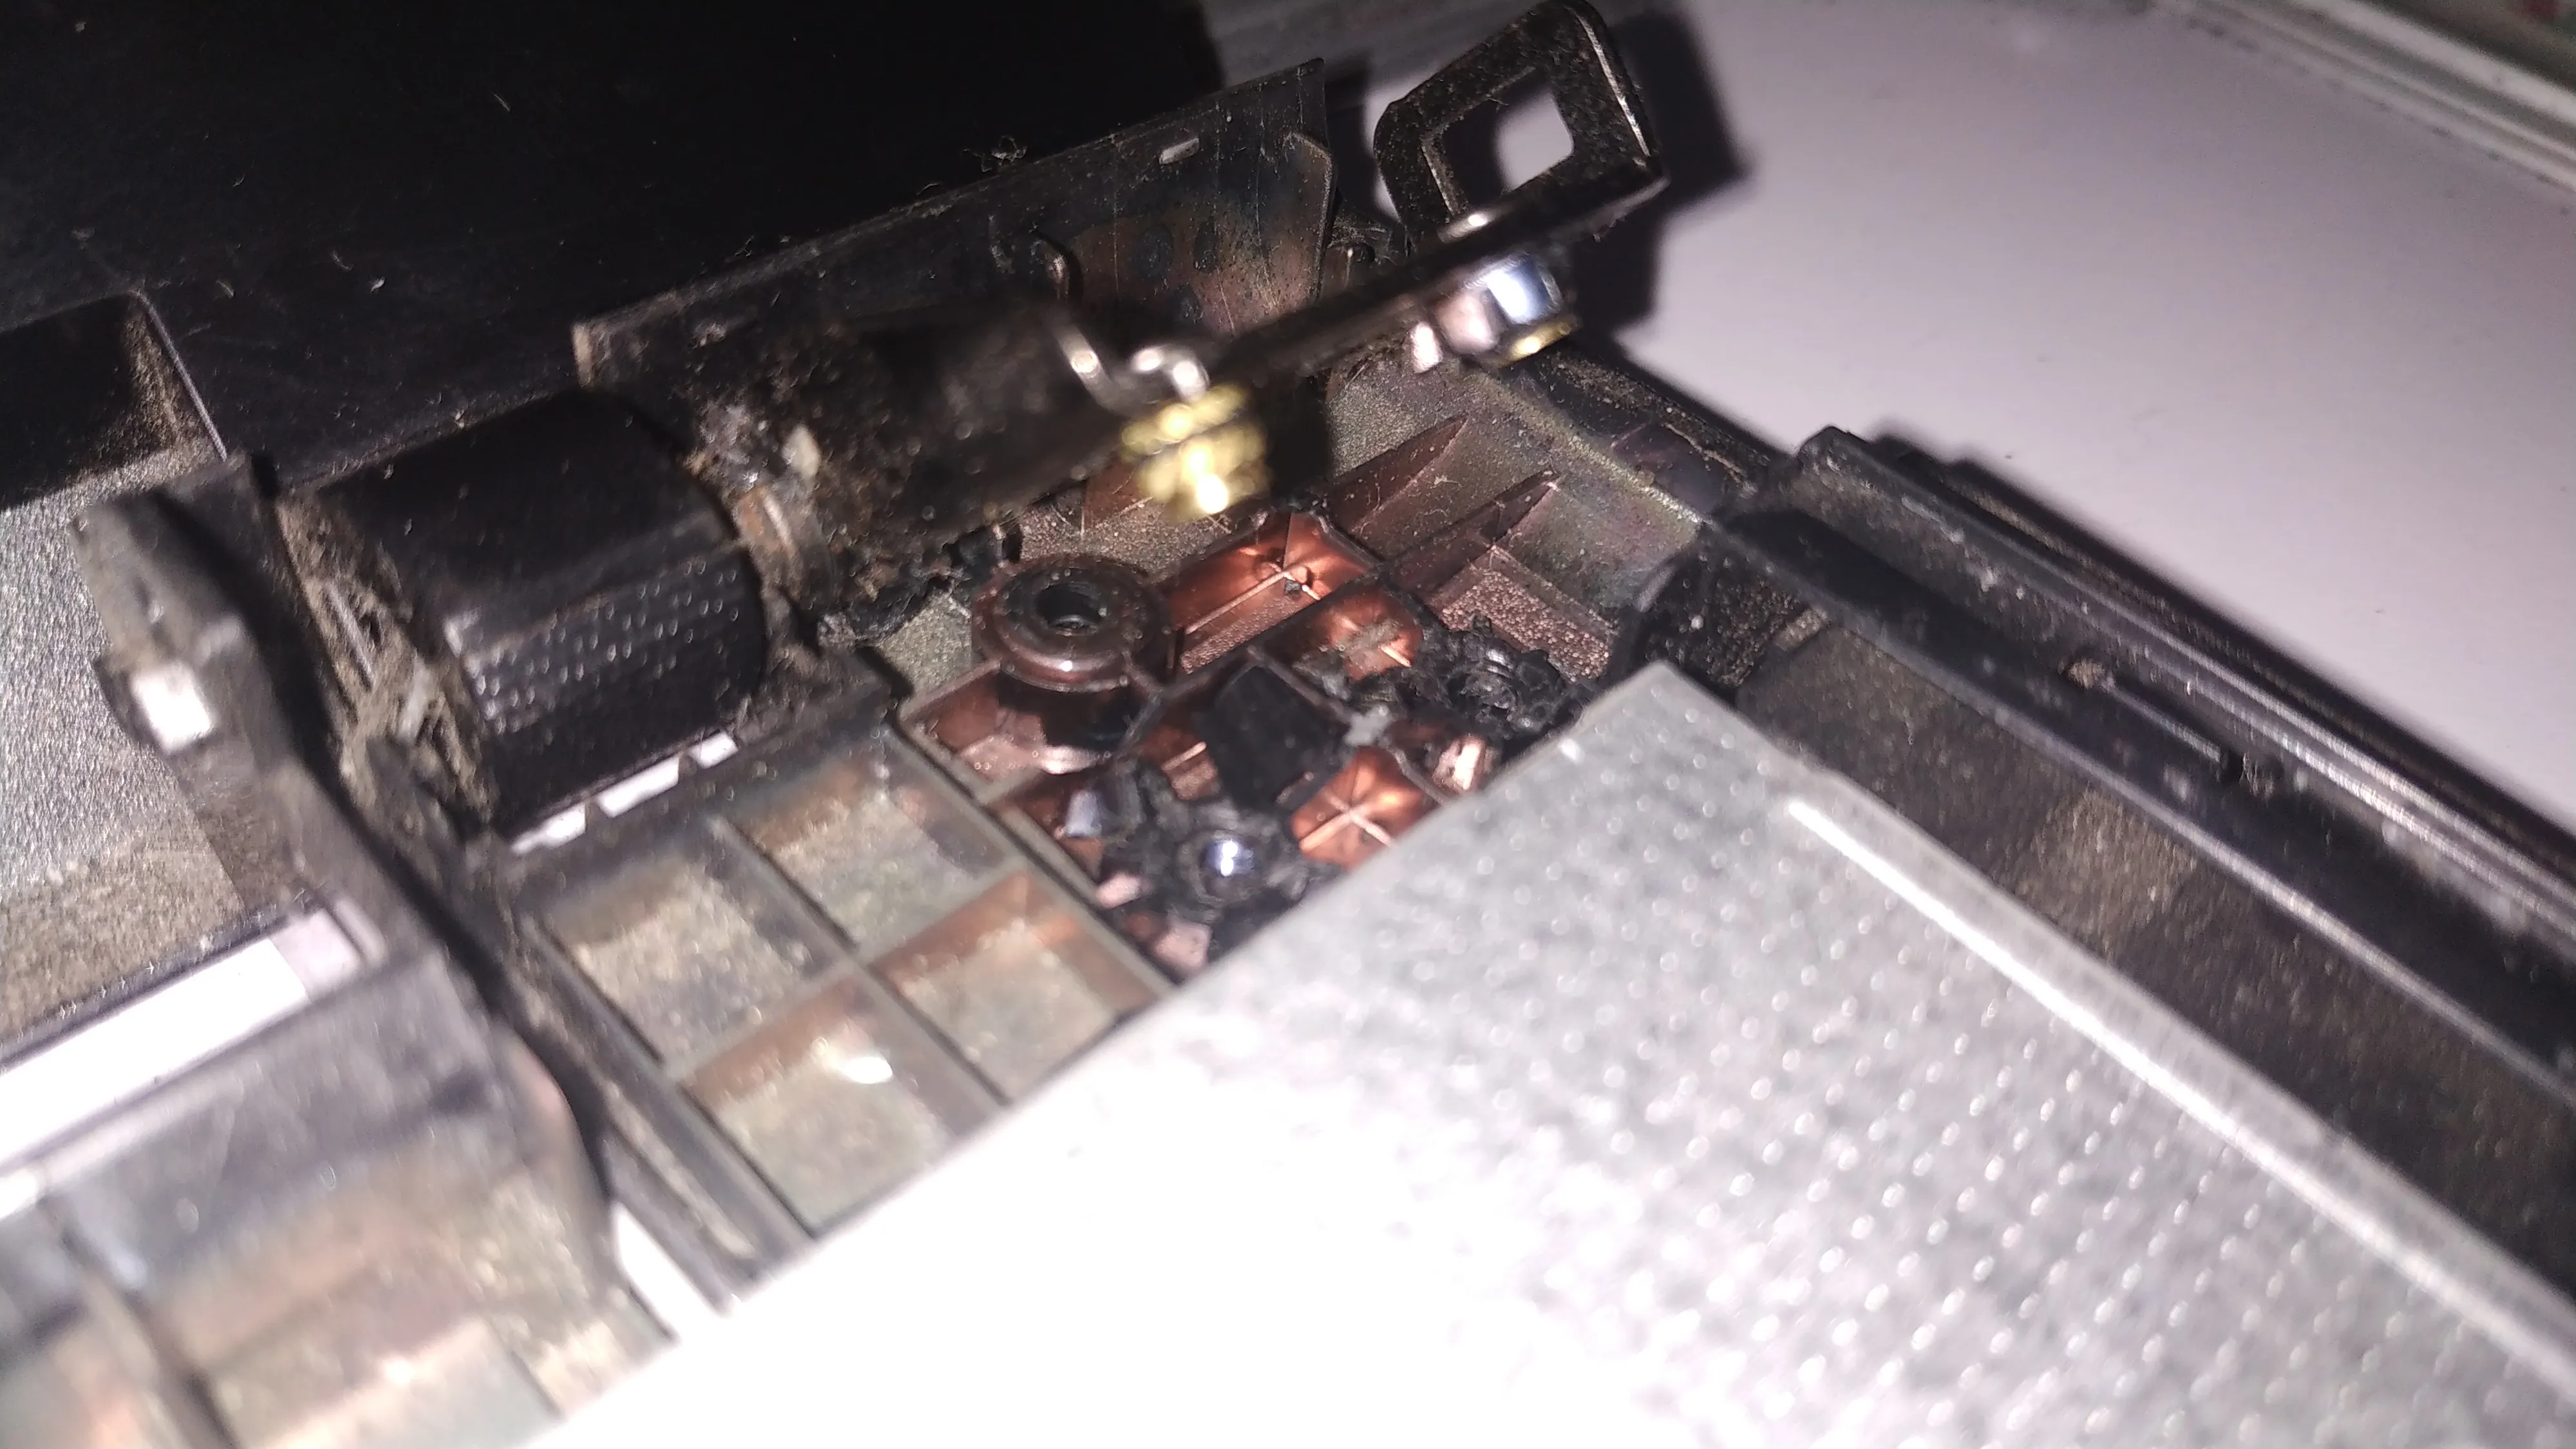
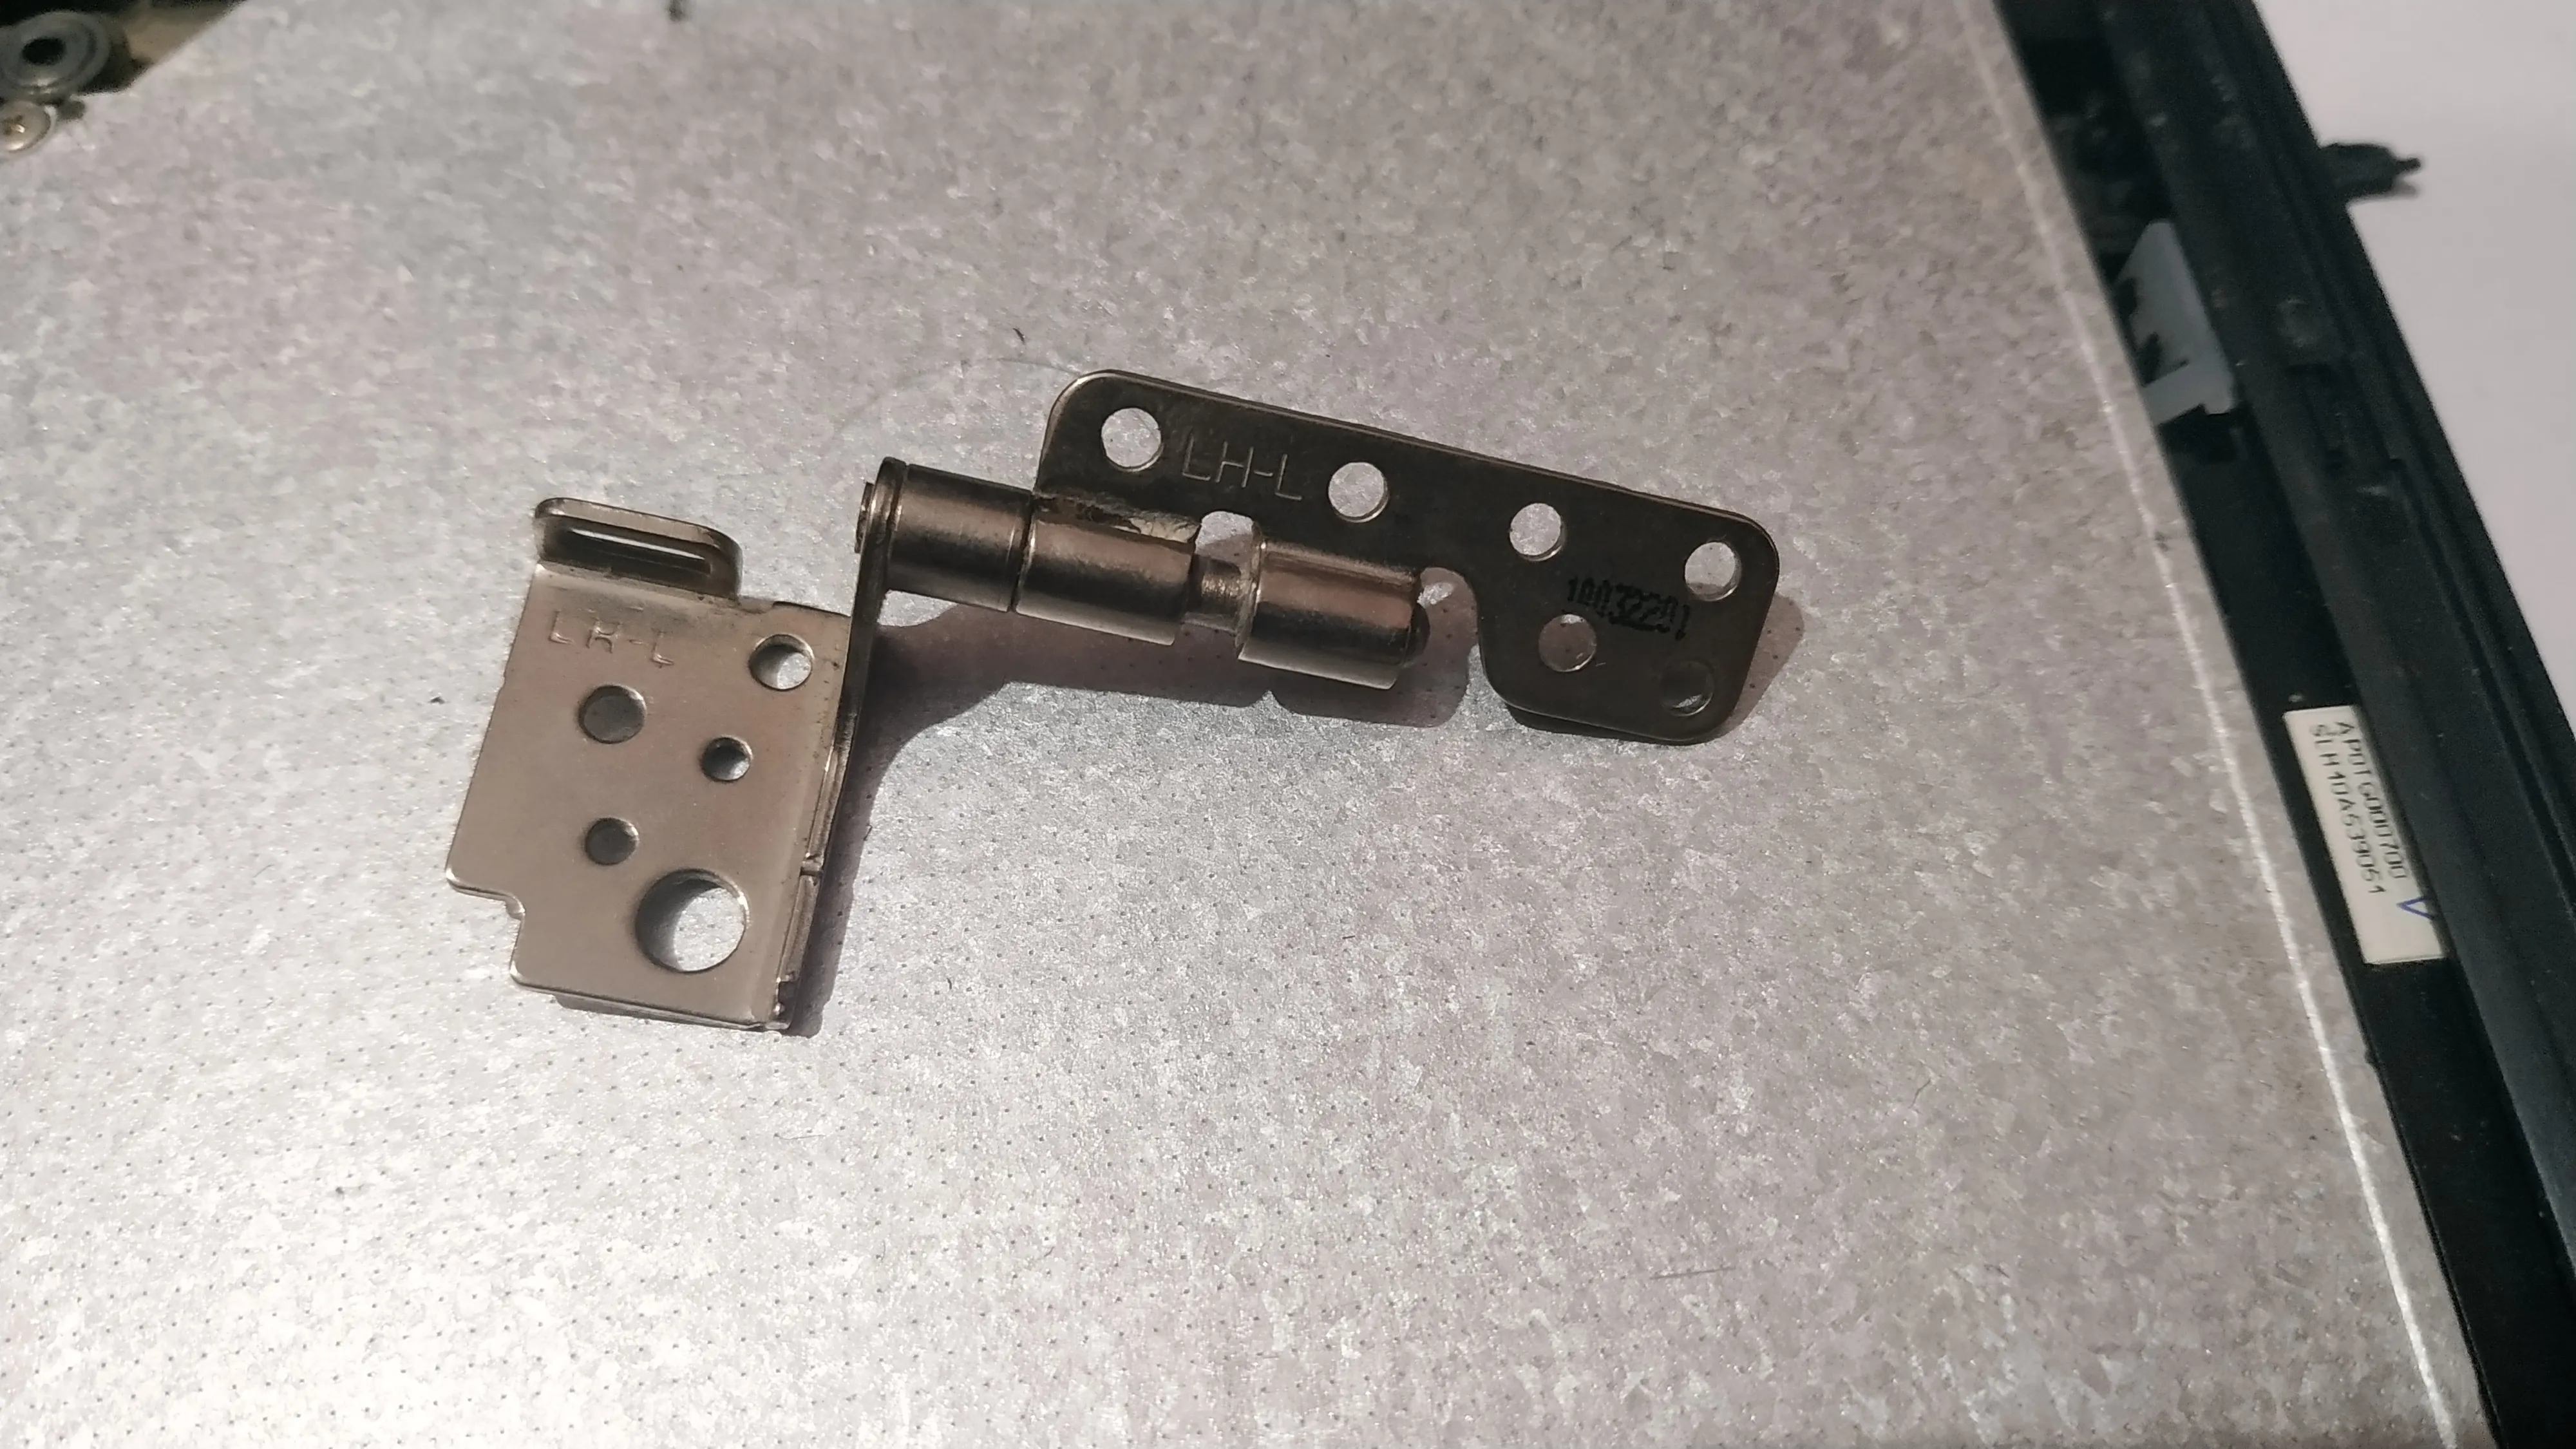
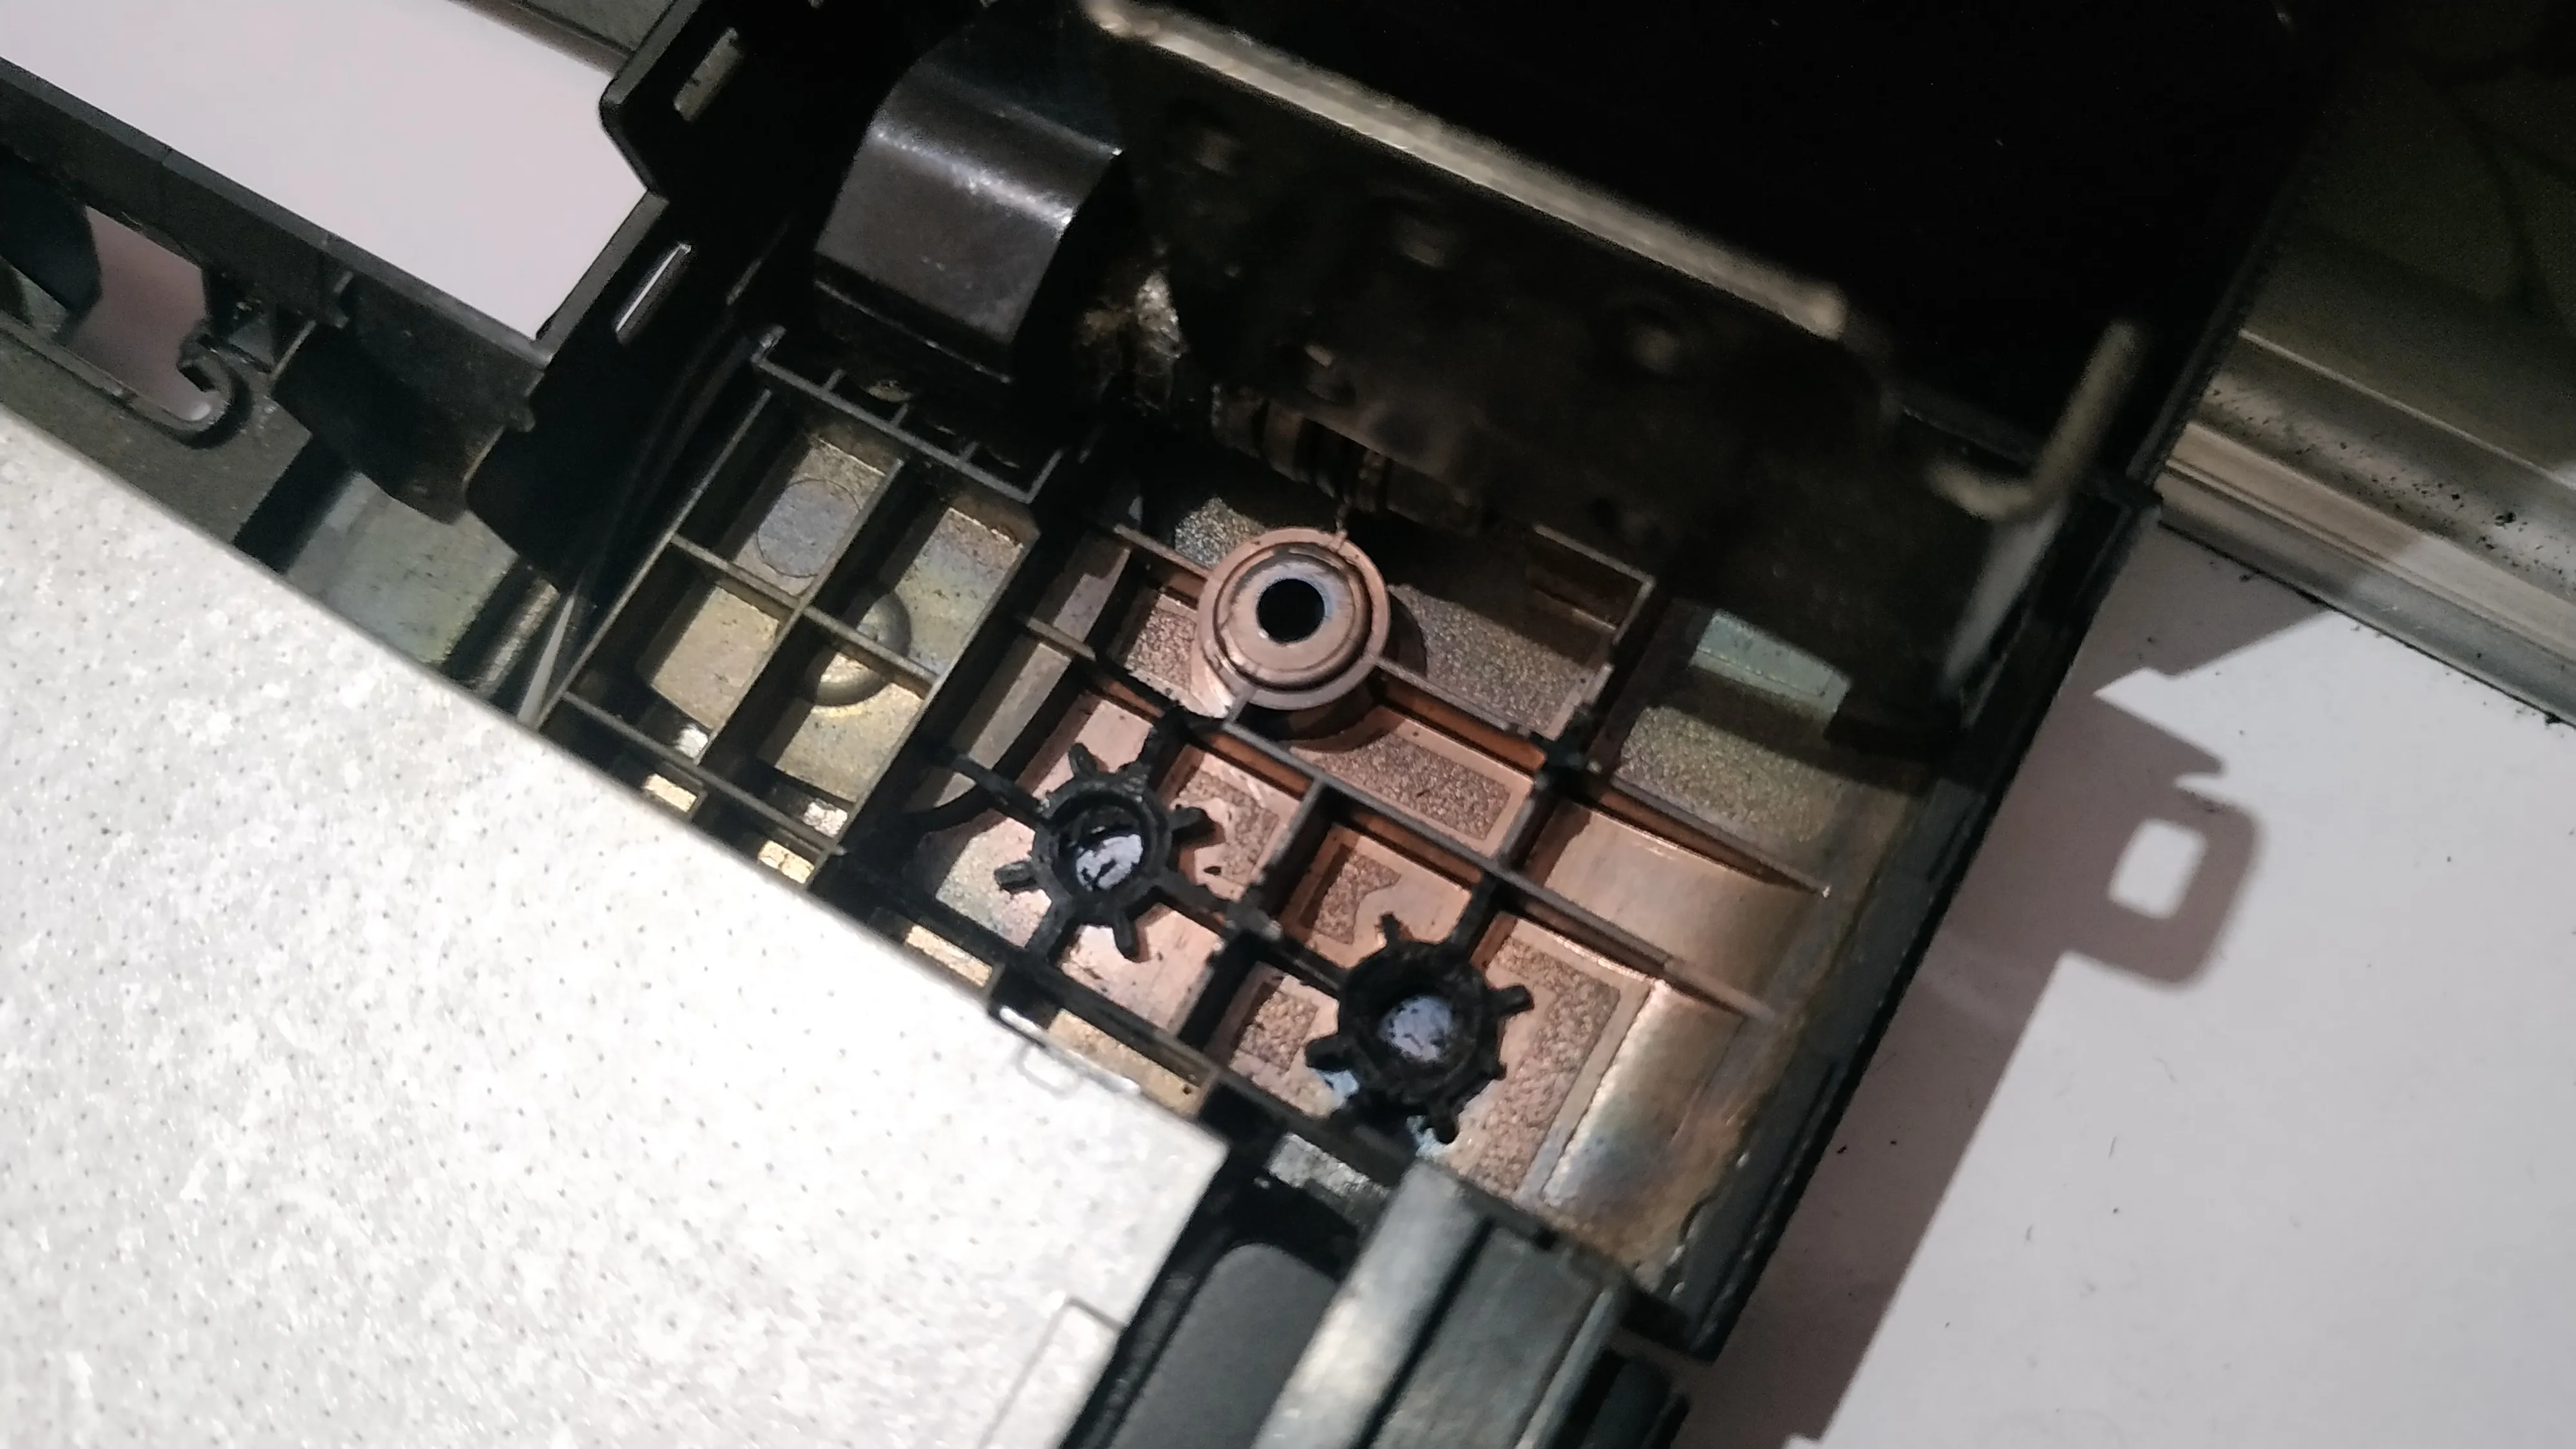
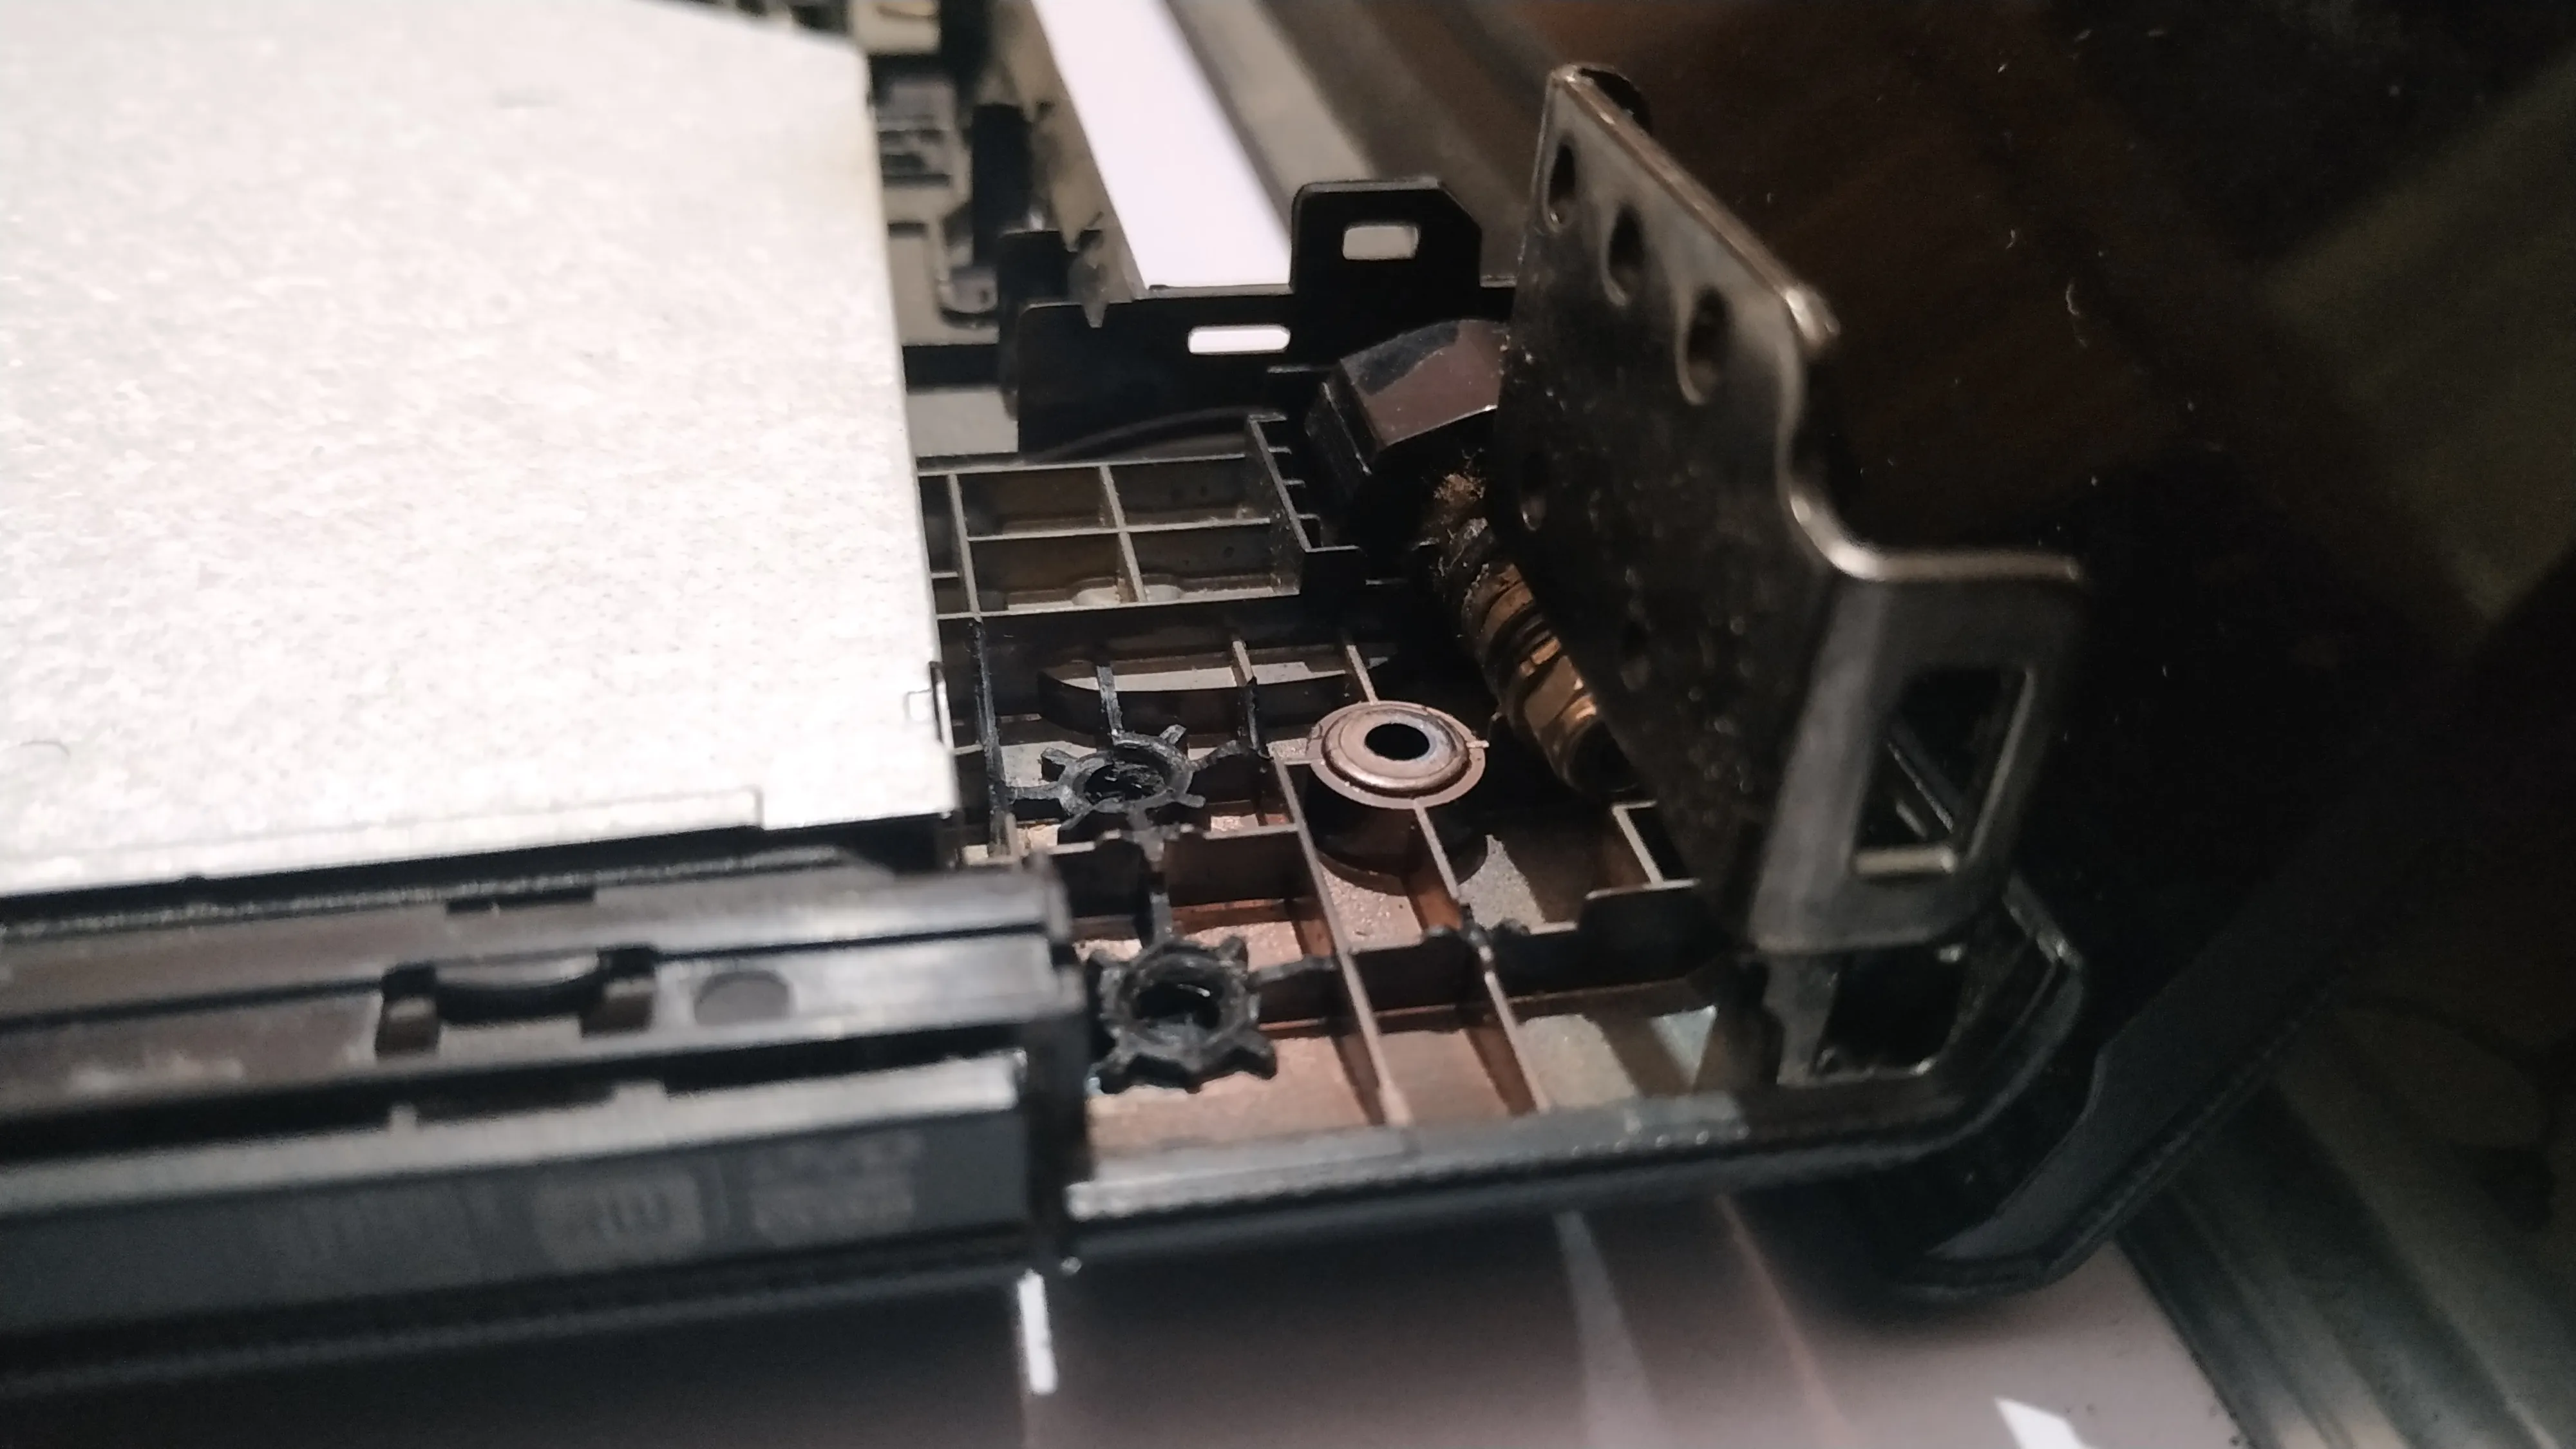
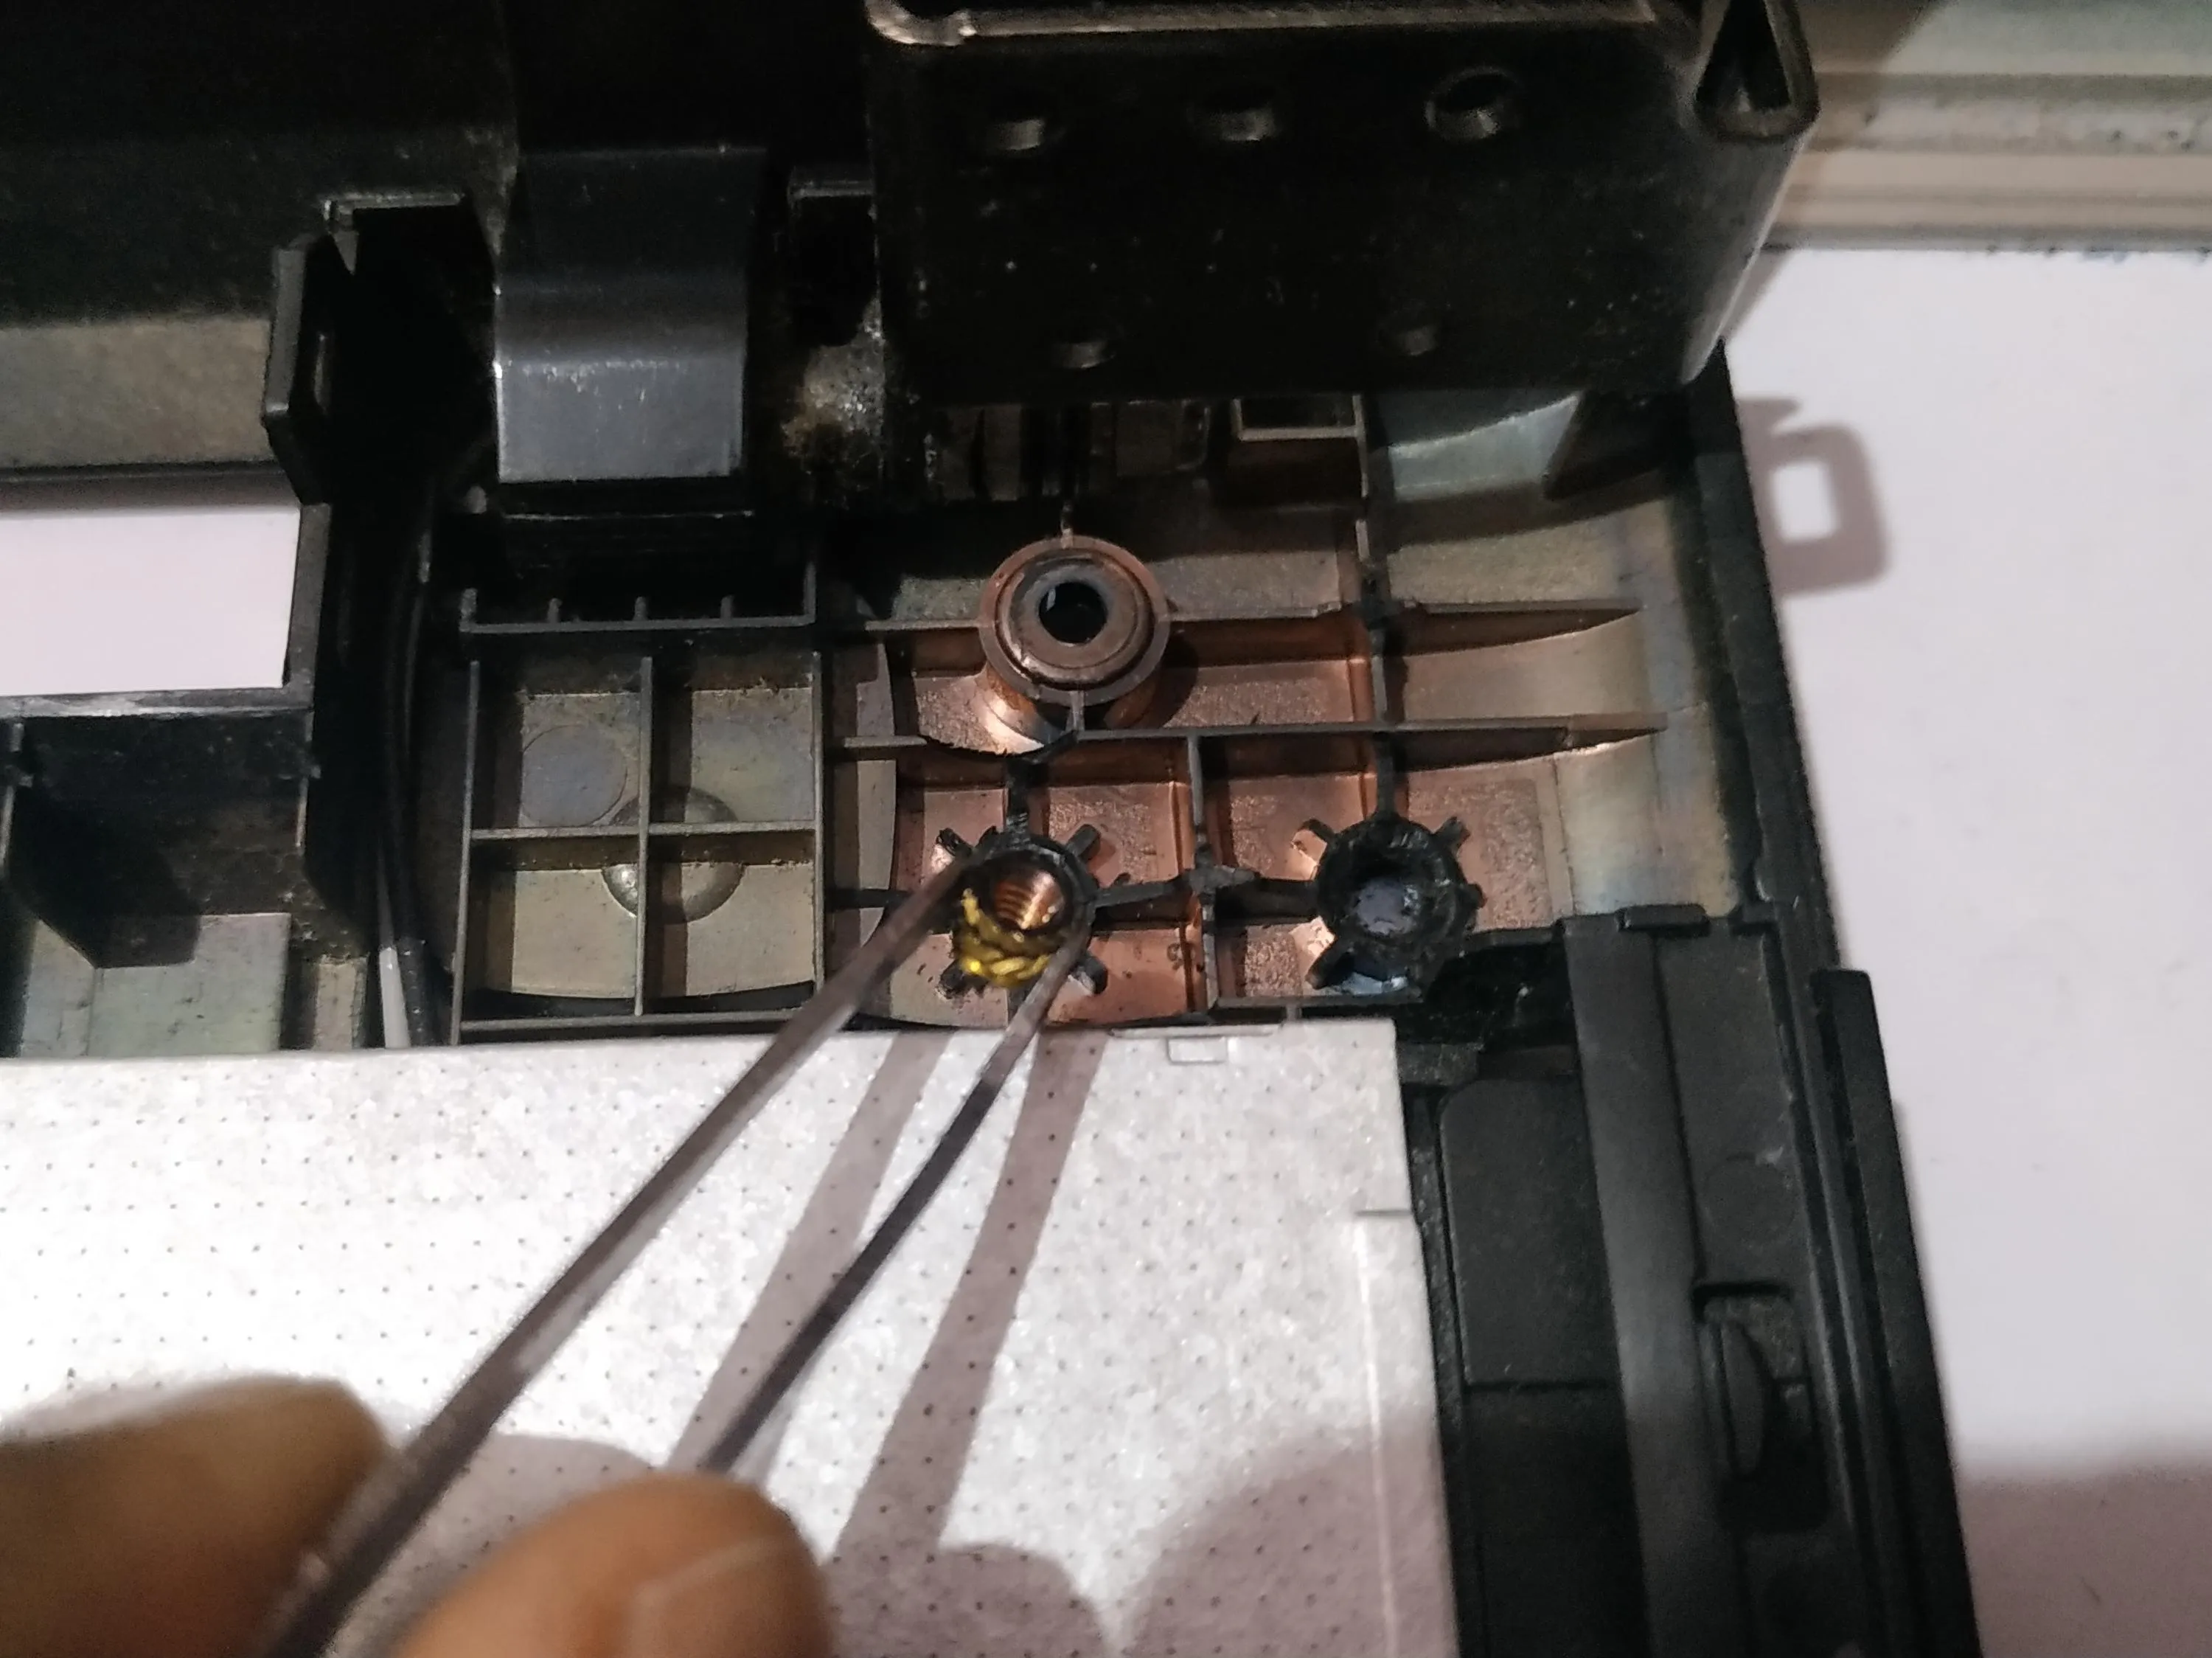
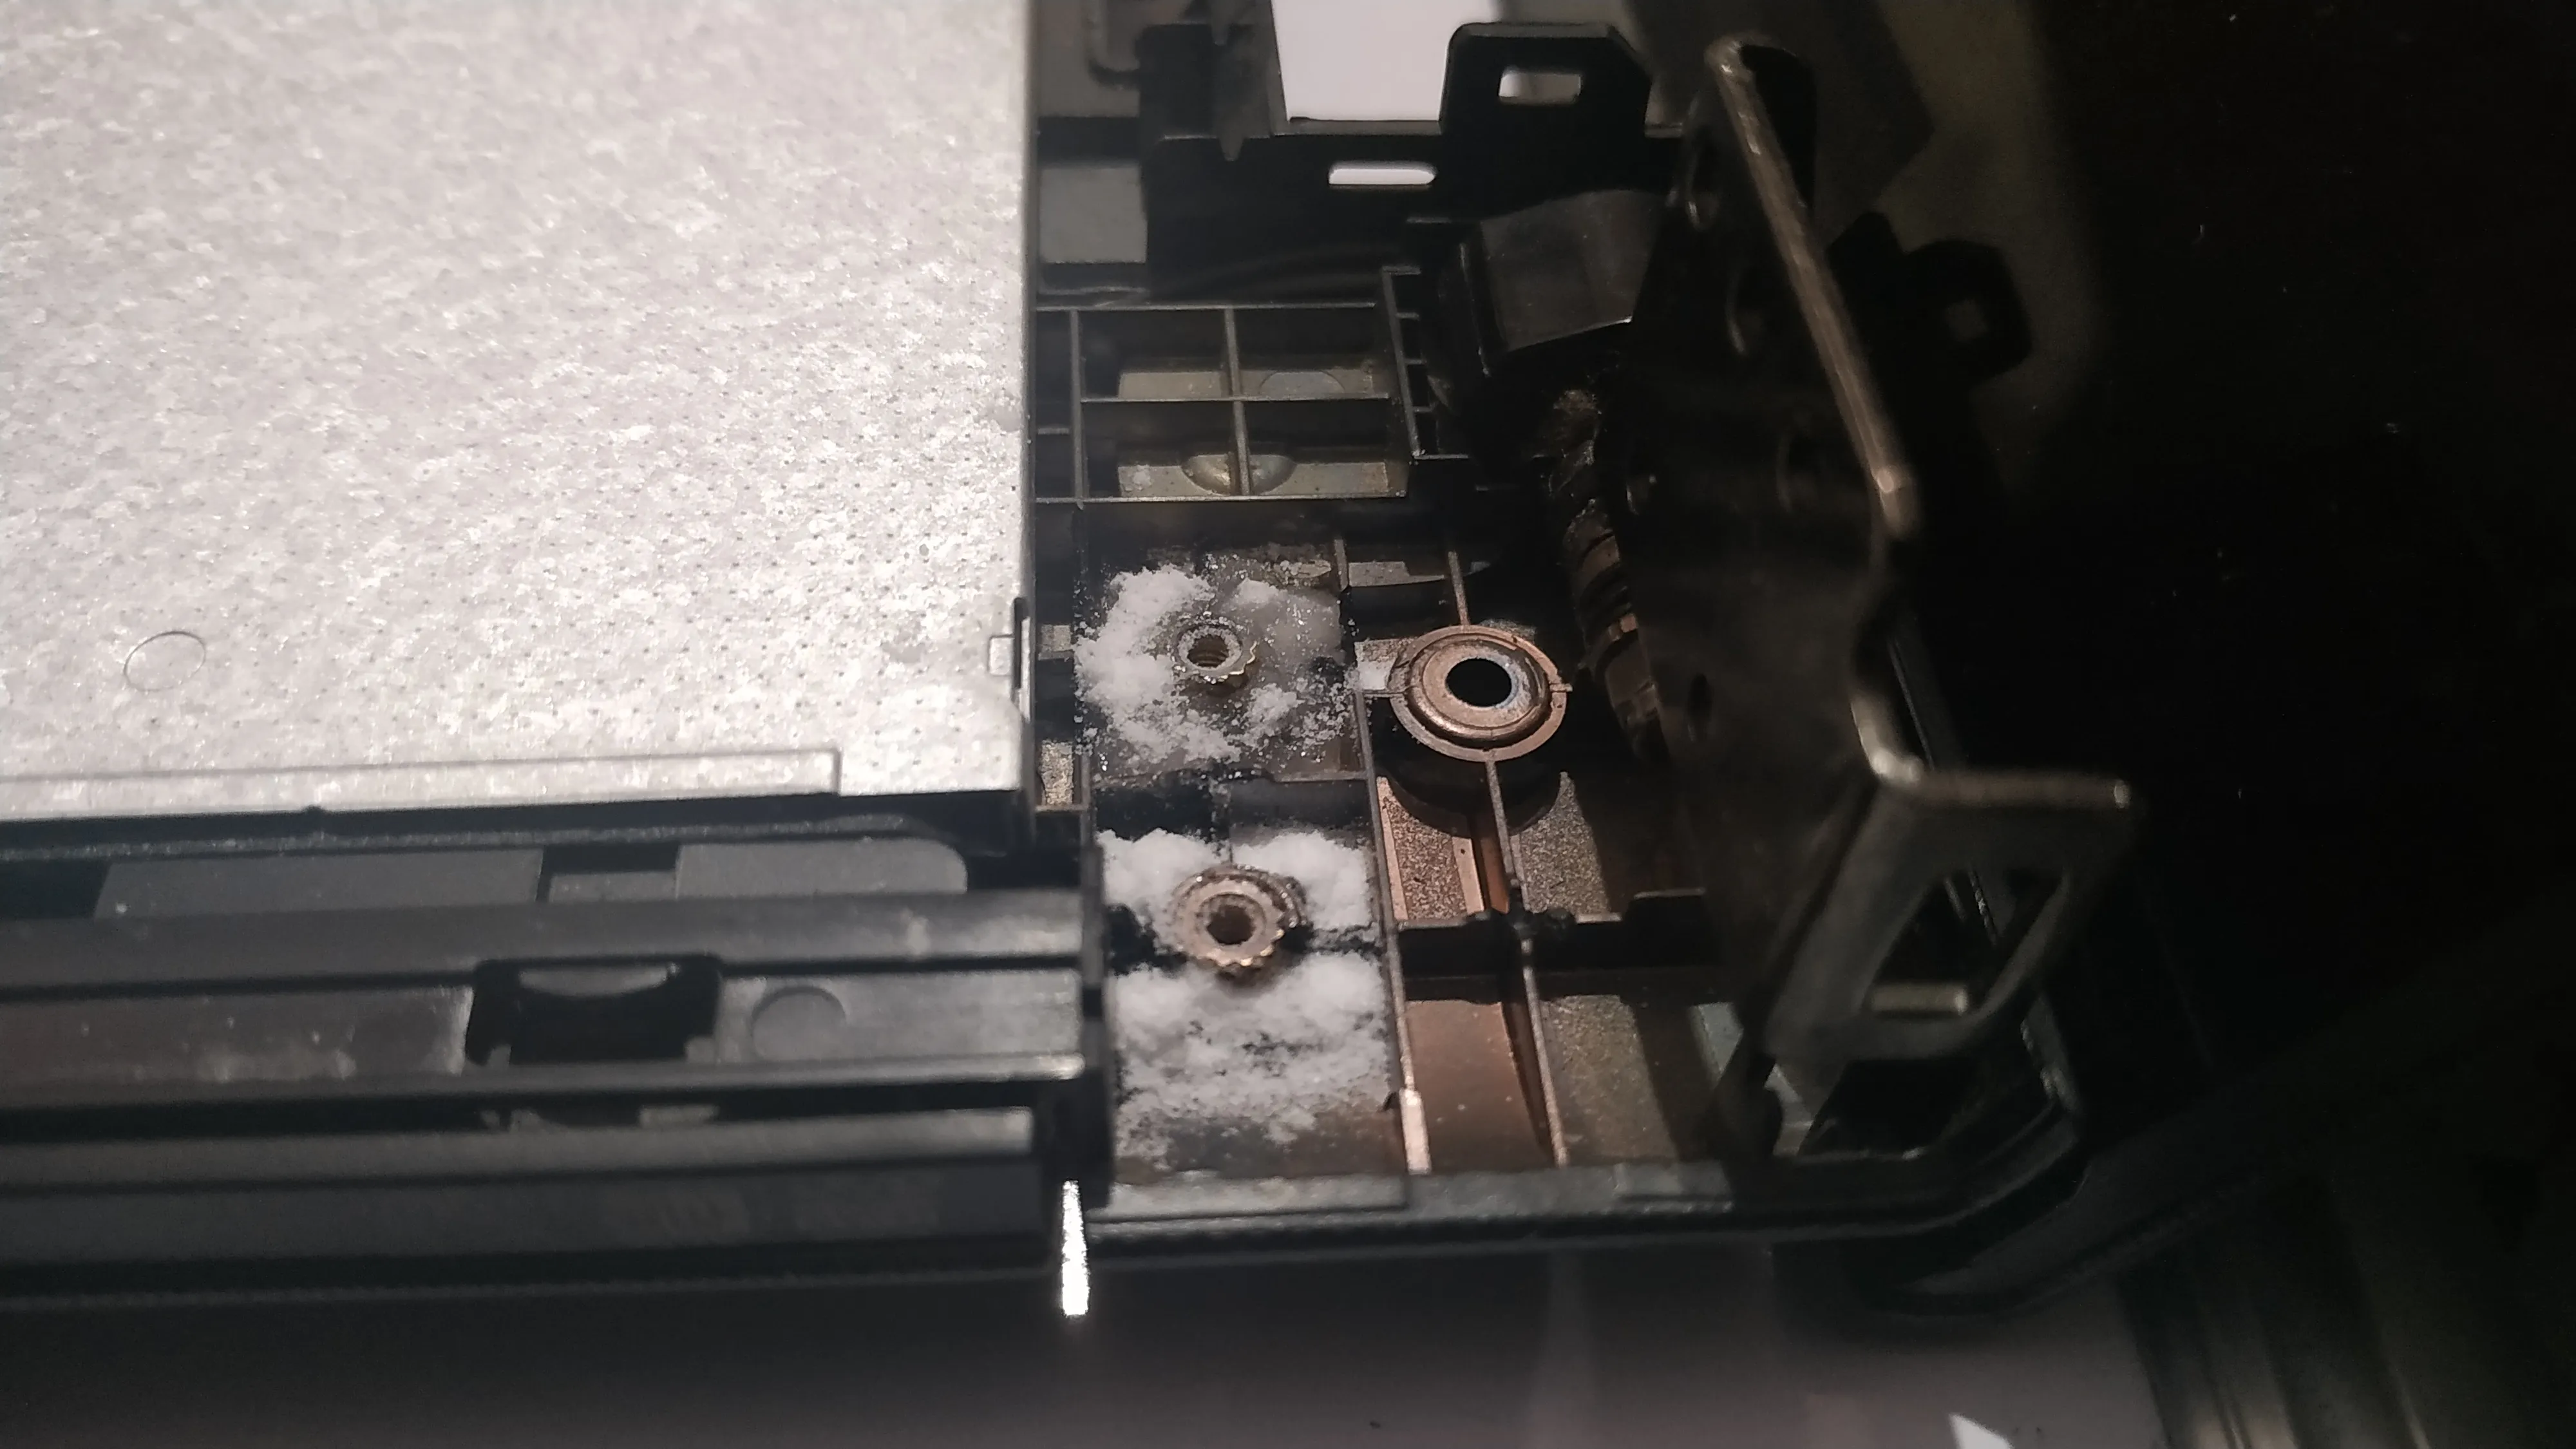
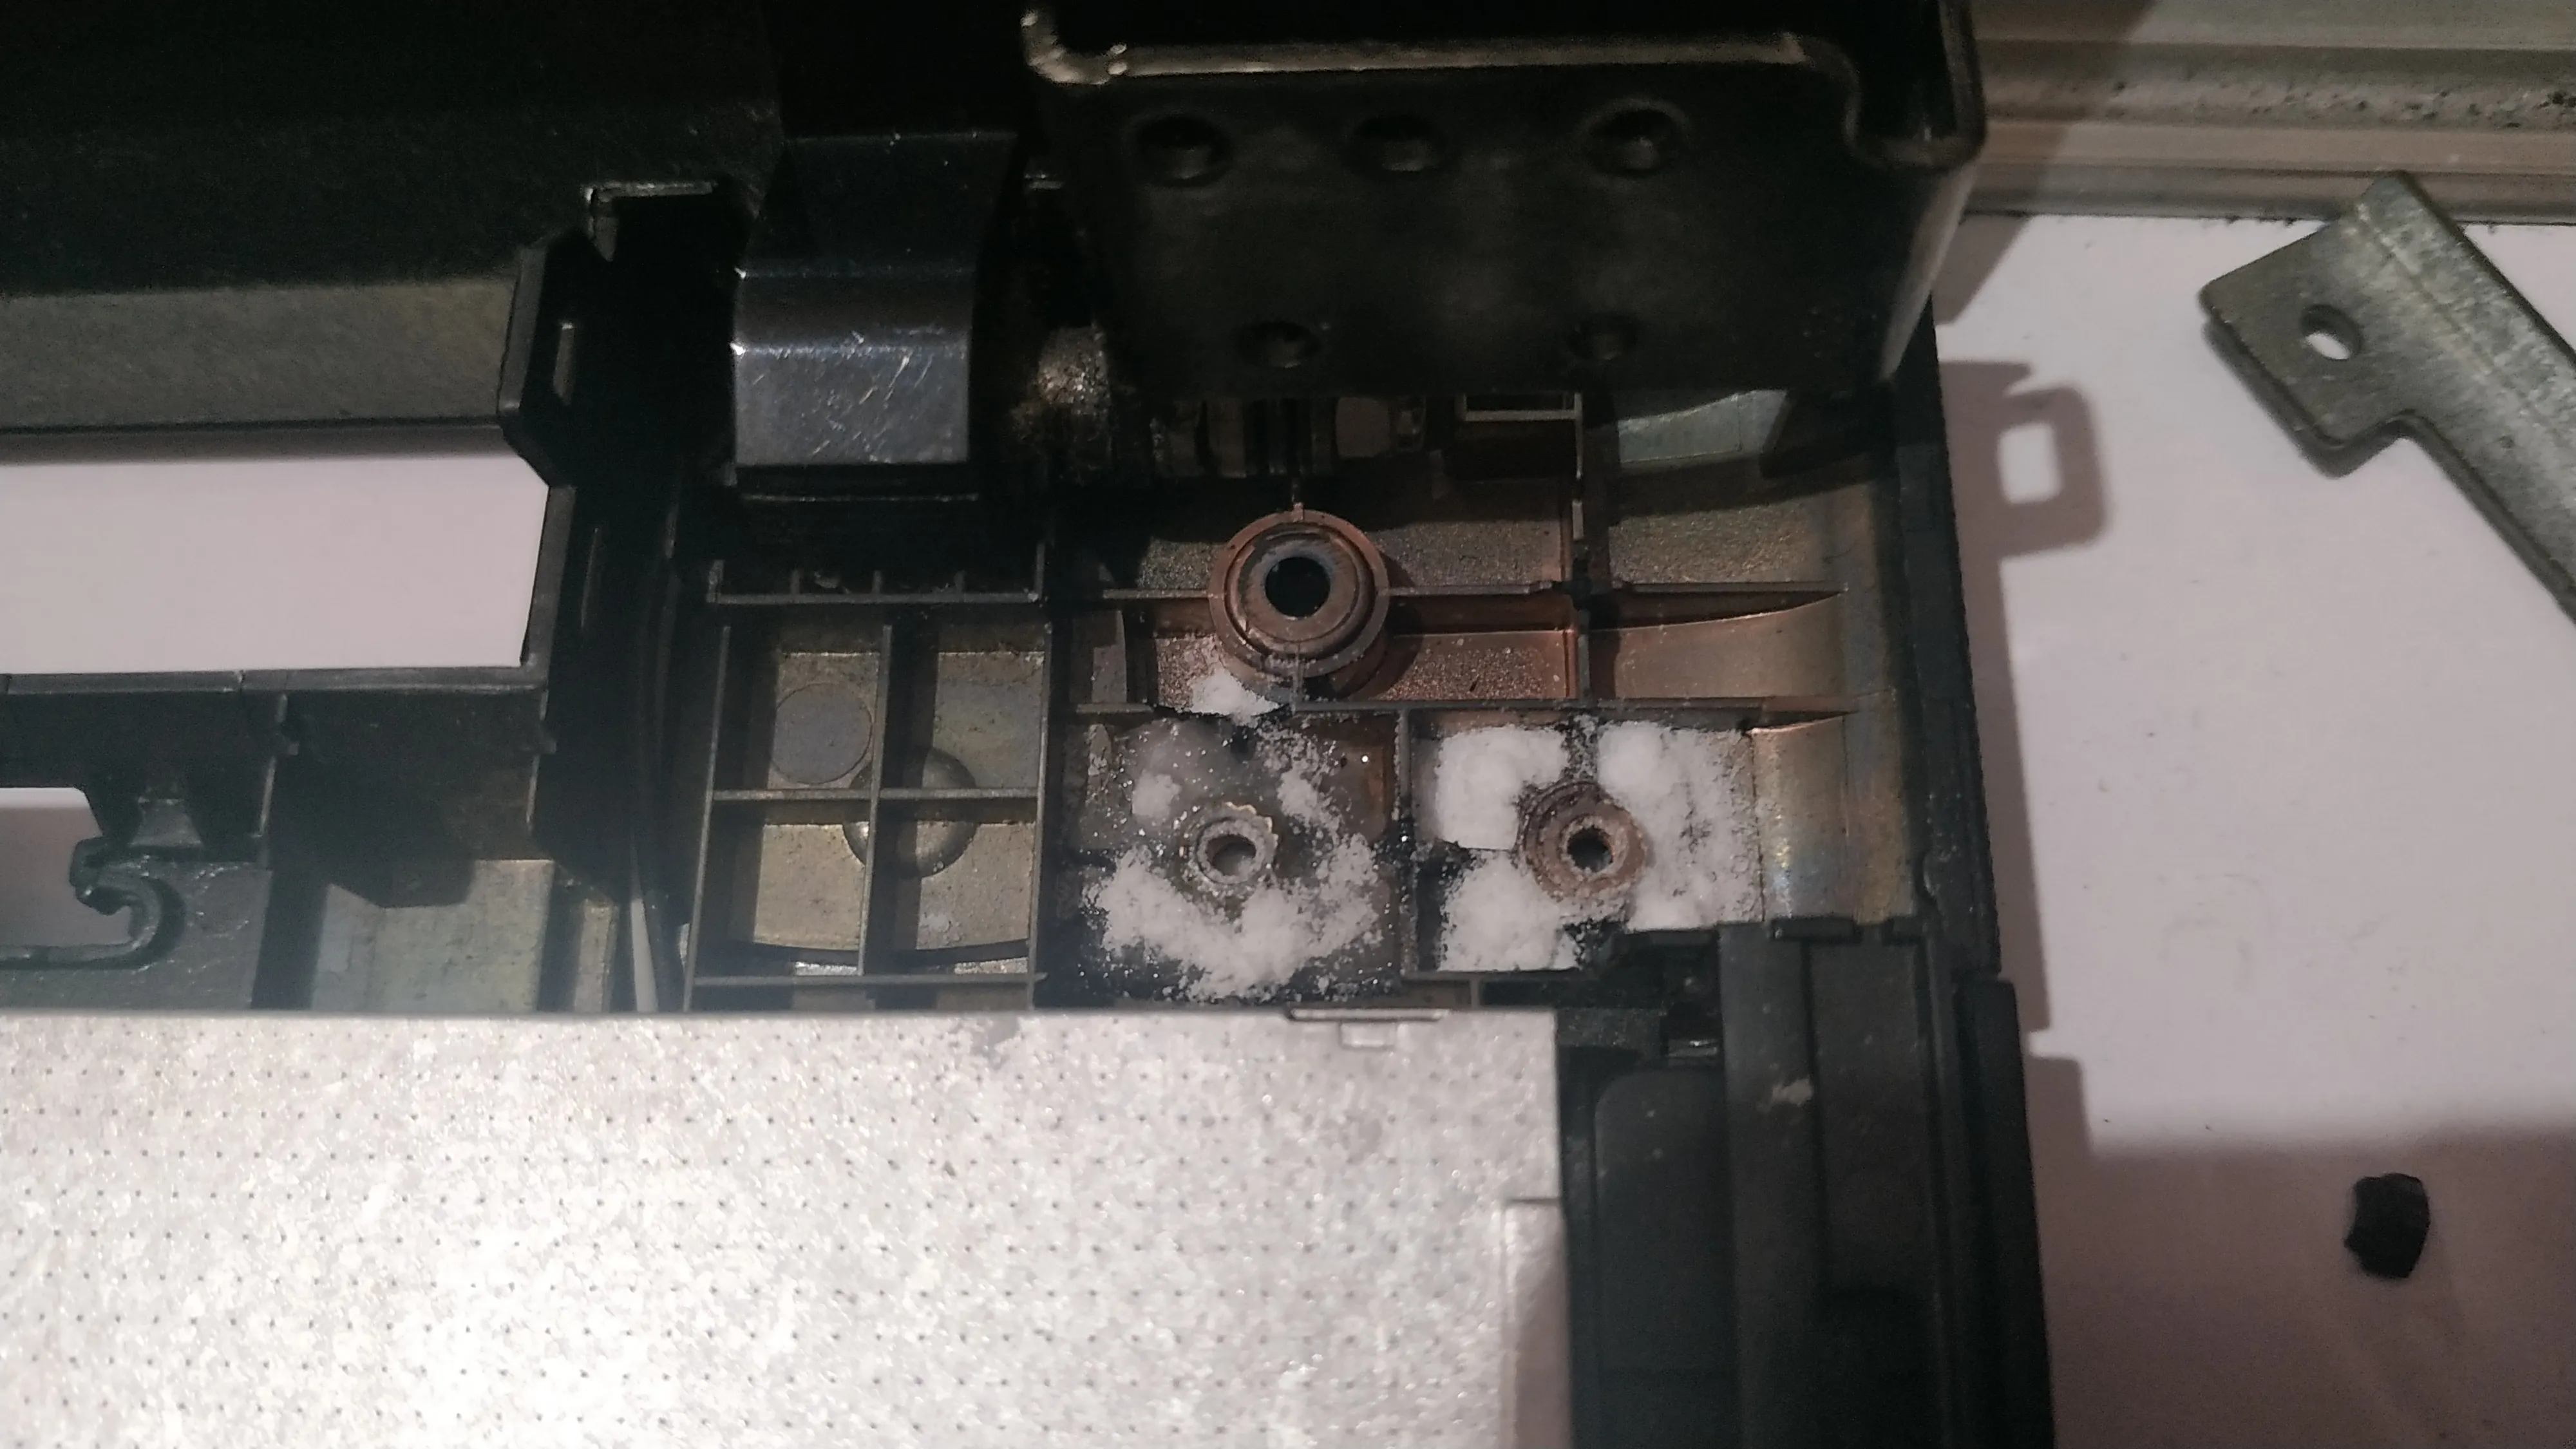
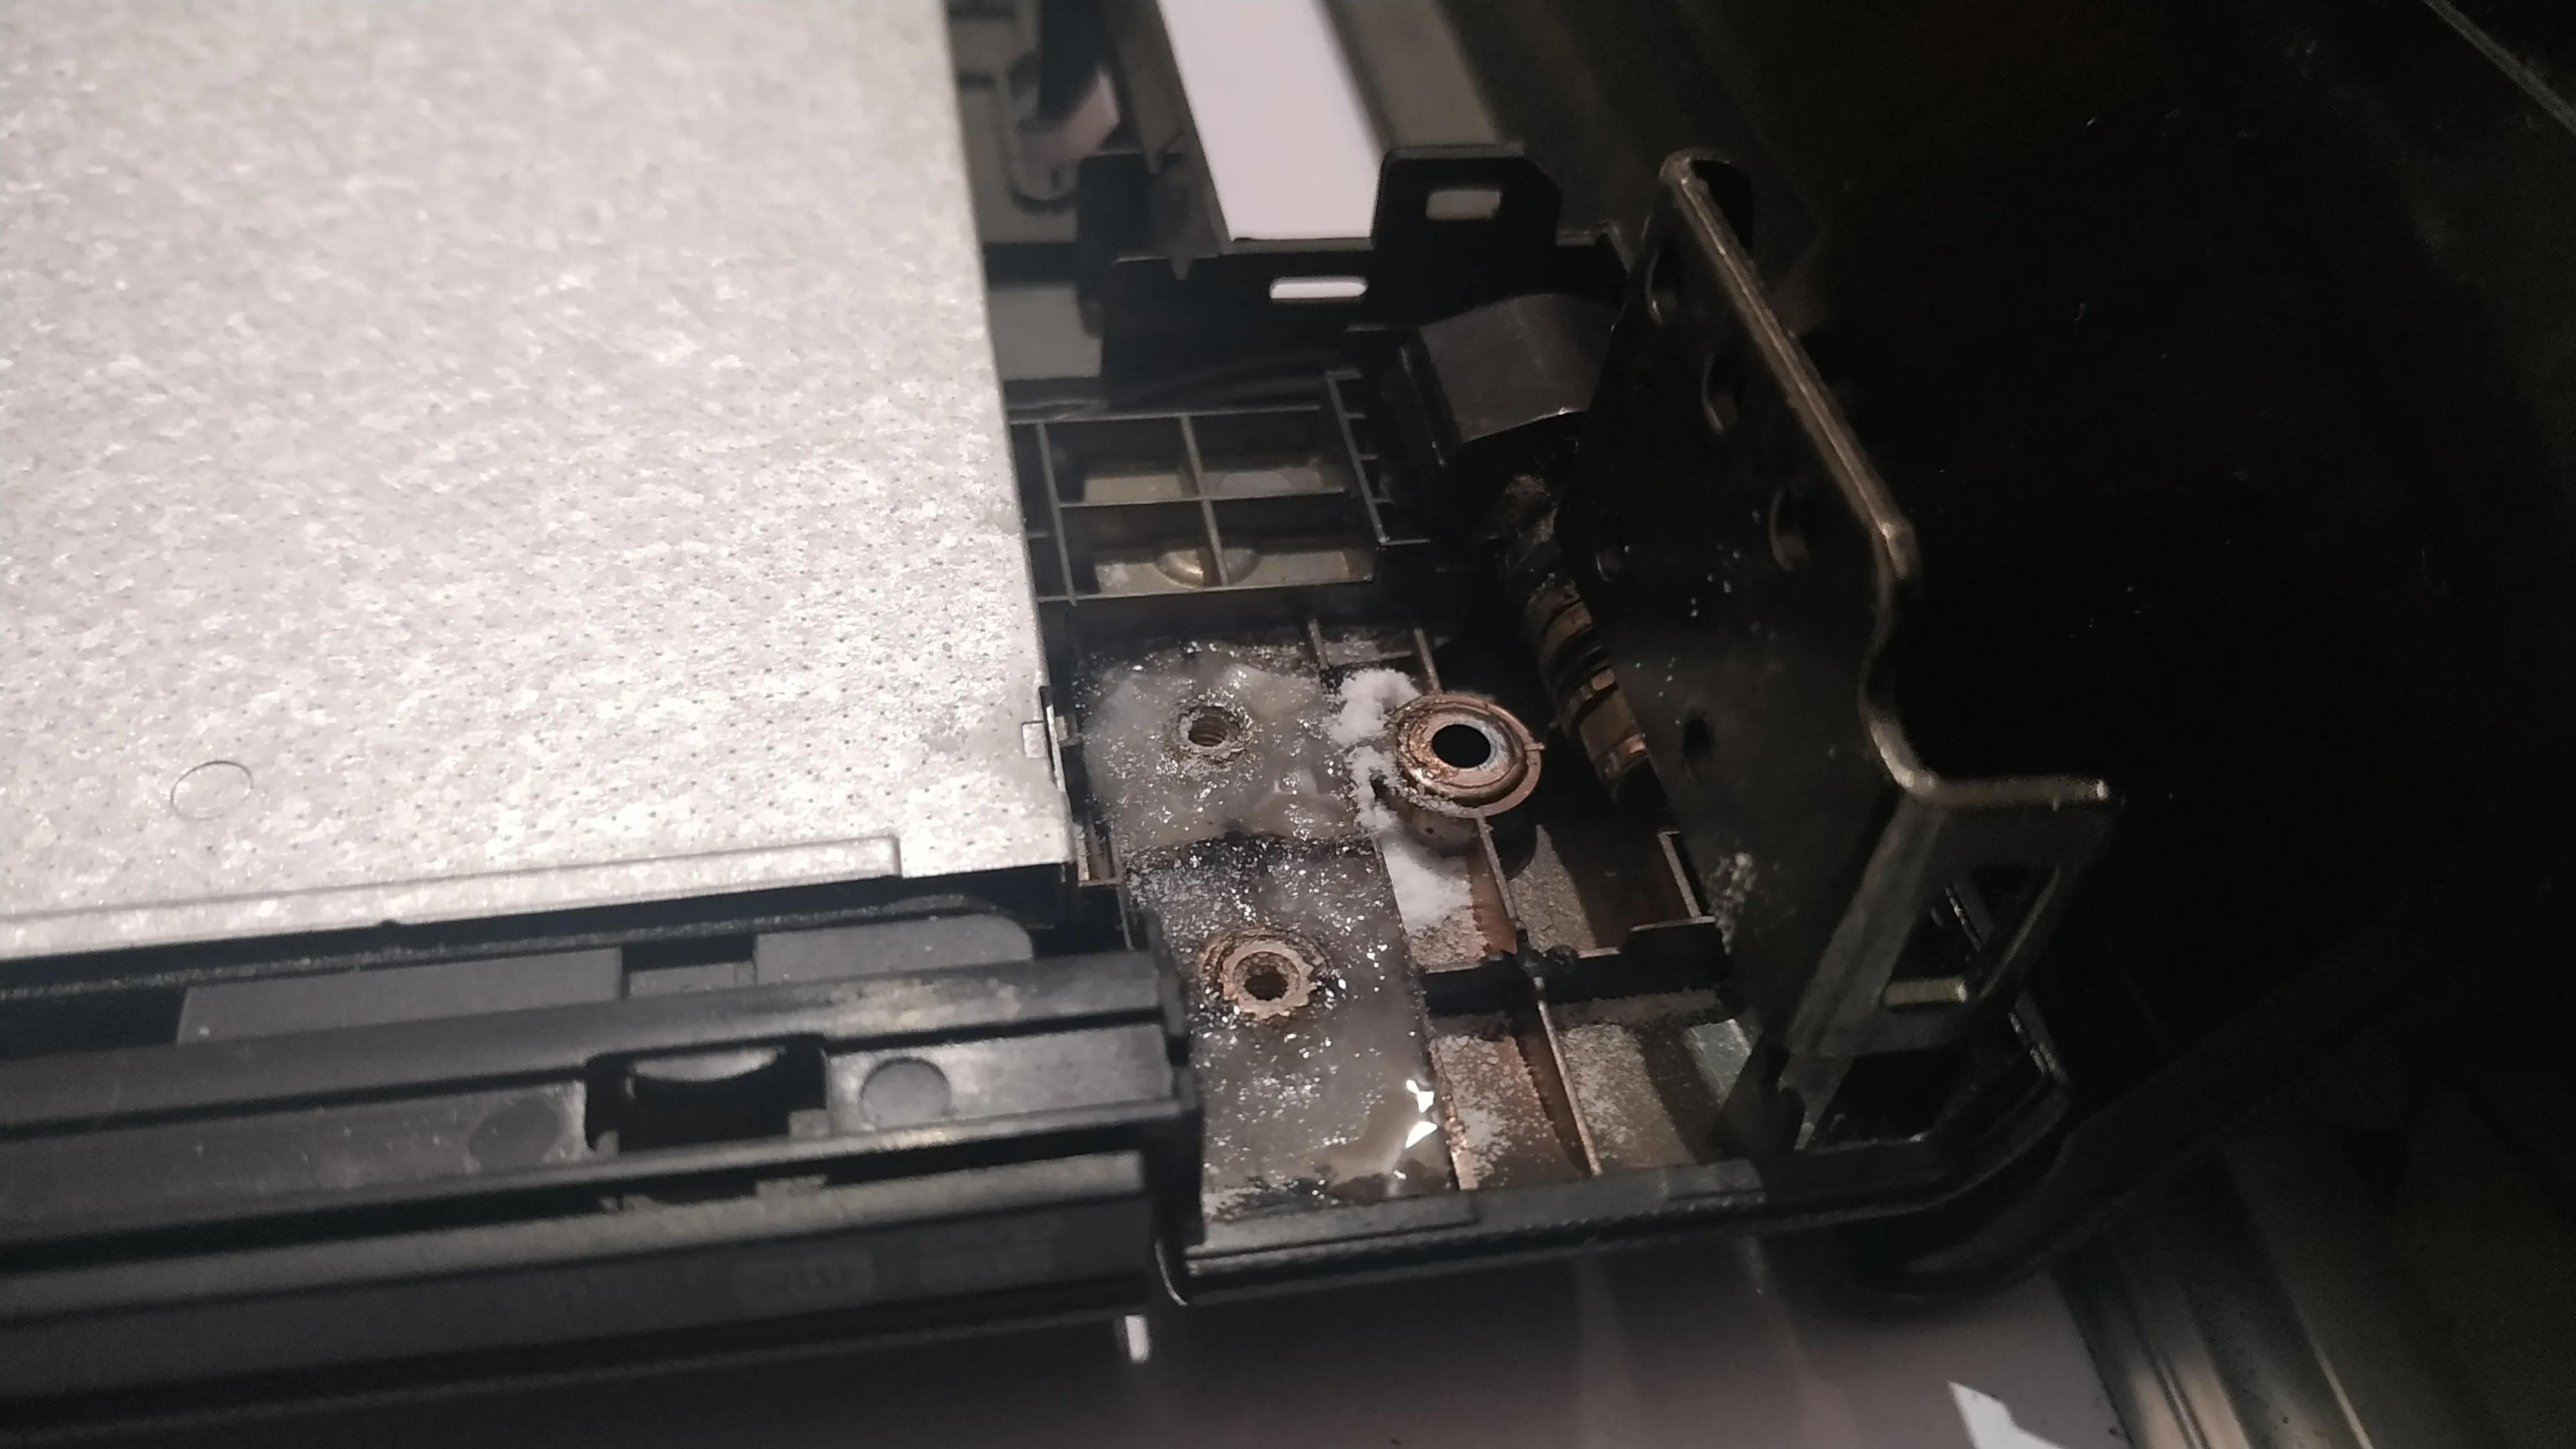
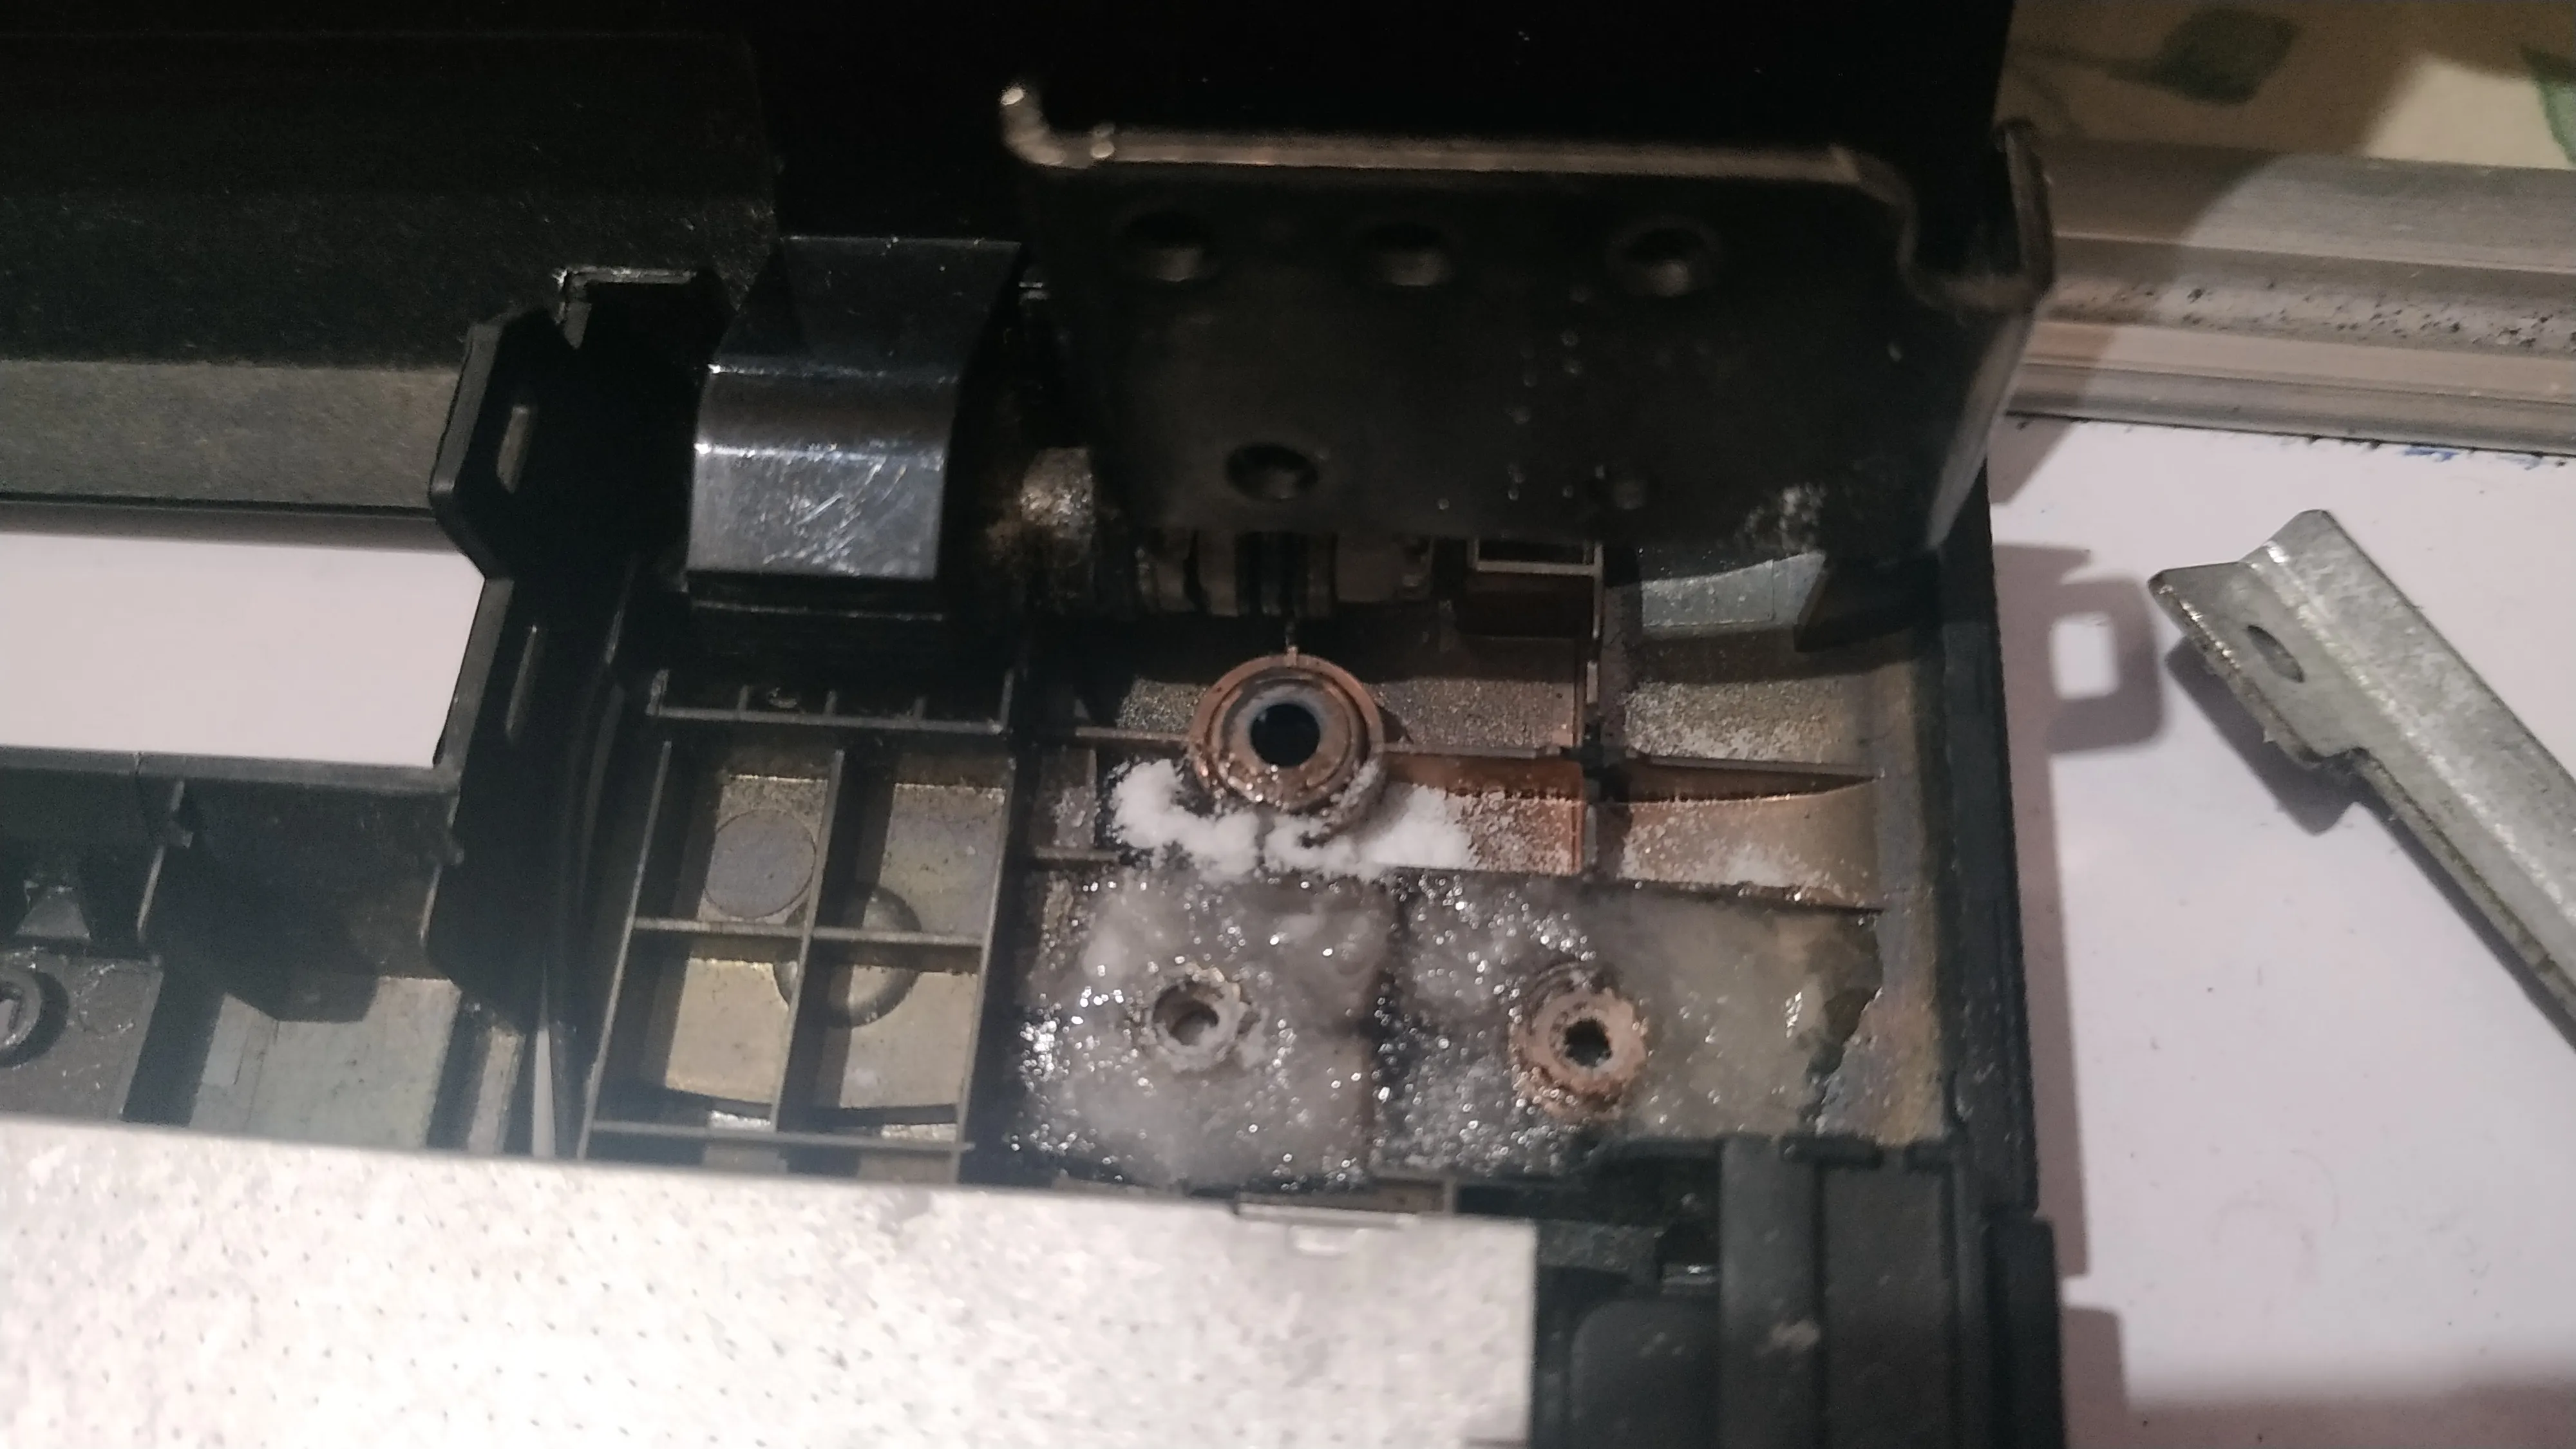
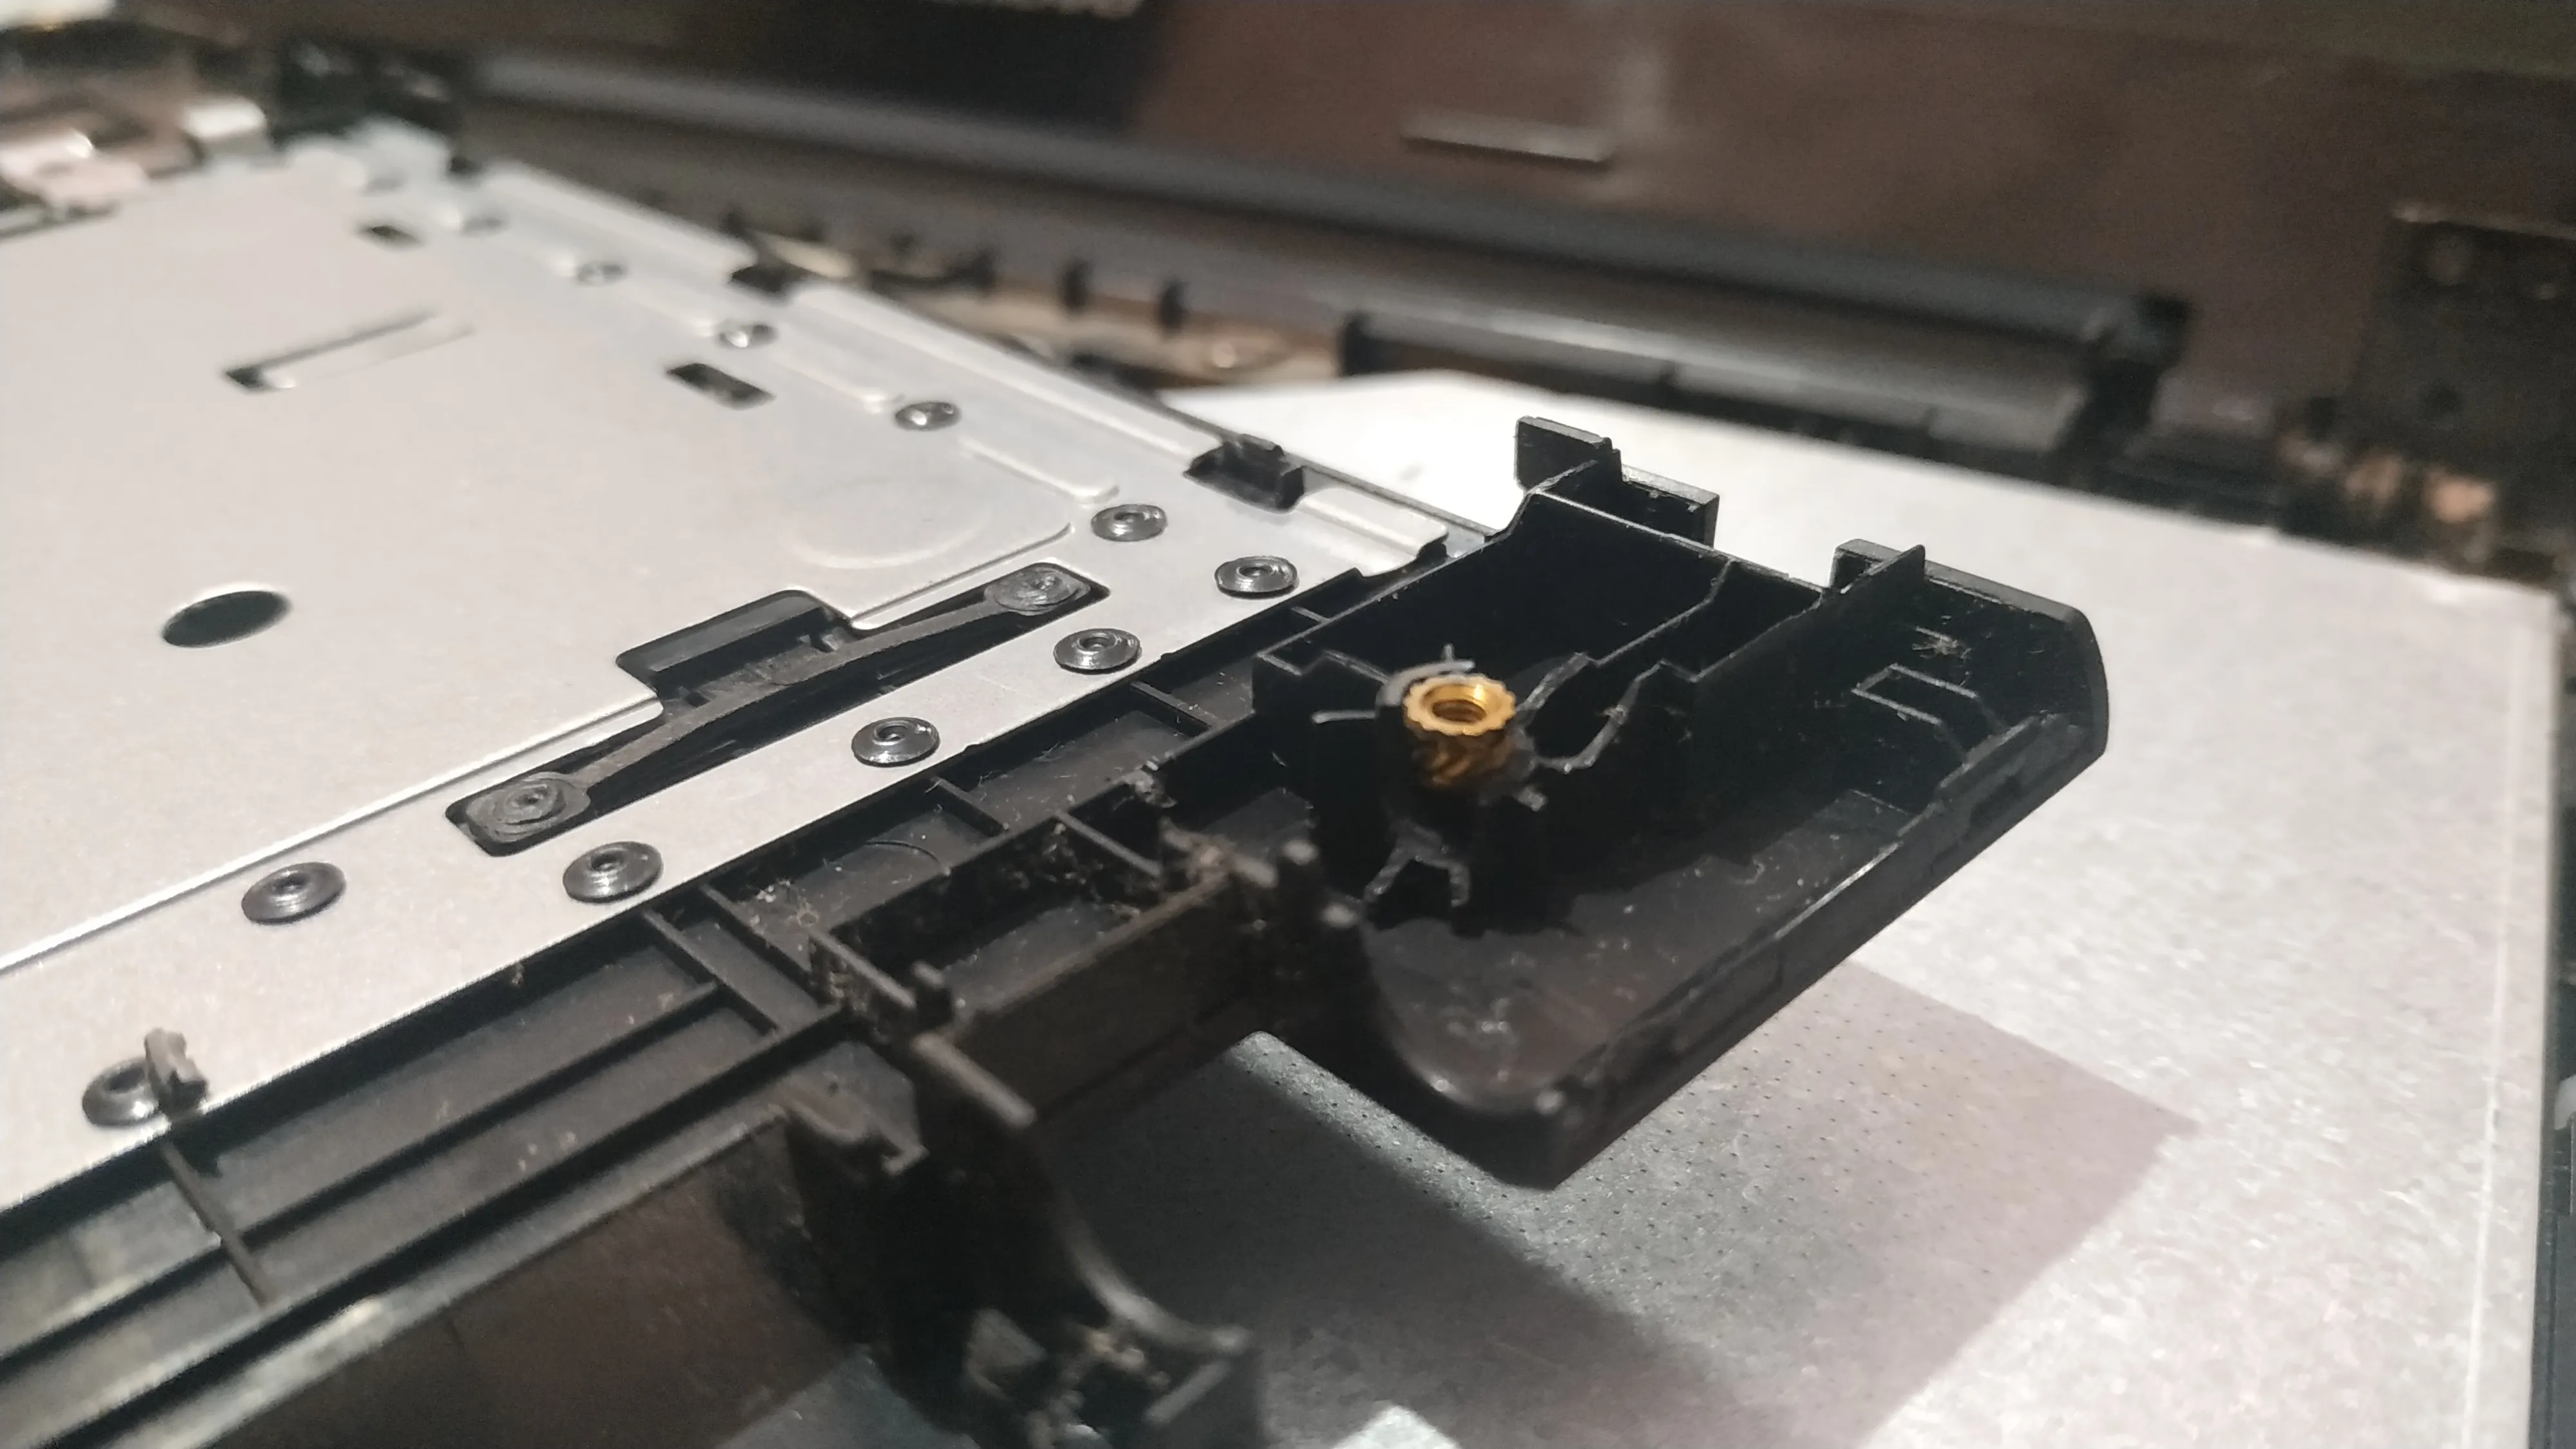
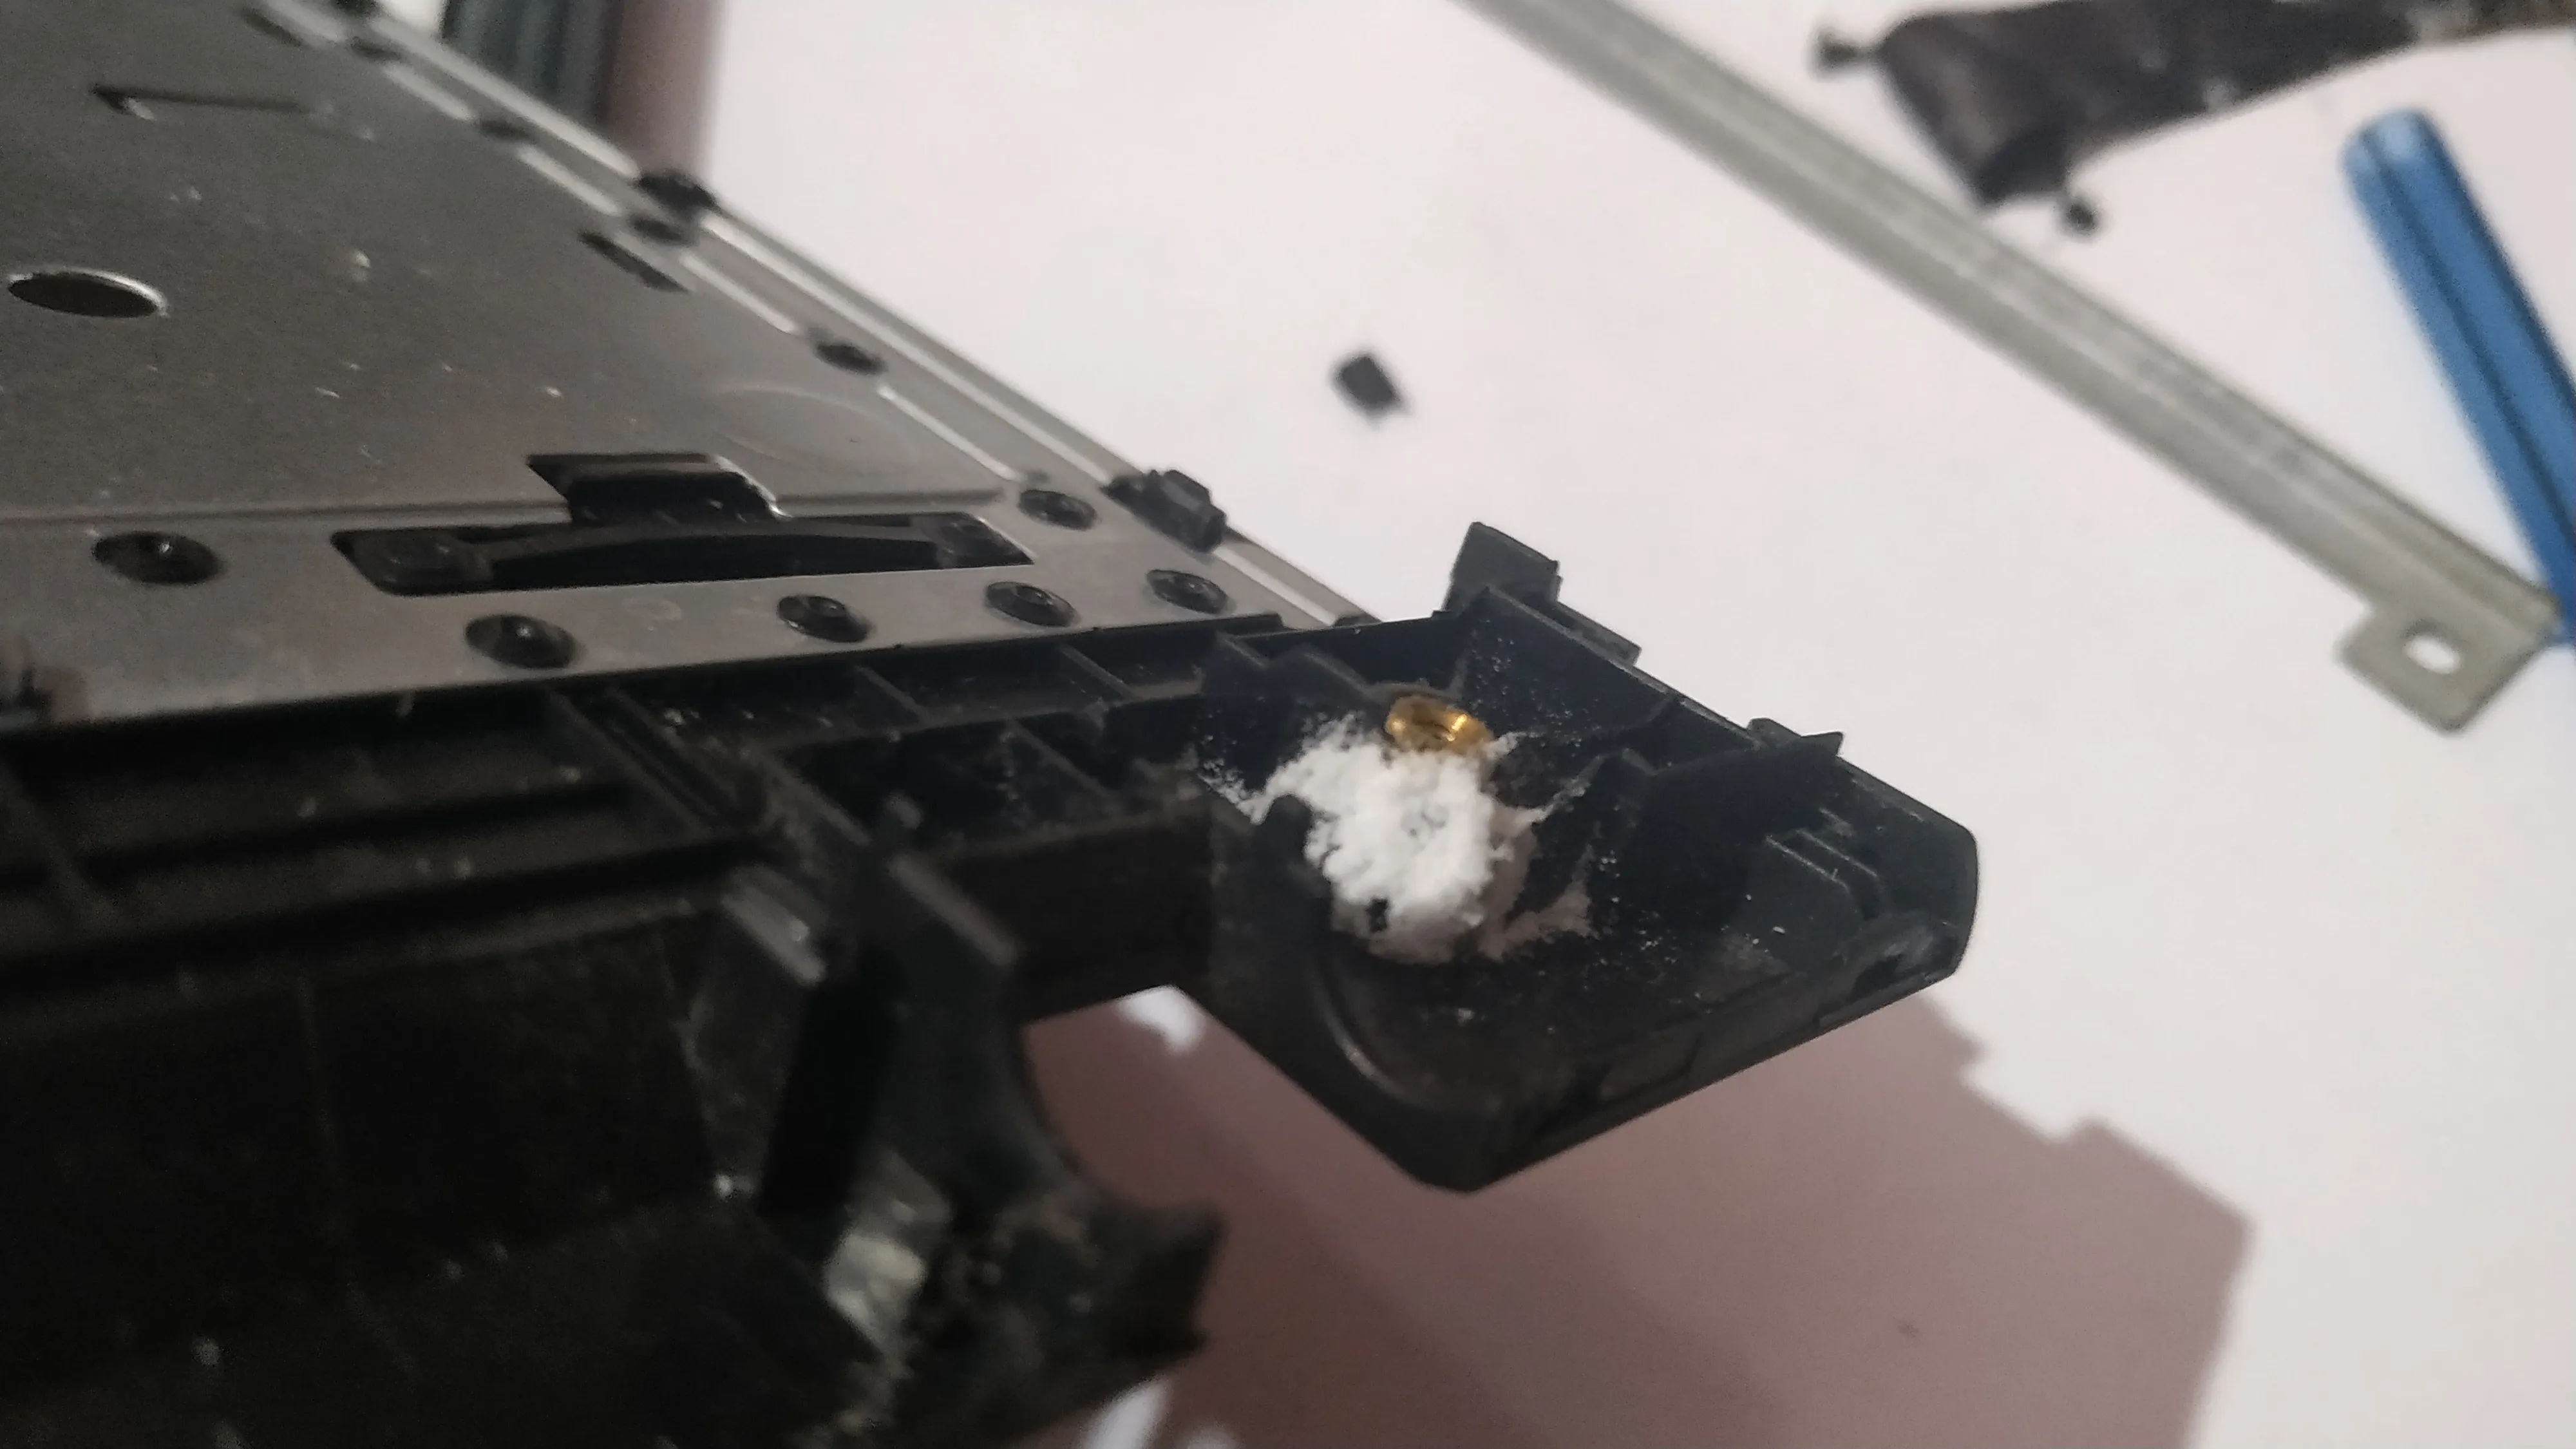
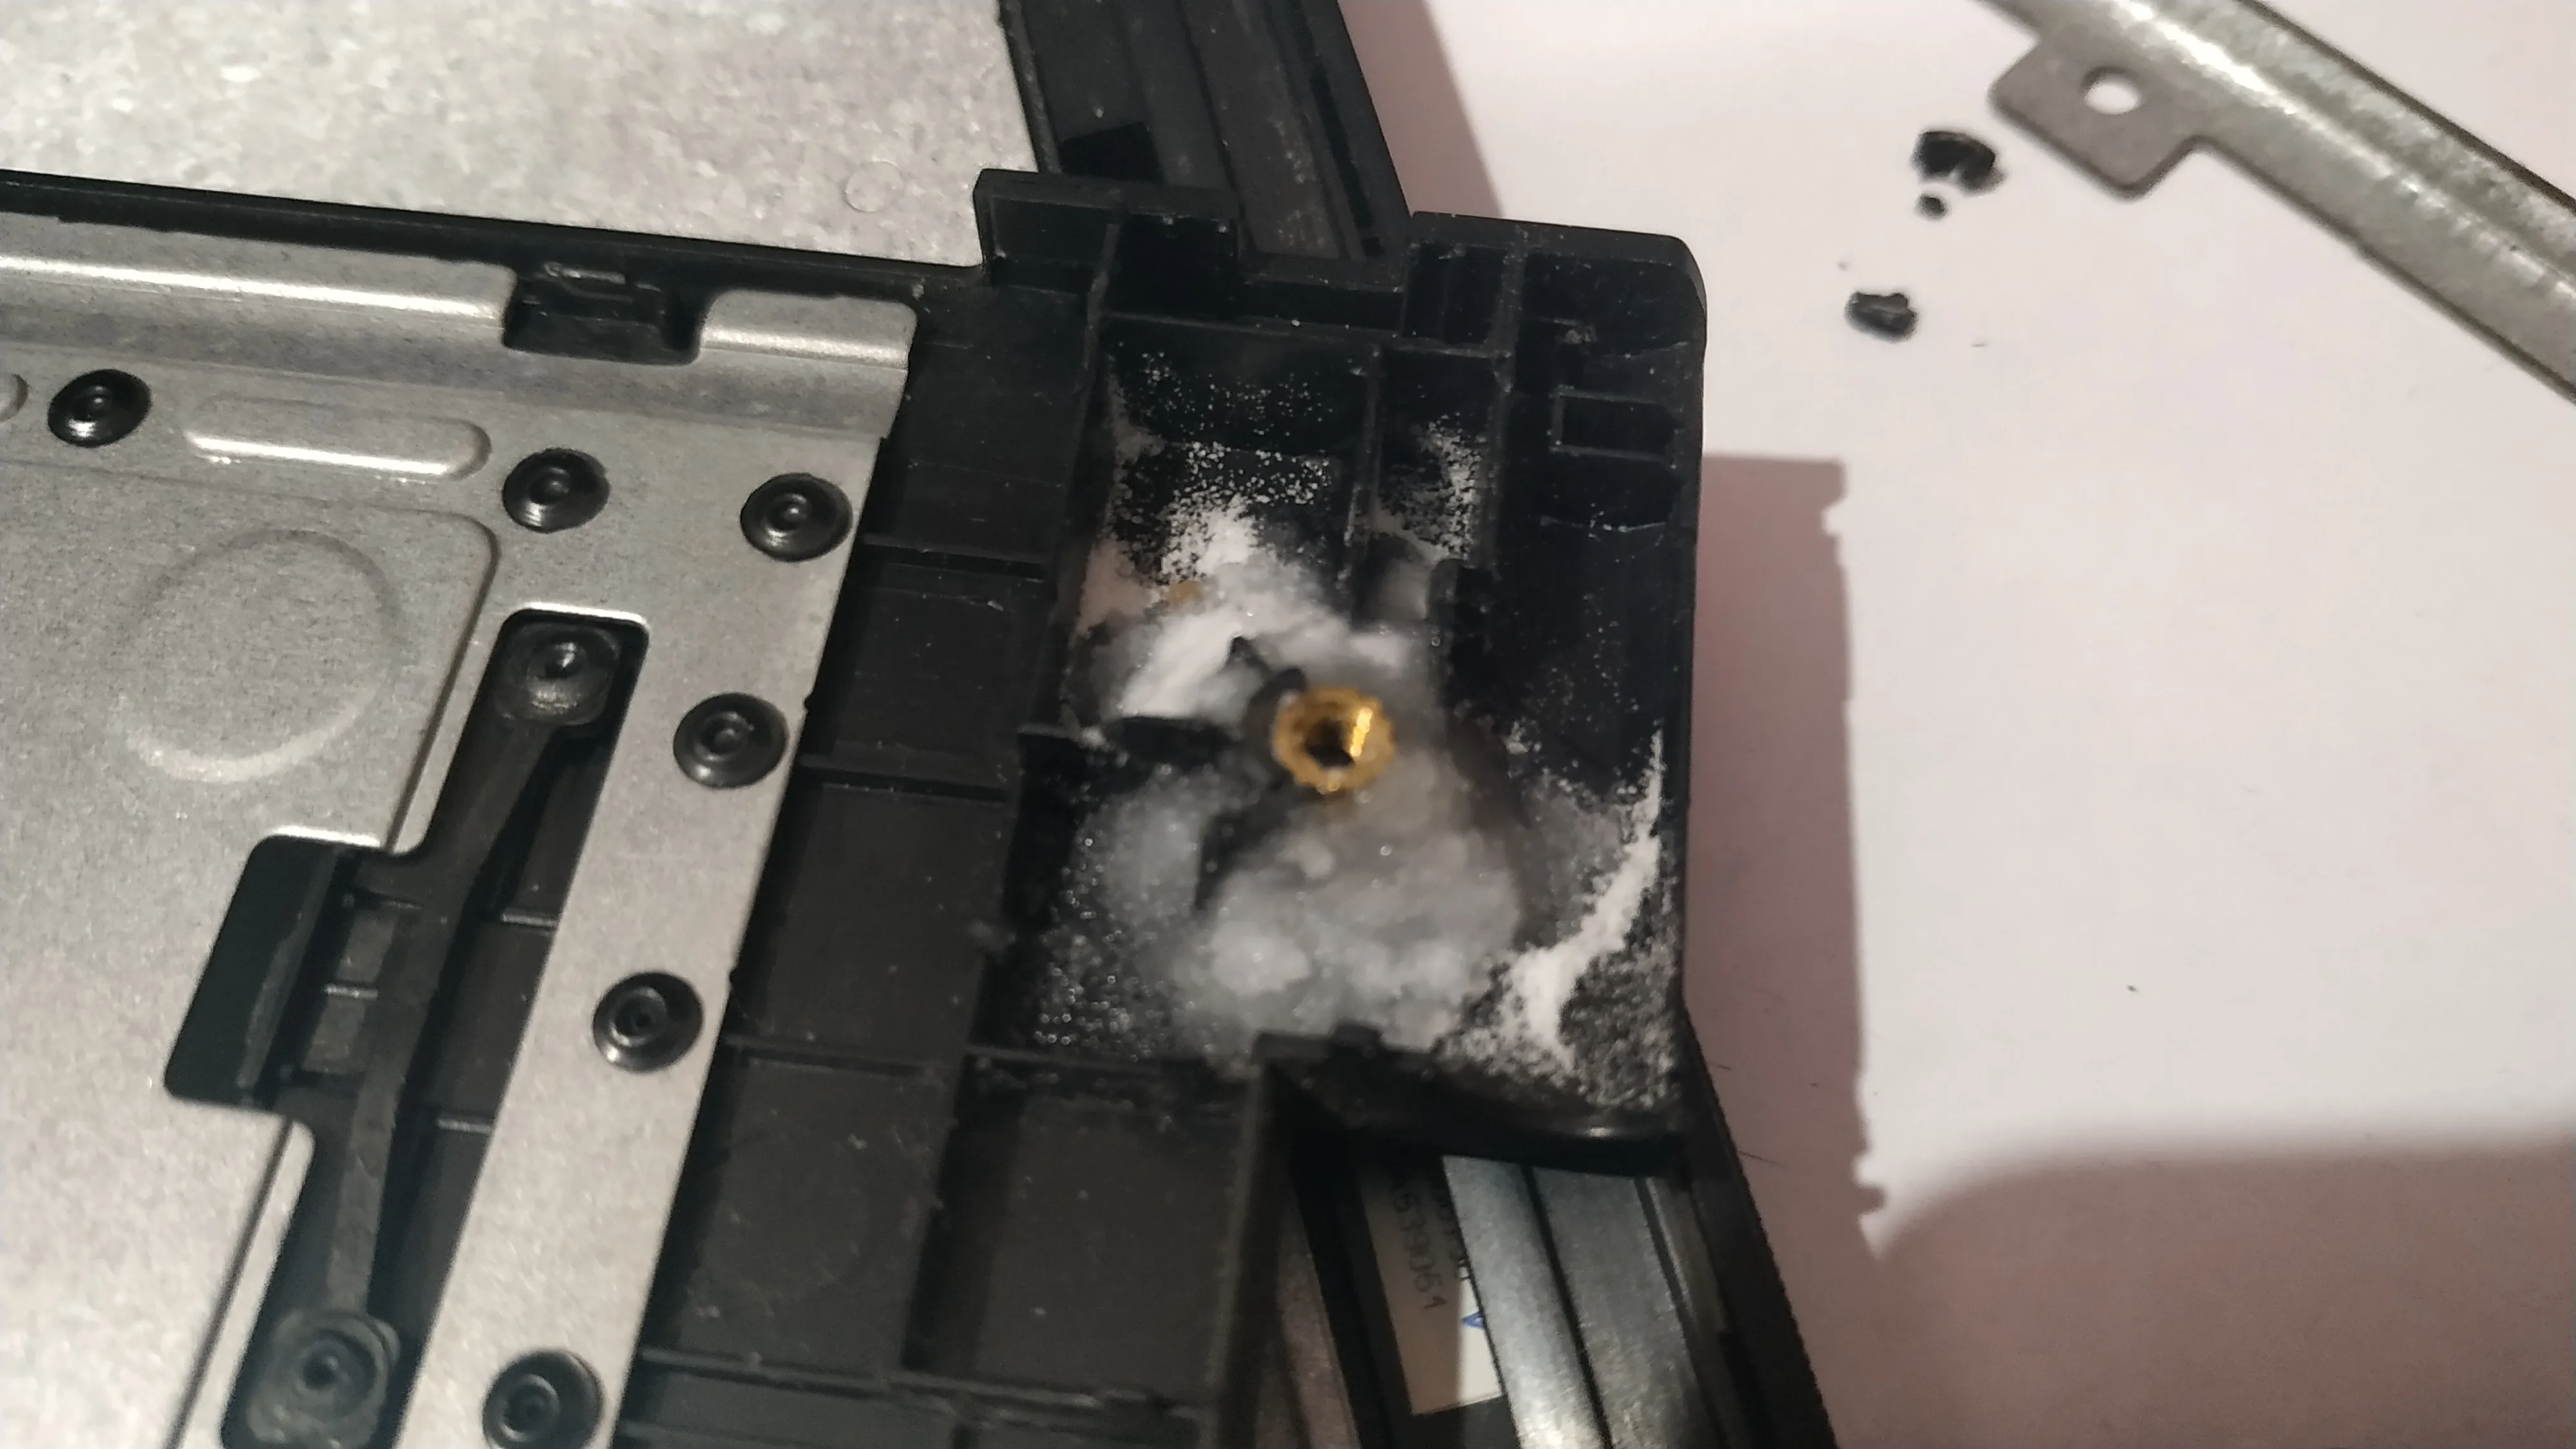
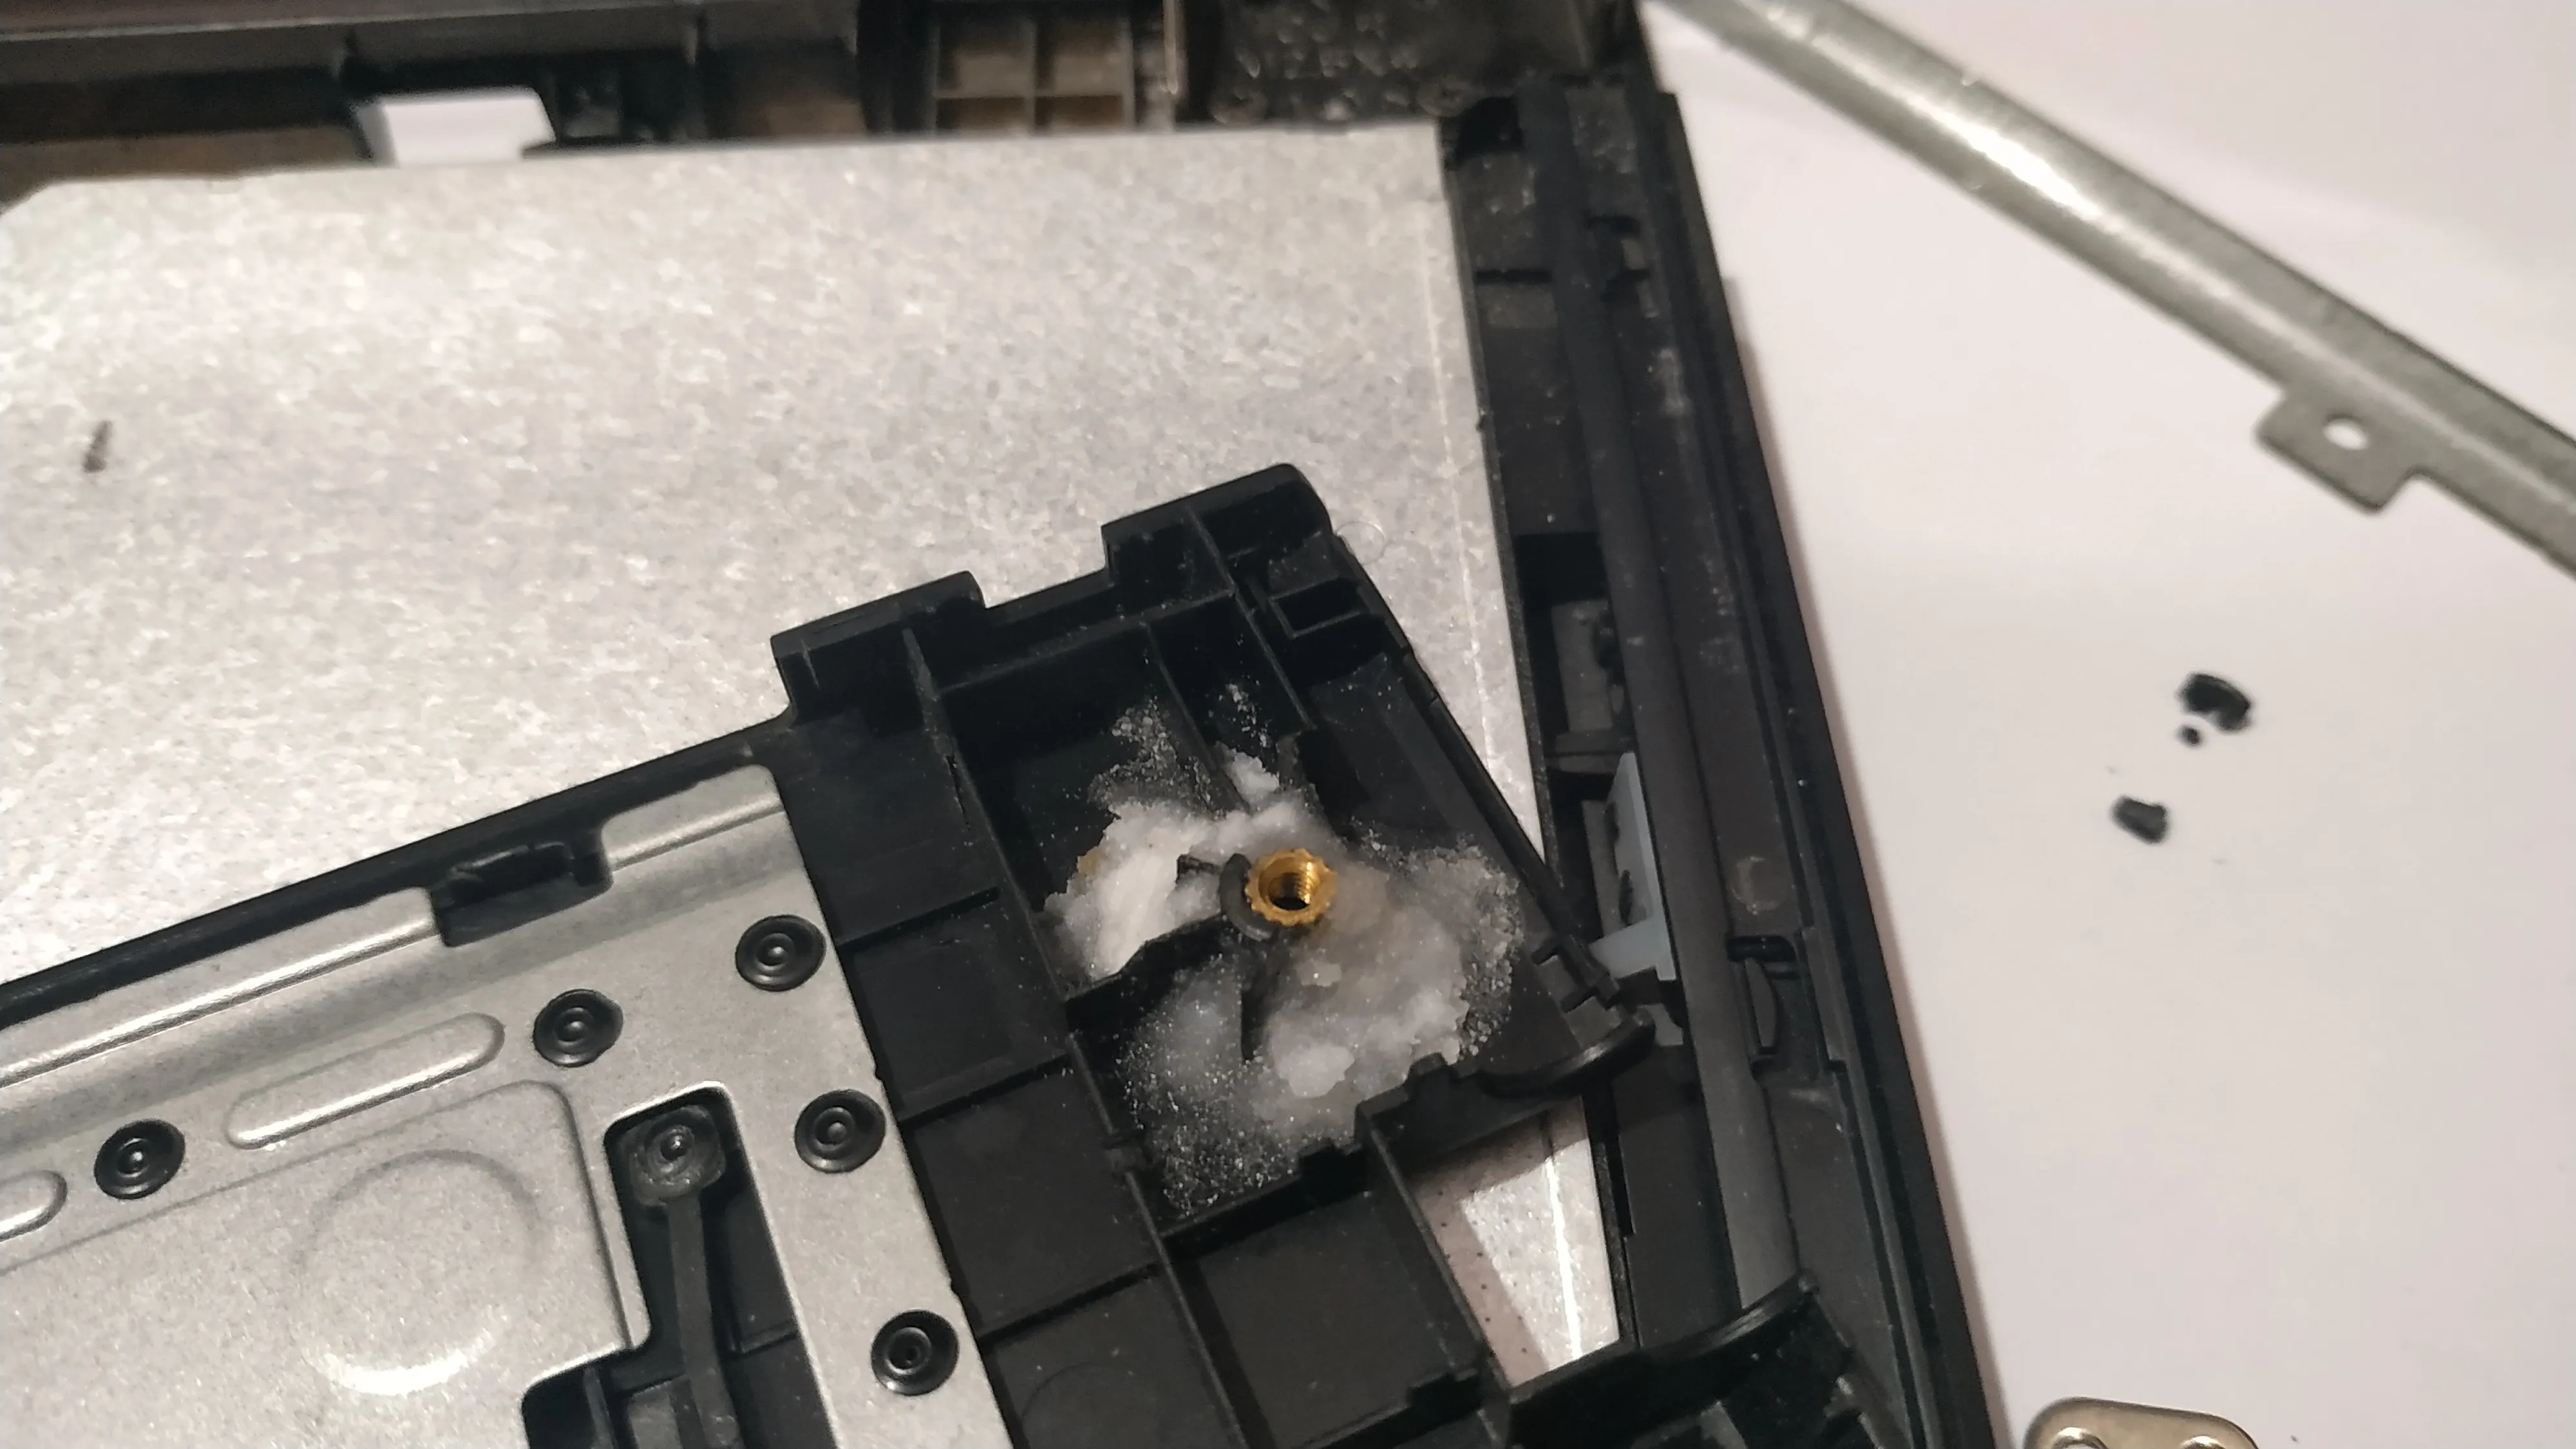
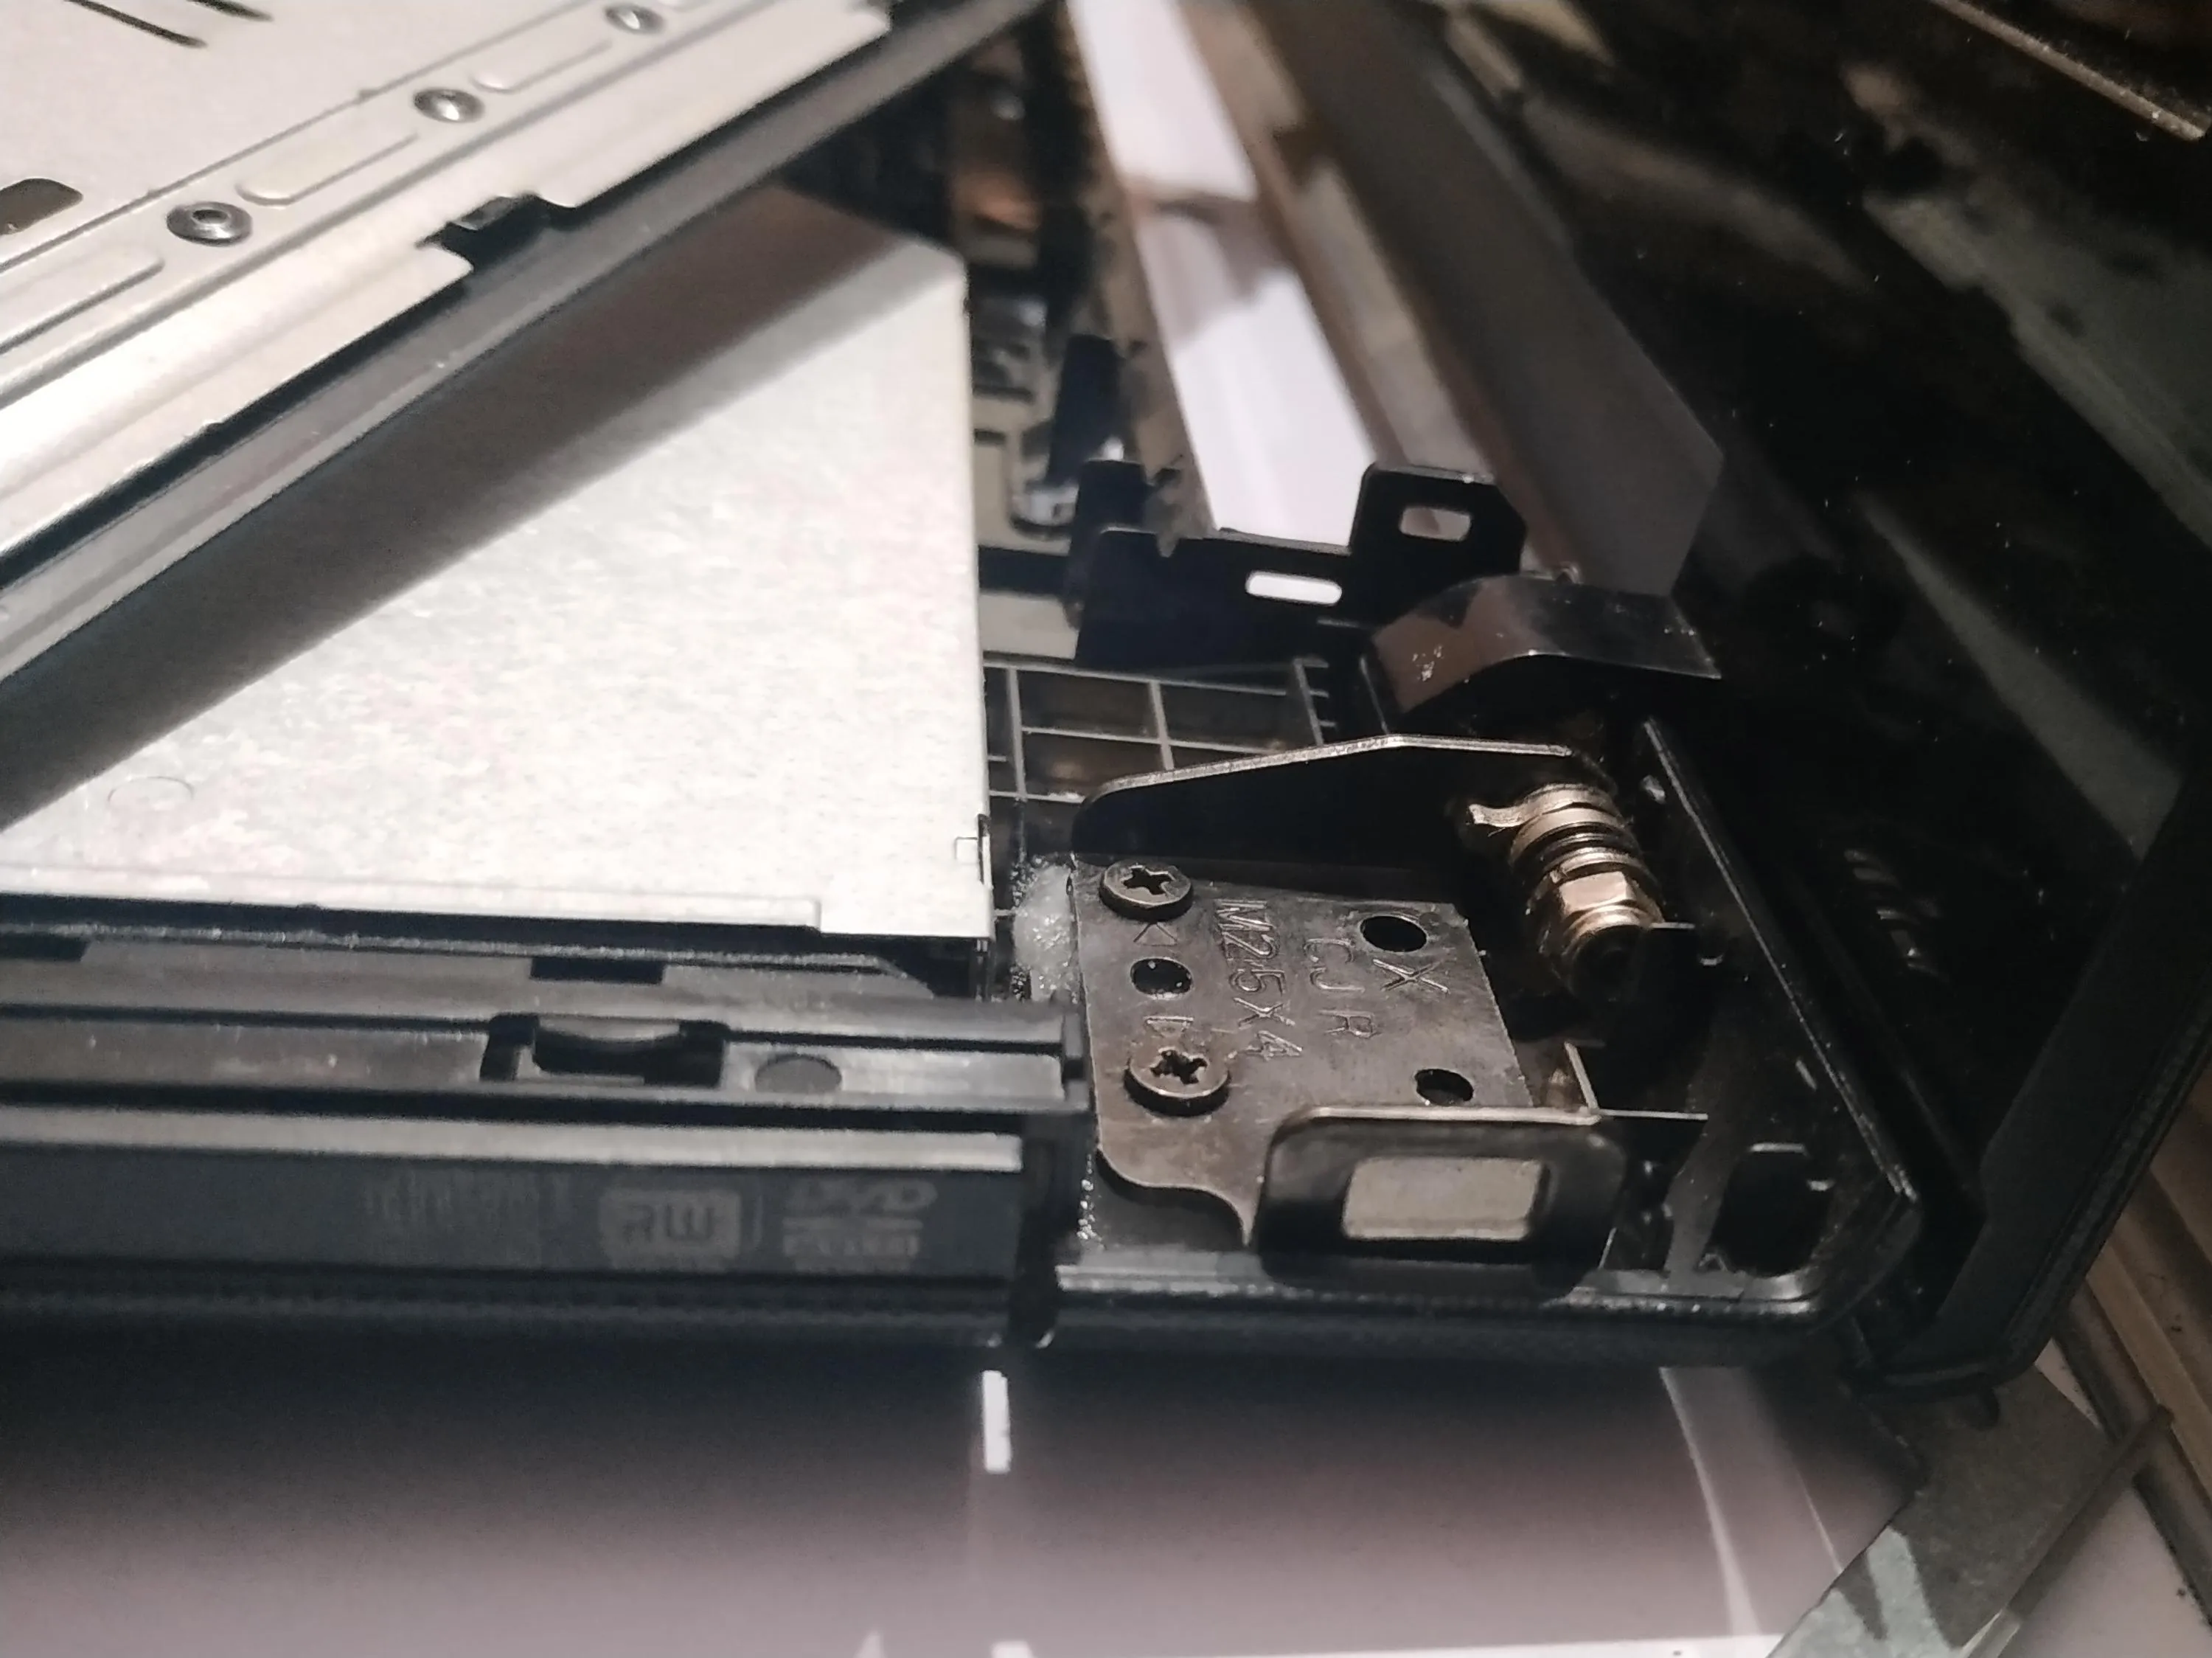
The poor build quality of budget Lenovo laptops was obvious. The brass inserts had come off. The plastic that held them was too weak and almost got powdered over time. Plastic + some metallic paint coating doesn’t make it strong enough for laptop hinges. 😐 If it had broken into a couple of pieces I could have simply glued the pieces and put the brass inserts back in place.
No point in sitting and complaining! When I googled about what to do next, the search led me to a Popular Mechanics page on glue.
Apparently, when baking soda is added to super glue there is an exothermic reaction and the baking soda particles act as bonding material to create a very solid bond.
I rushed to the kitchen and got some baking soda😅.
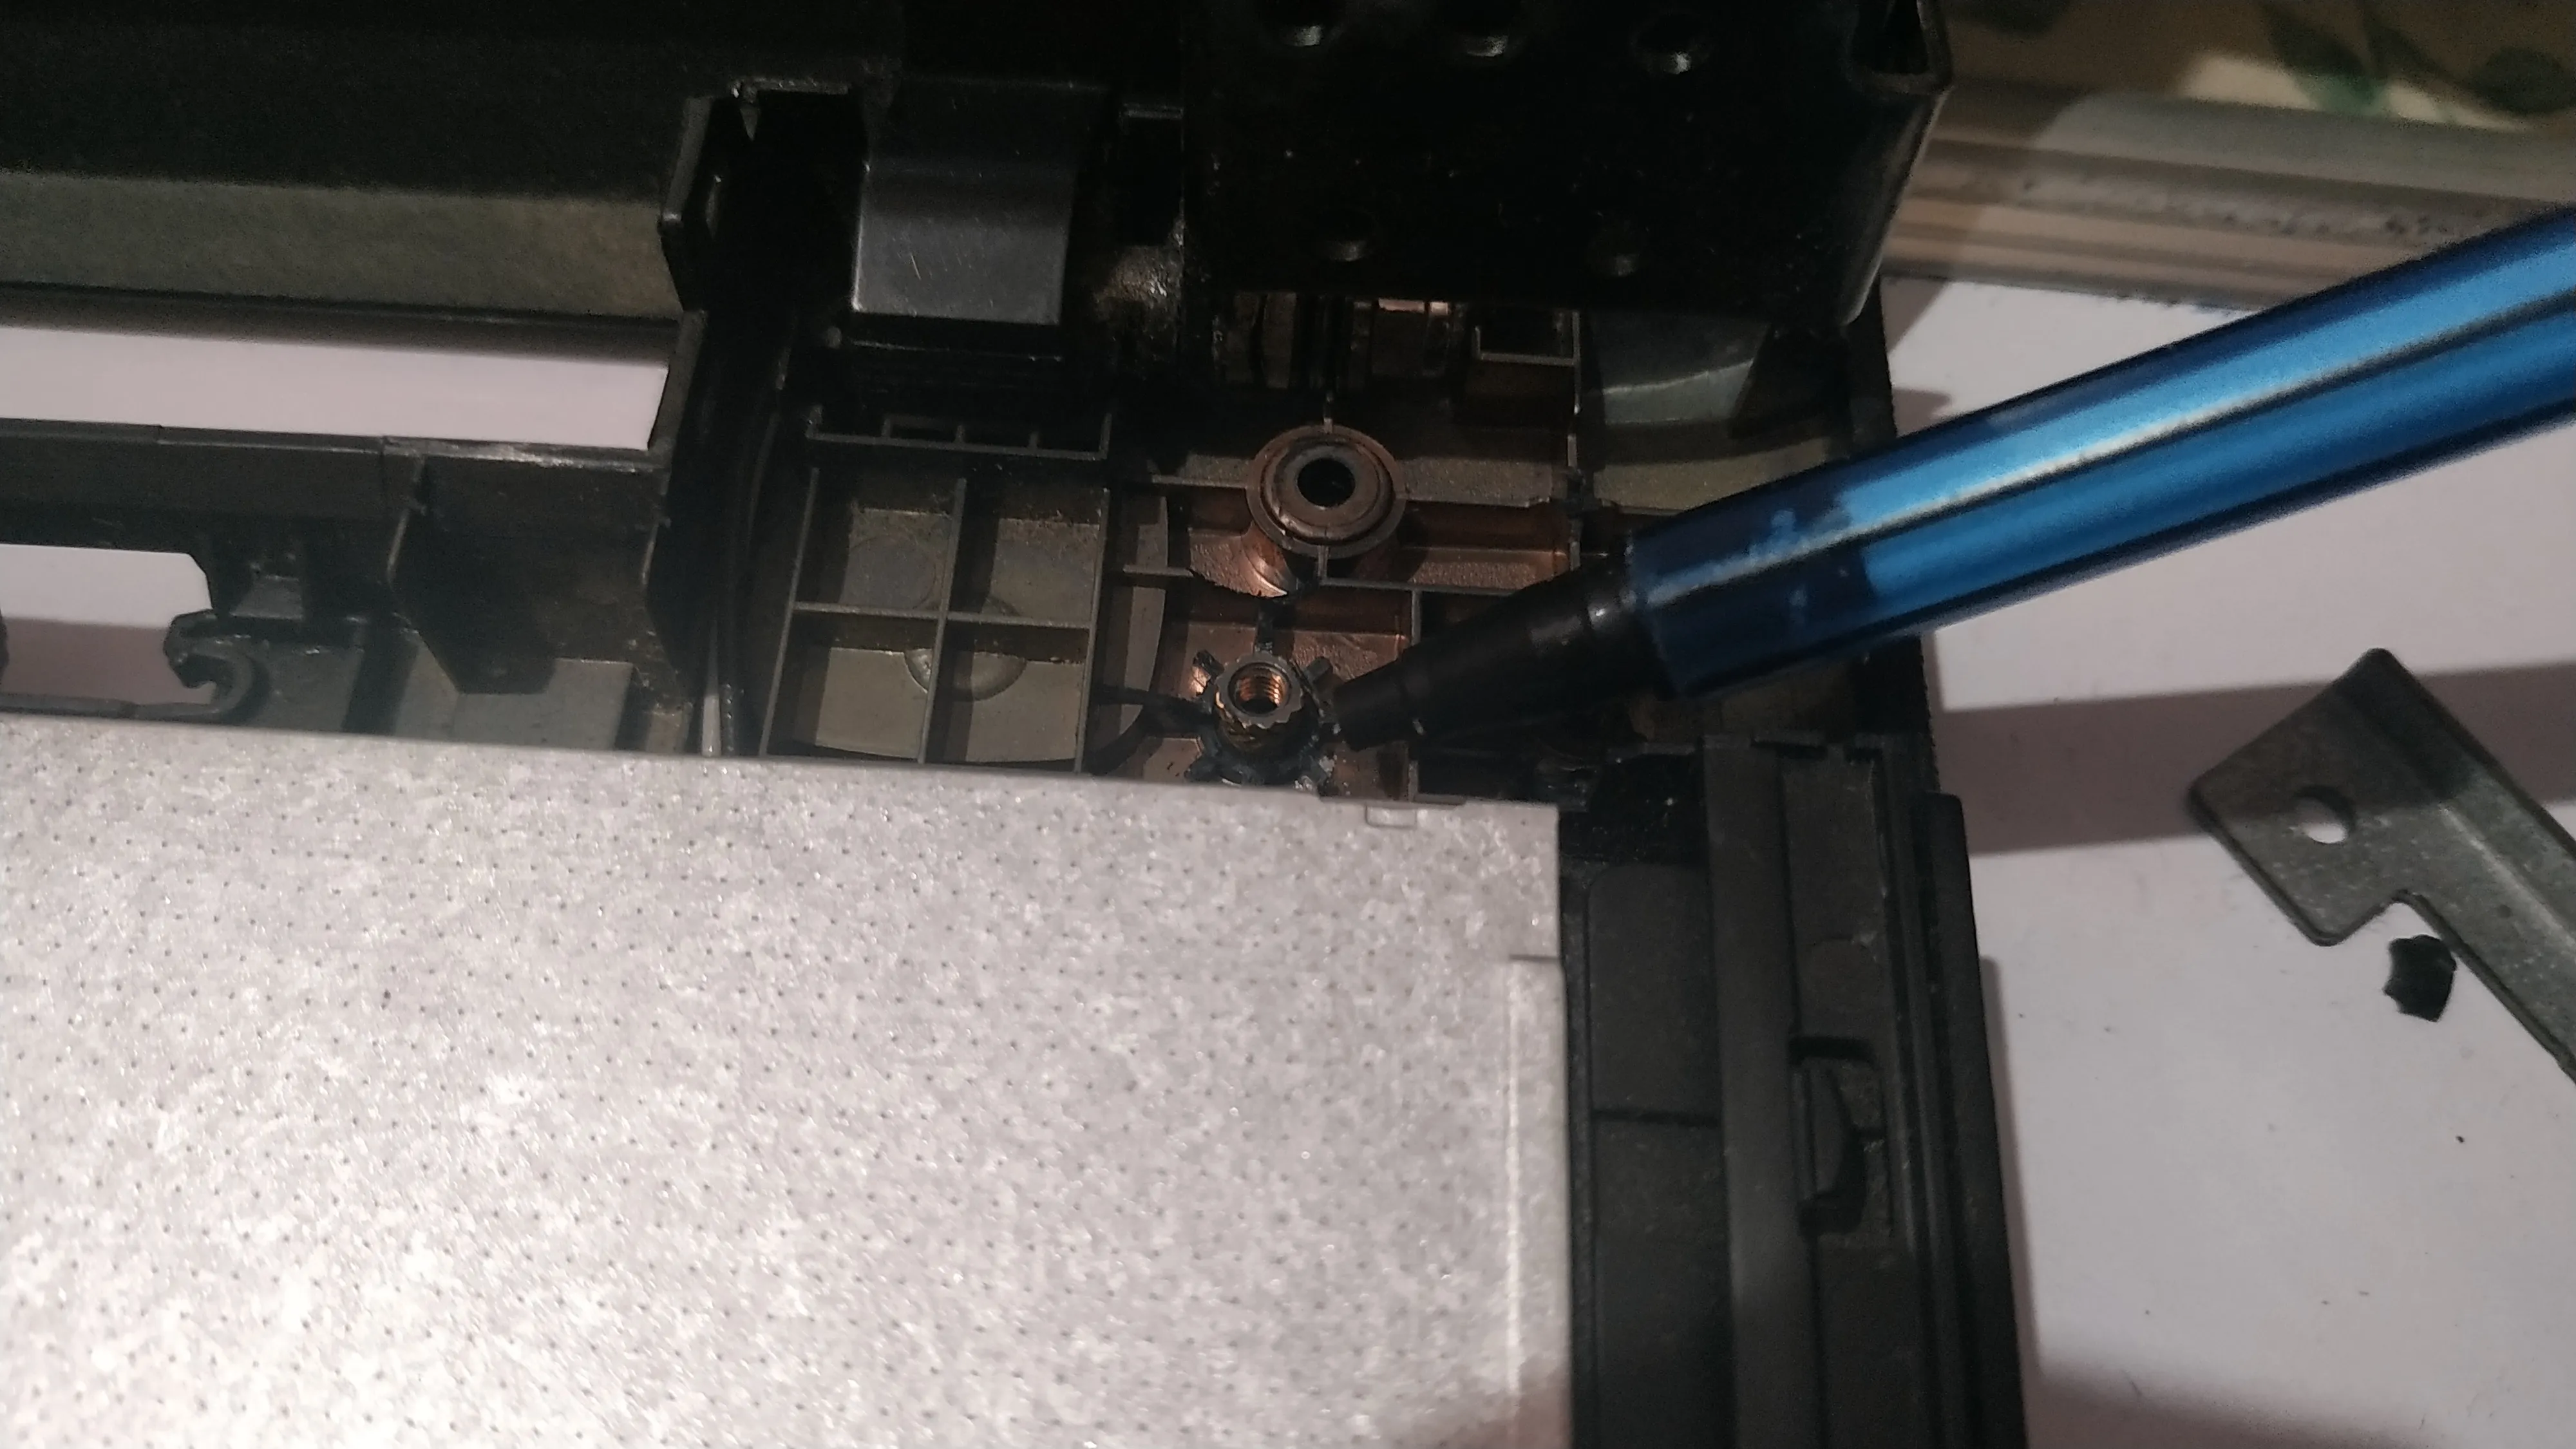
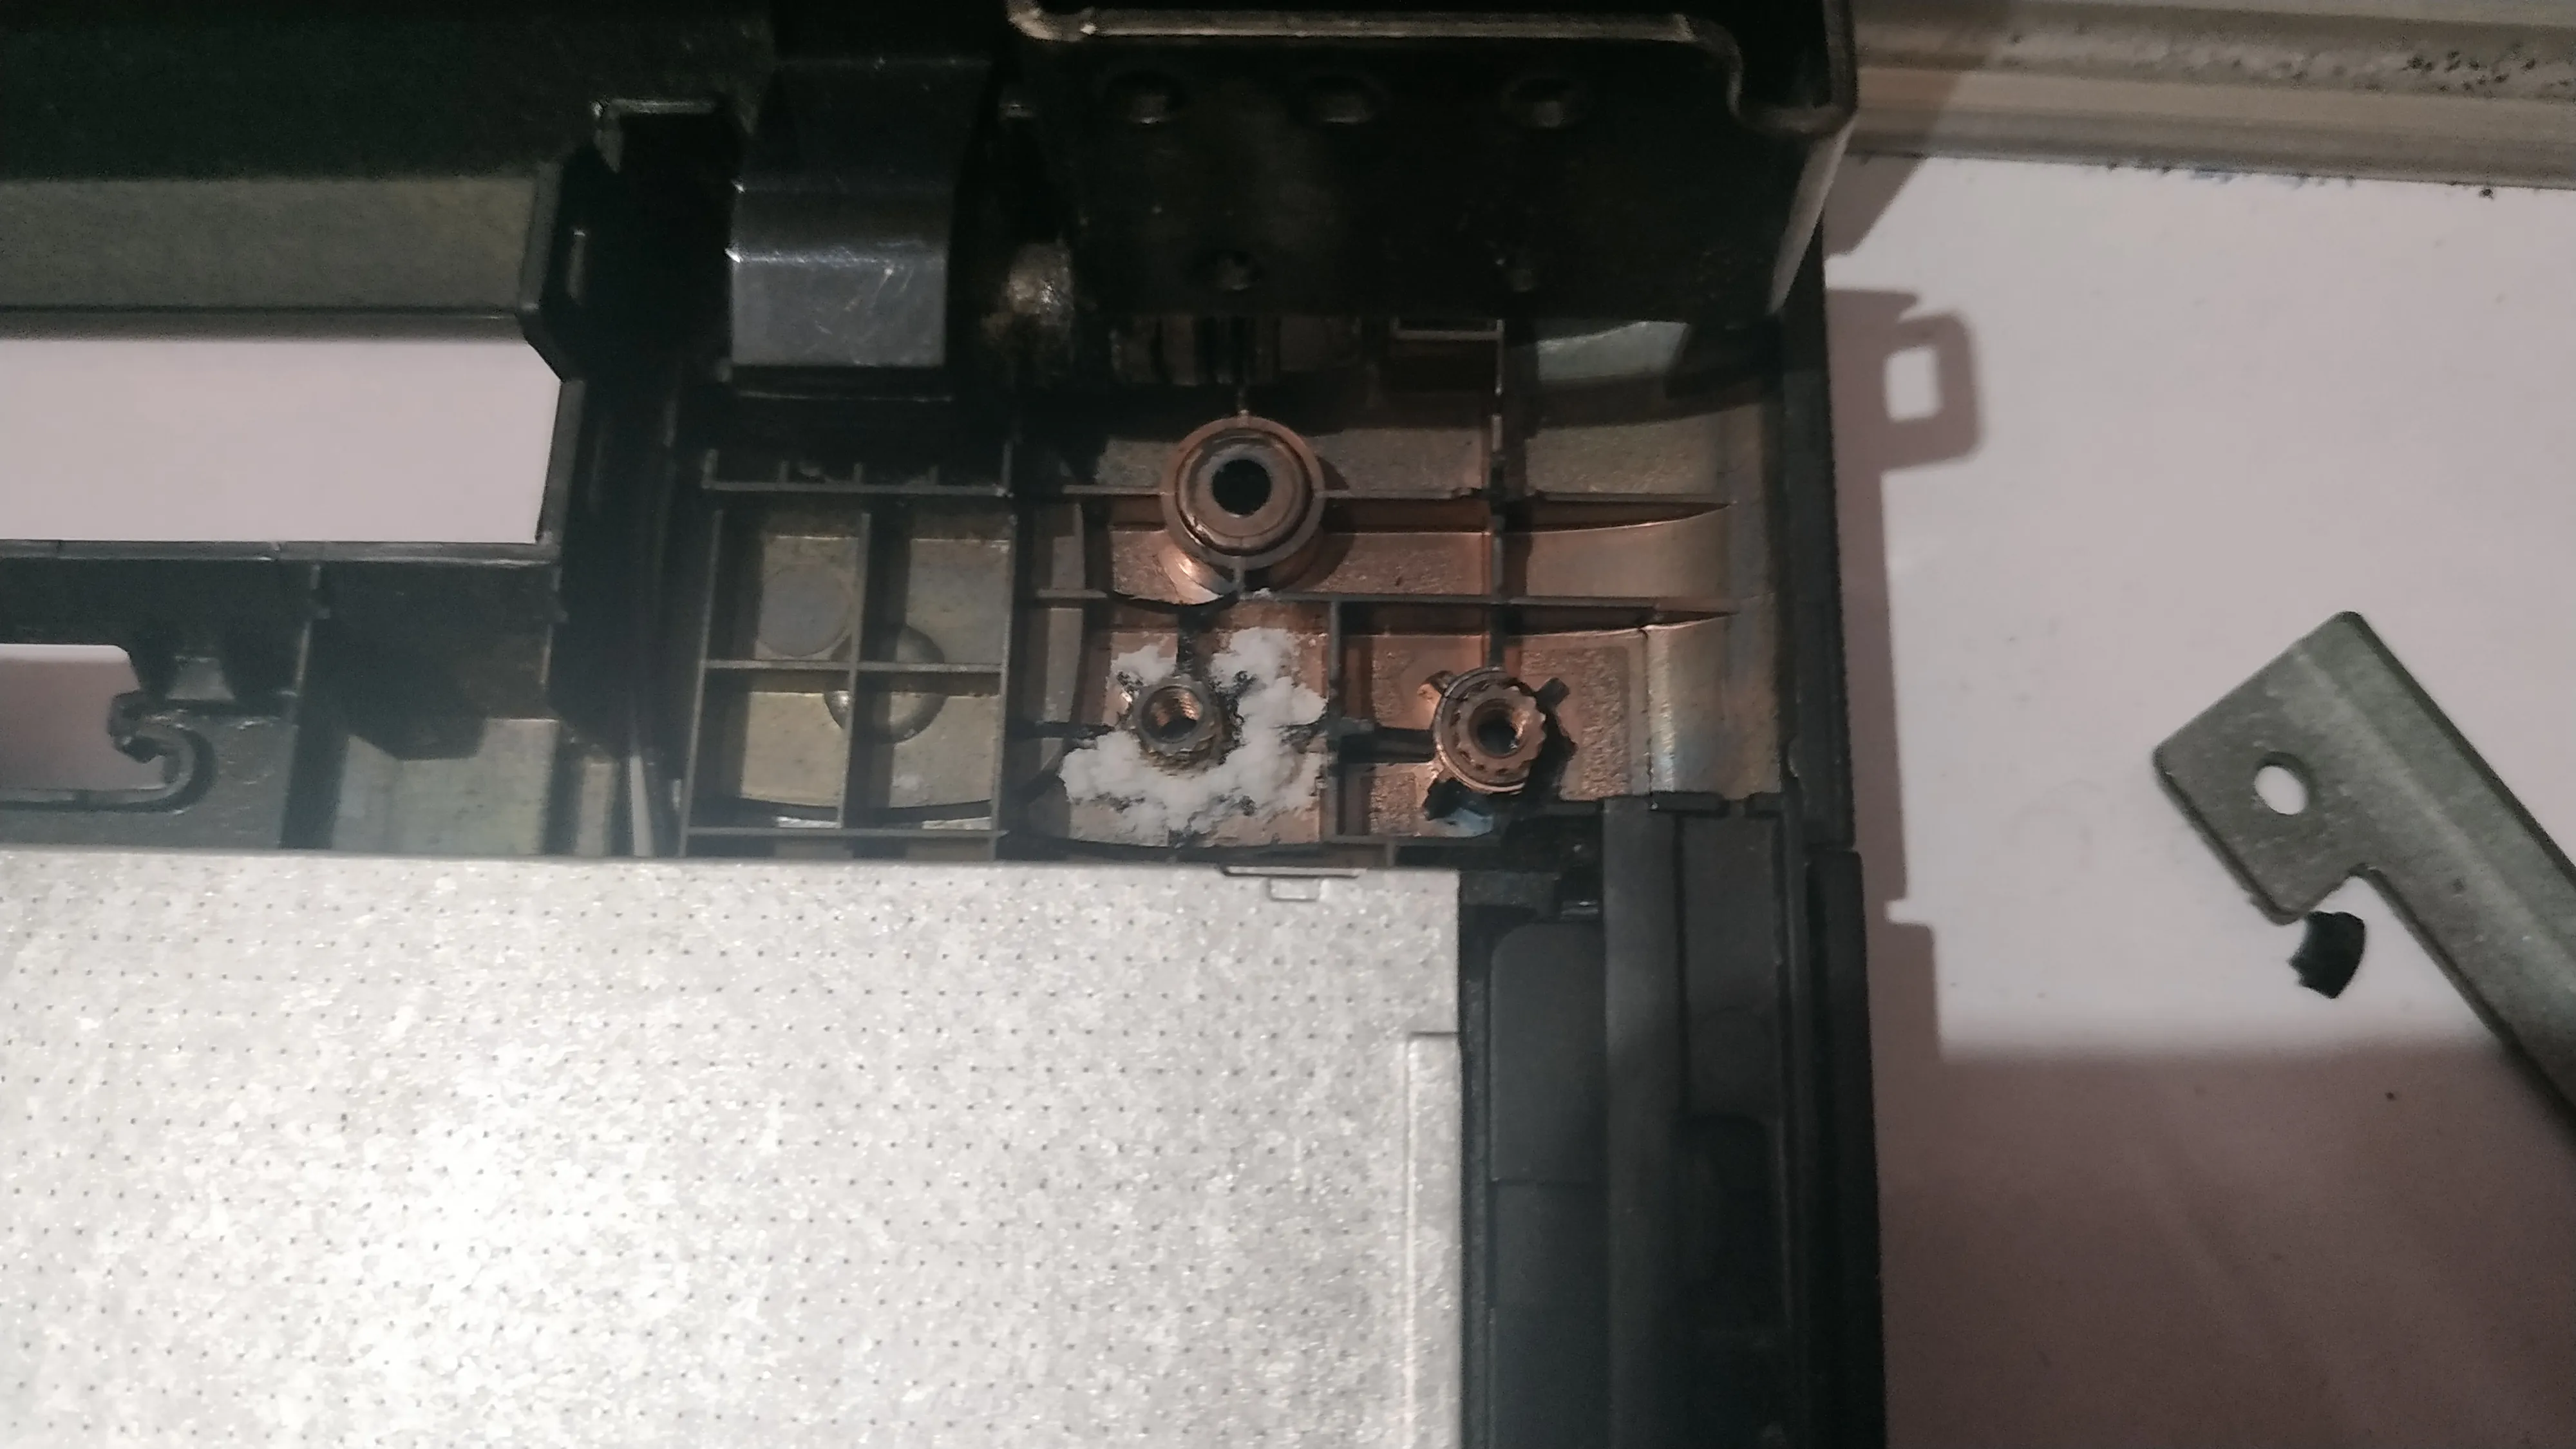
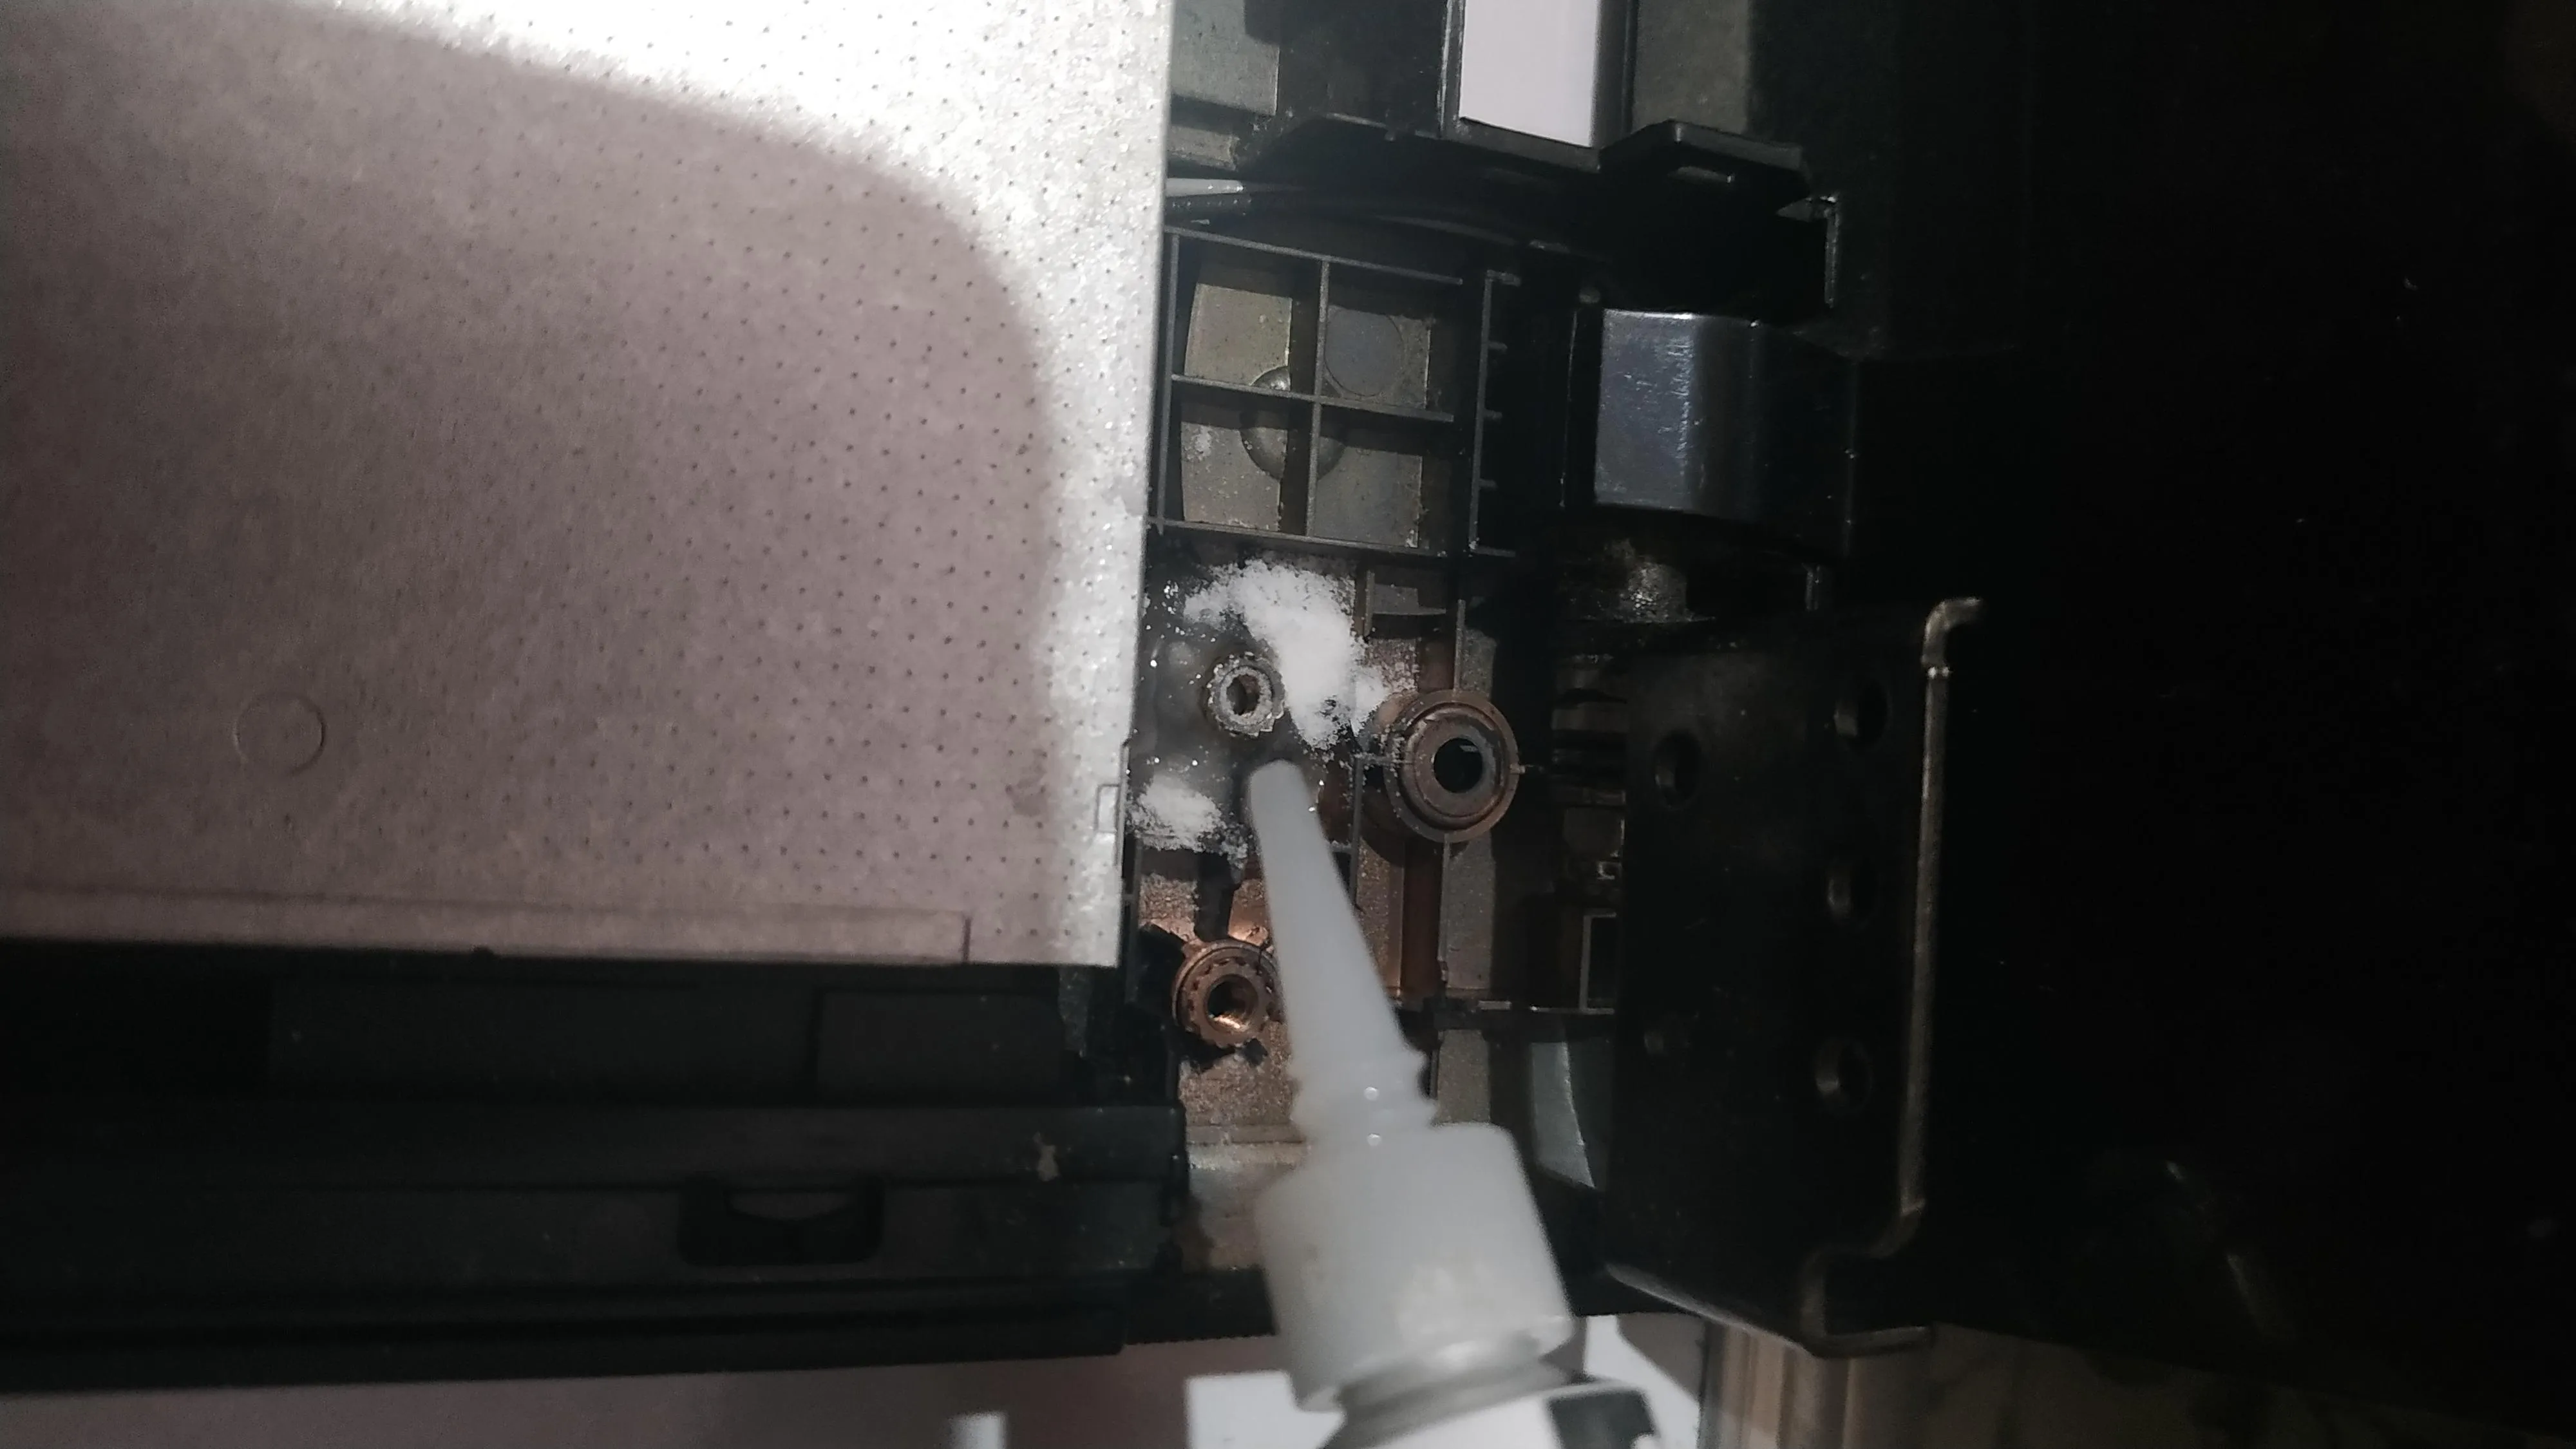
I couldn’t simply put baking soda from a packet into my laptop. It would be a mess for sure. So I took a ball point pen and removed the nib and refill. Then filled it fully with baking soda powder. So that became my dropper of sorts.
After all the repair works. I took a 1500W blower (actually a hair dryer 🤣 ) and blew all the dust off the laptop’s interiors. Finally, followed the process backwards to reassemble the device.
Now: The moment of truth. This is the toughest part. You just hope that nothing goes wrong and the PC boots up like normal. The thing that was troubling me was that my laptop was hibernated and so it’s literally read/write protected and if at all anything went wrong it would be very hard to recover any data.
Finally, it did boot up like normal. No issues whatsoever. I double checked all ports and peripherals. Everything was working fine.
Phew! A sigh of relief at last. 😌
Comments