Making a Li-ion battery charger
![]()
I had many Lithium-ion batteries lying around from obsolete devices that could be potentially repurposed to power small projects.
This project is based on @ pinomelean’s work out there on Instructables: Li-ion Battery Charging It’s a great guide that well explains the whole process of charging and the circuit is realised using easily available components.
So what did I do? I realised the circuit using a rail to rail opamp and just one transistor (TIP122) => less complexity and less power loss. (as clearly suggested by @pinomelean)
Checking the datasheet of the LM324, I found that it is indeed a rail to rail opamp.
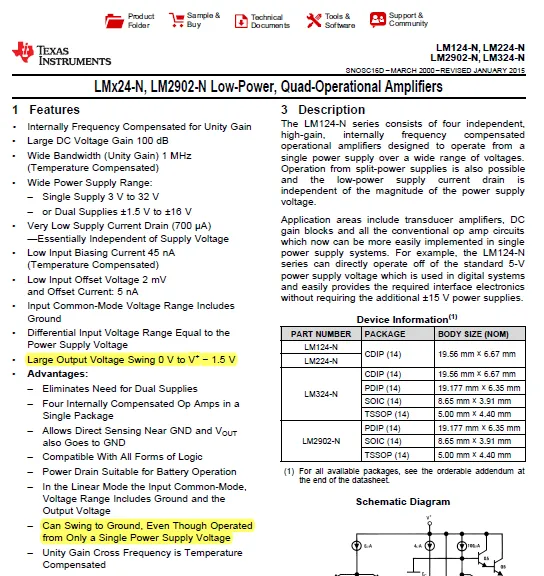
So I removed the 2.5V virtual ground in the original circuit and tweaked few resistors here and there to come up with this reduced design.
Just to make things sure I validated the new circuit in PSPICE and it was looking great.
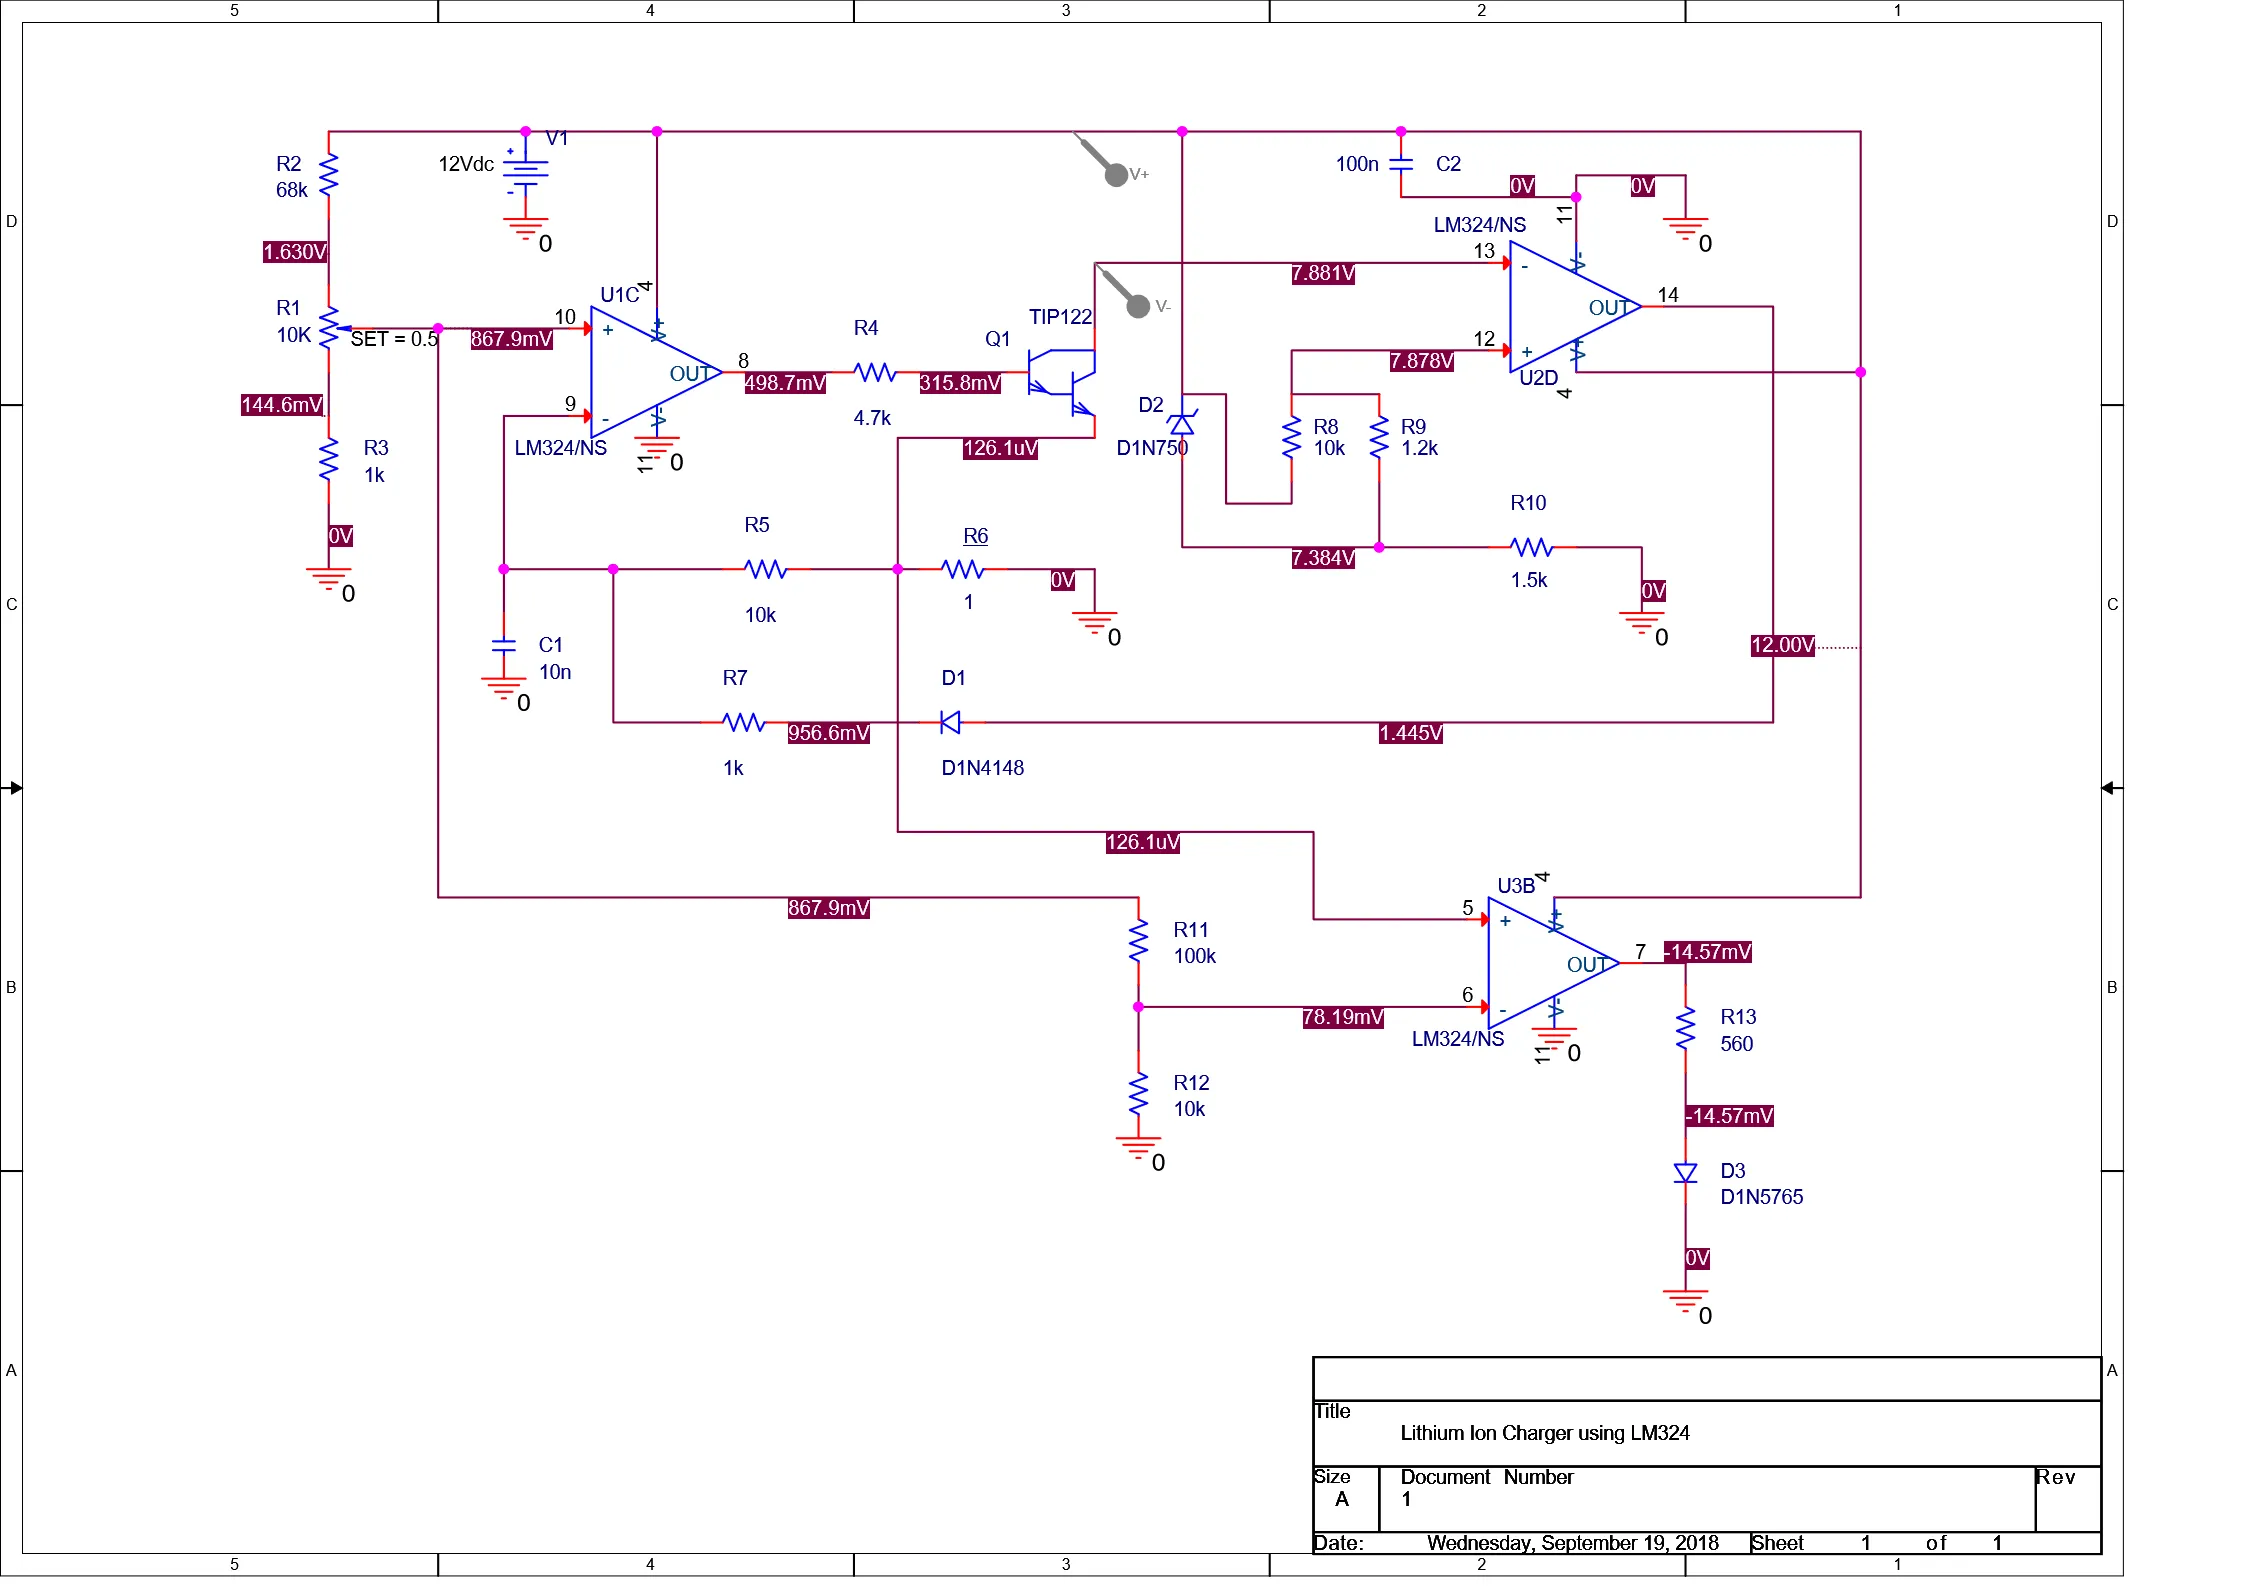 Download schematic and PSPICE files here Download
( If at all you have a power supply with a higher current rating you can redo the design of opamp U1 in the circuit to get a higher charging current)
Download schematic and PSPICE files here Download
( If at all you have a power supply with a higher current rating you can redo the design of opamp U1 in the circuit to get a higher charging current)
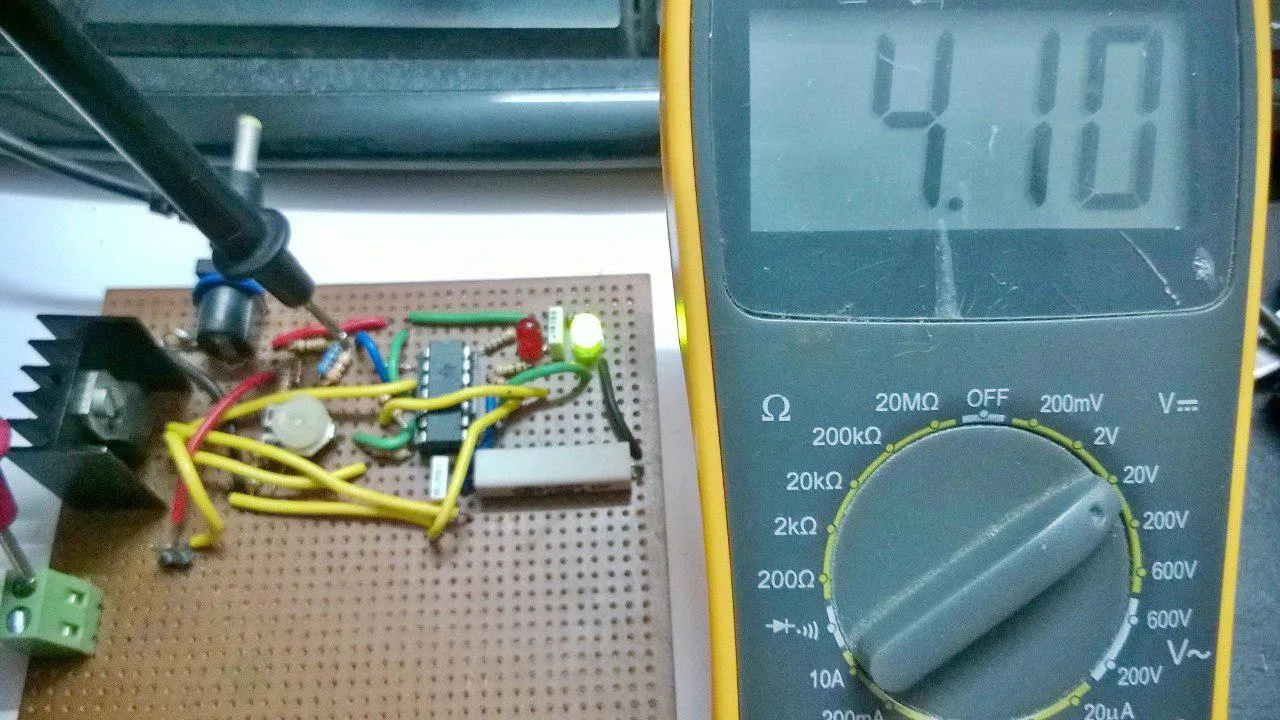
This circuit provides a max. reference of ~4.1V. ( I prefer battery longetivity over runtime …More details here)
If you need it exactly at 4.2V replace the only 1.2k resistor in the circuit with a single 1k resistor.
BOM:
ItemQuantityReferencePart11C110n21C2100n31D1D1N414841D24.7V zener51D3Red LED61Q1TIP12274R110K potR510kR810kR1210k81R268k92R31kR71k101R44.7k111R61121R91.2k131R101.5k141R11100k151R13560161U1,U2,U3LM324171Heat sink181Power jack
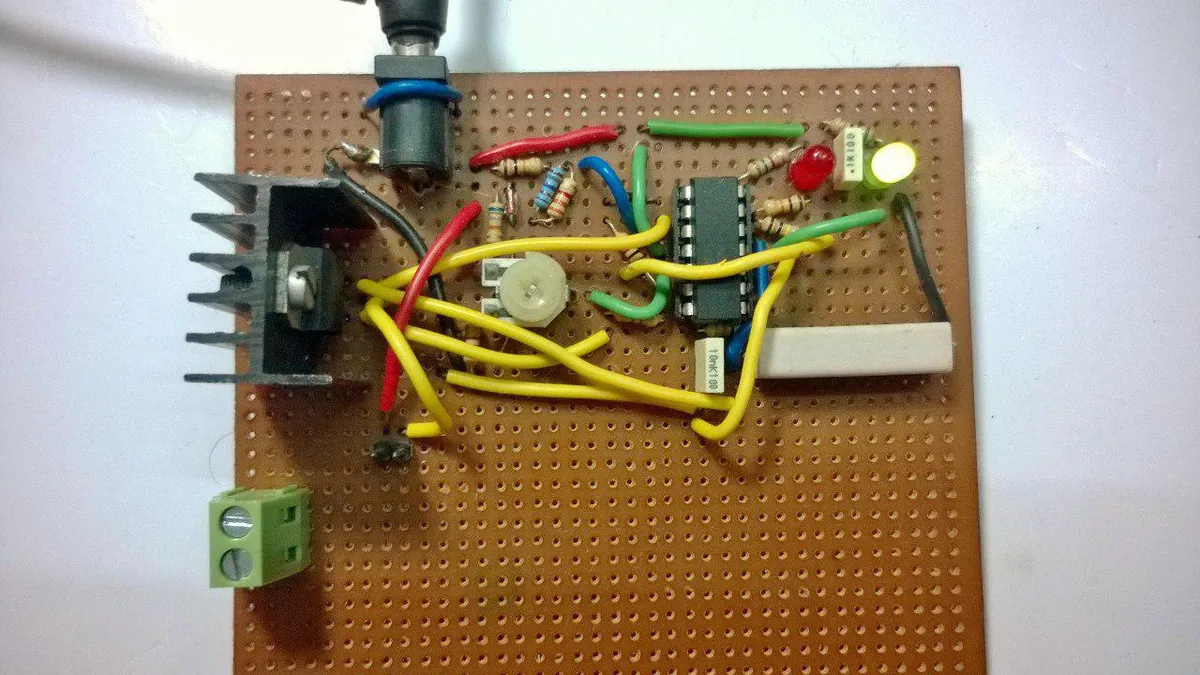
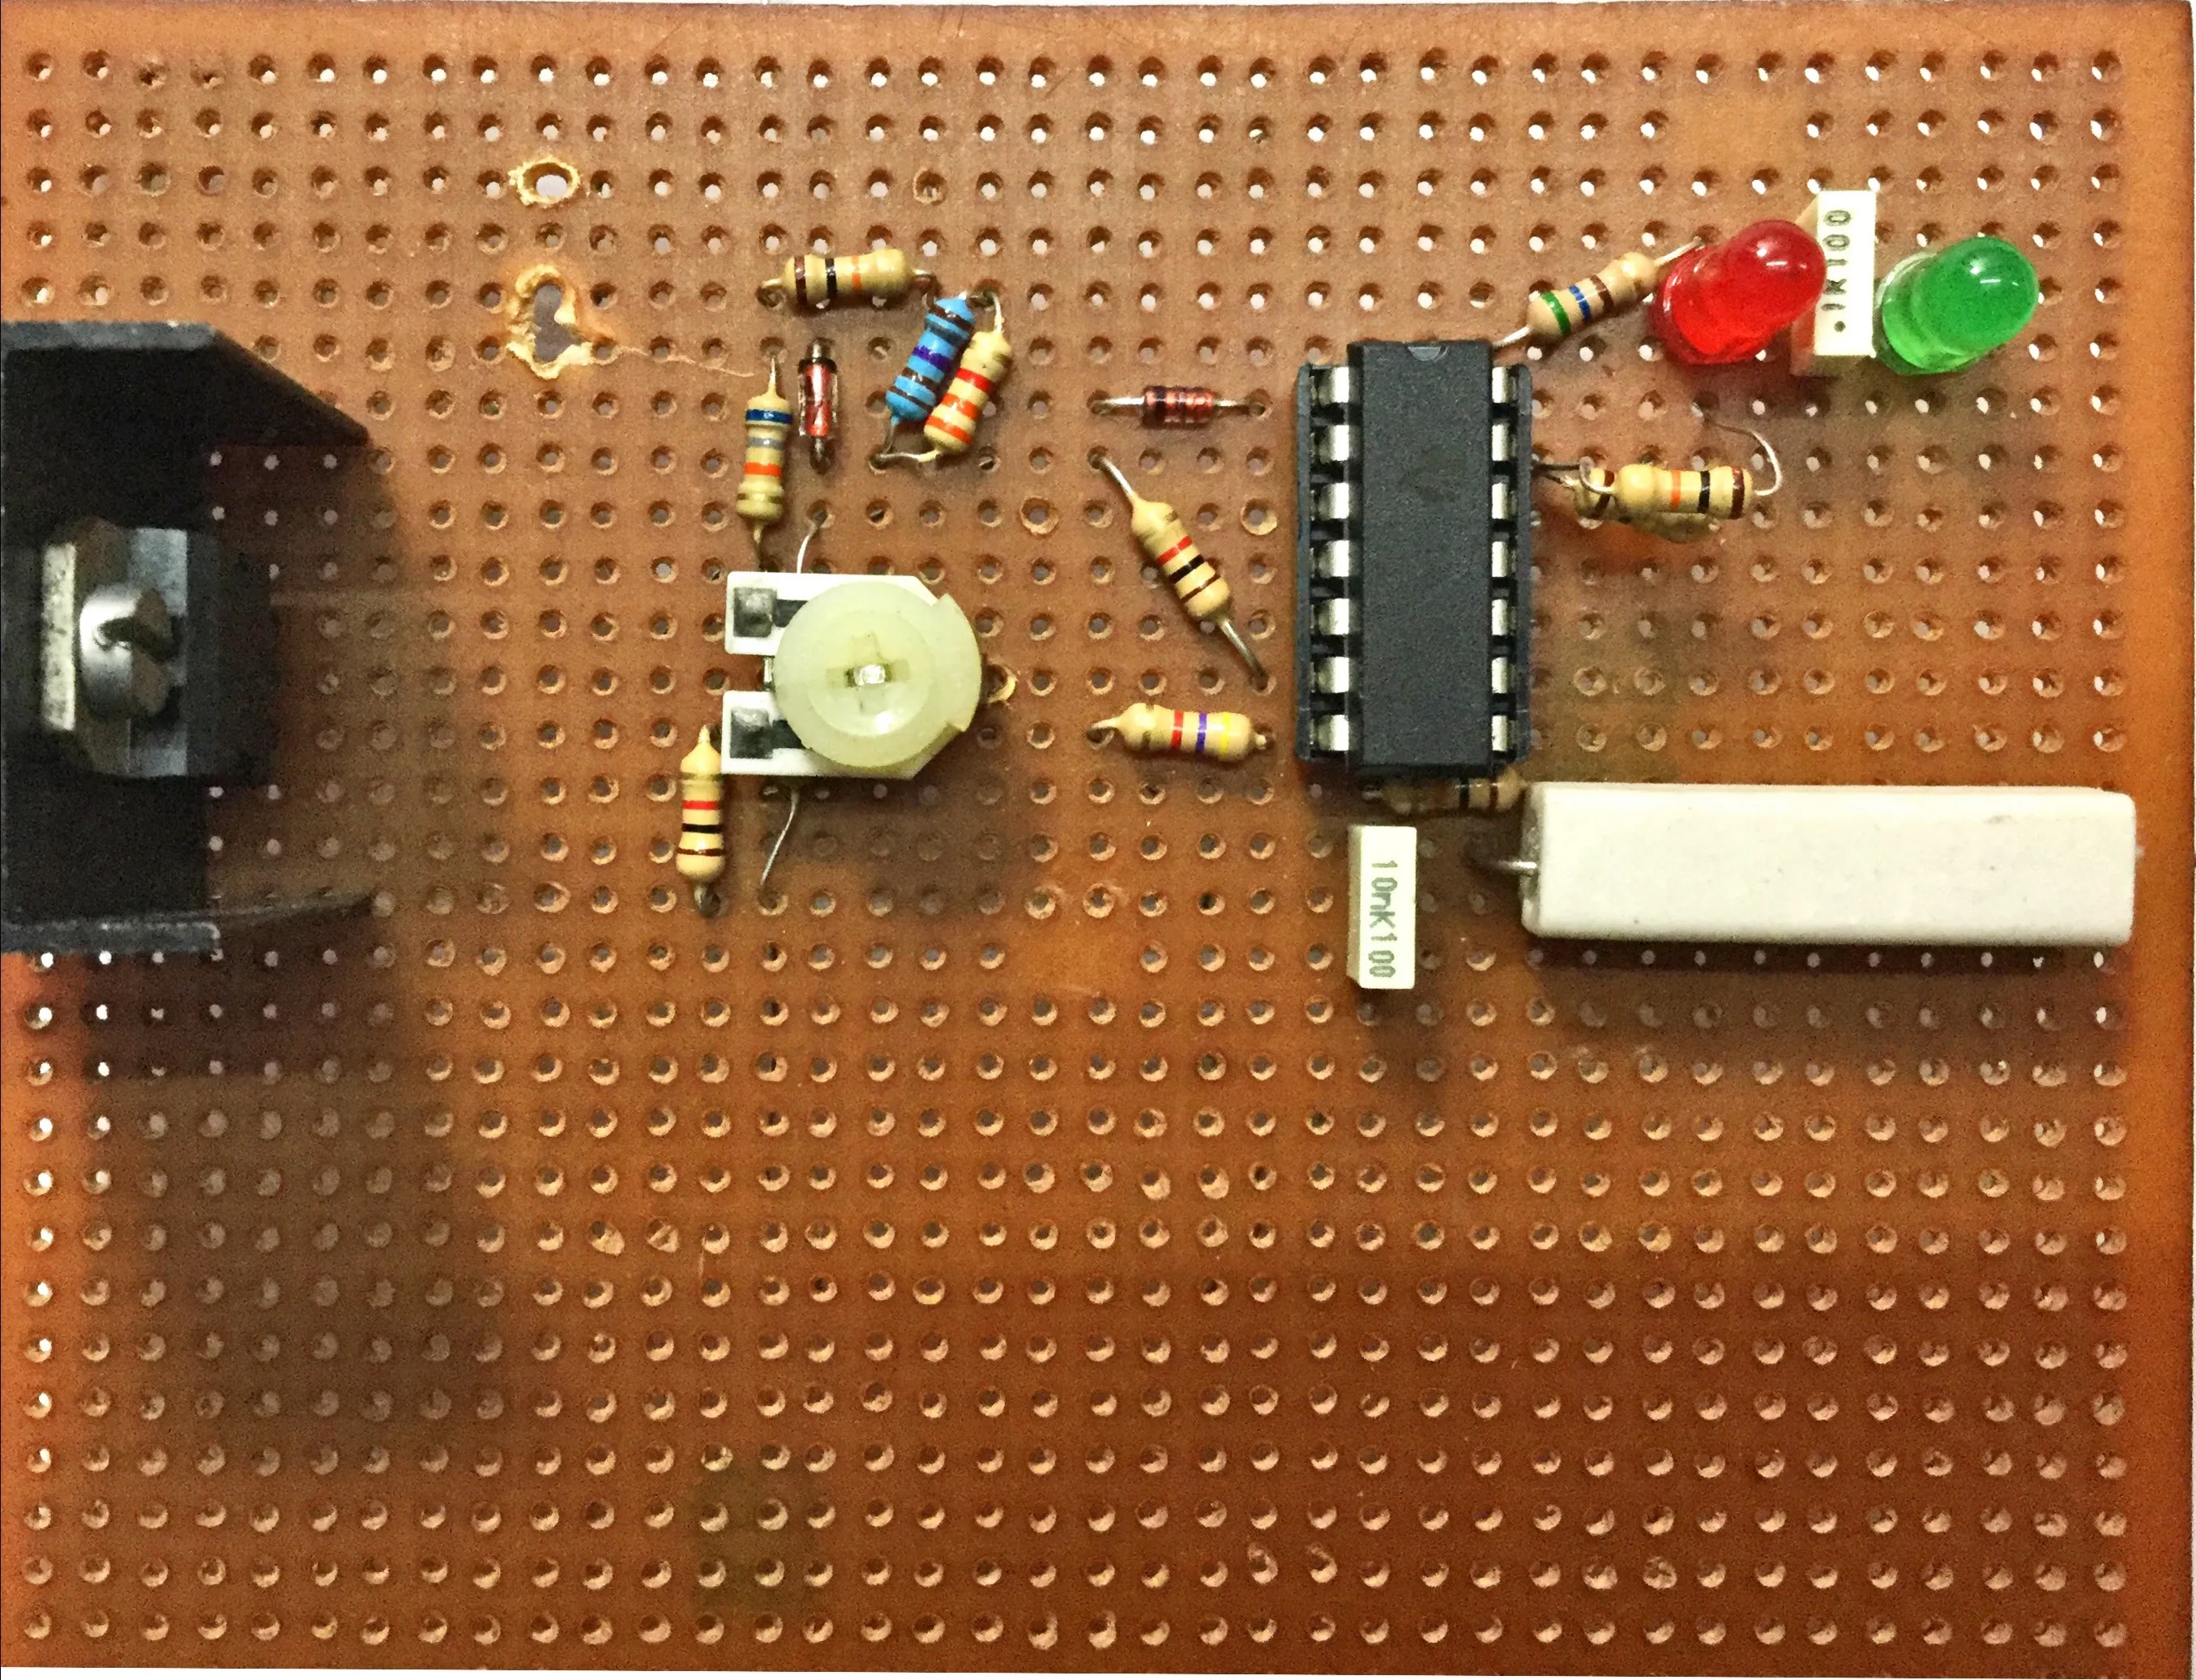
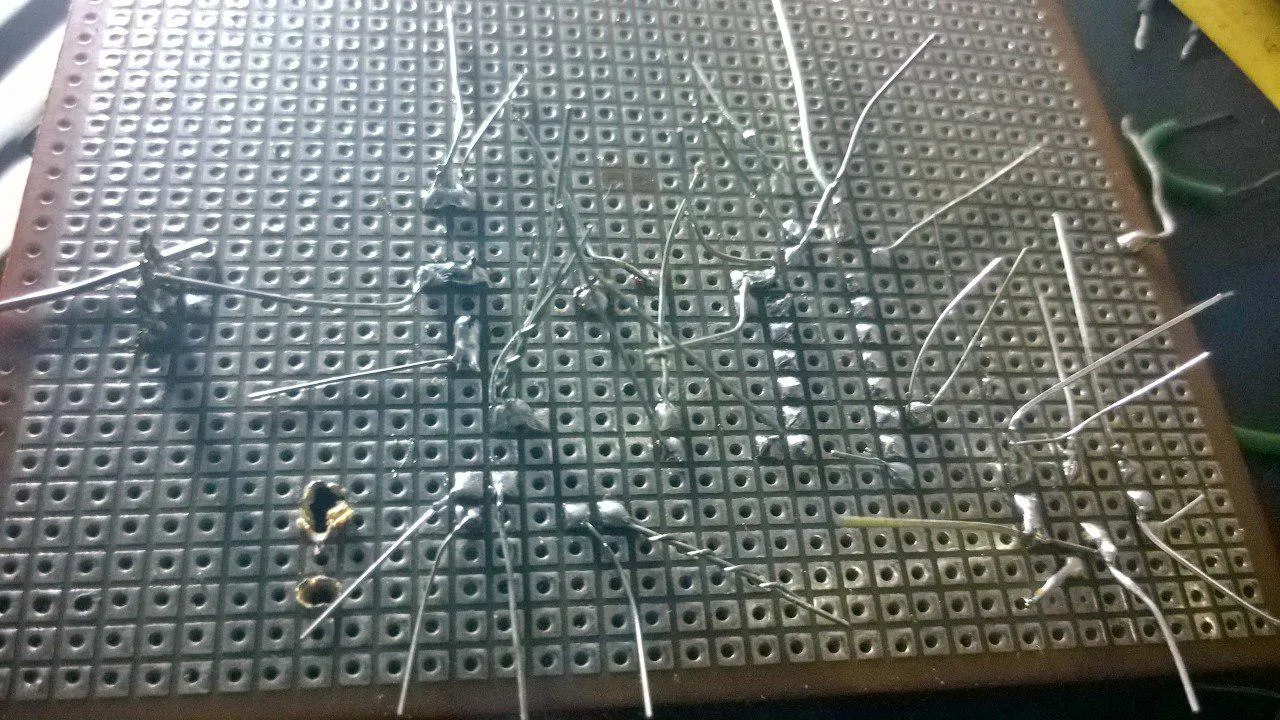
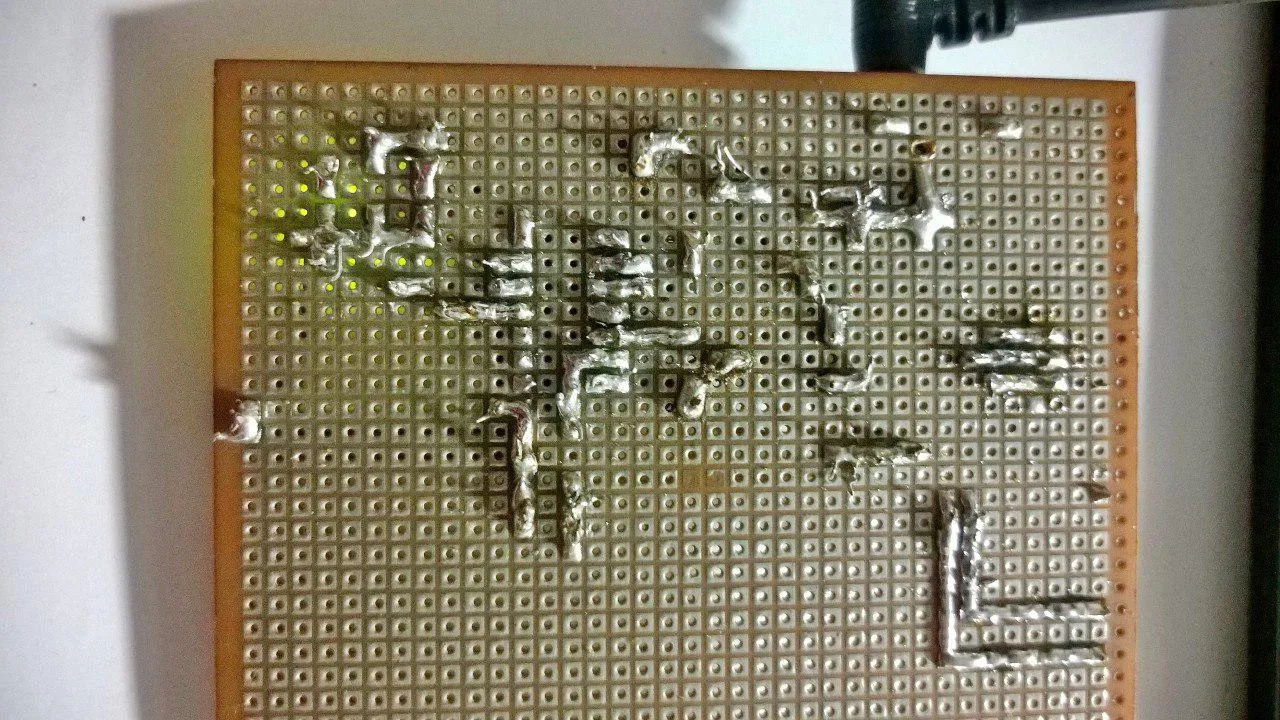
Making it :
------------------------------------------------------------------------------------------------------------------------
Update : 05/2020:
I finally designed a PCB and here’s the link to the post.
------------------------------------------------------------------------------------------------------------------------
Getting PCB’s printed was not economical so I had to do with manual wiring and soldering (yes it did take a couple of hours! )

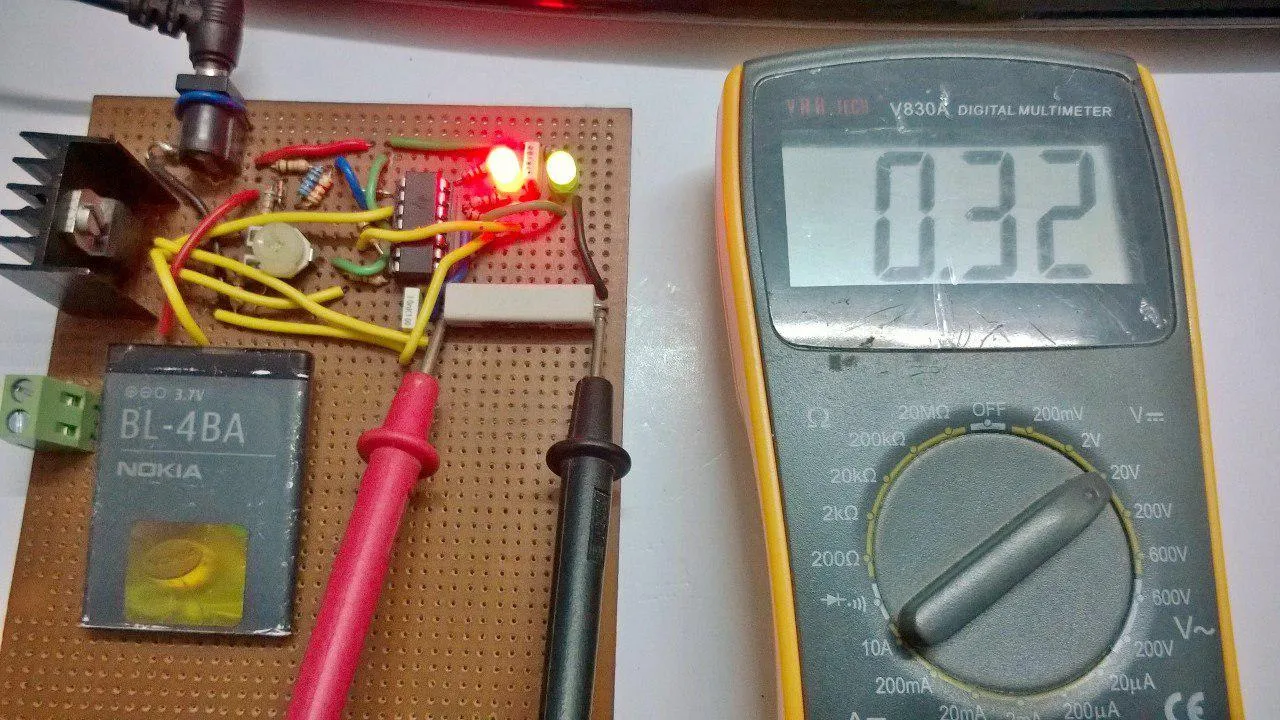
I tested it using different batteries with different capacities and it just works great!
Comments