
Playing with the Hardware connections of the CY8CKIT-043 PSoC® 4 M-Series Prototyping Kit
Internal hardware connections are still something I can’t wrap my head around. I thought it was impossible to do that at such a small level within the chip. I was literally laughing with every hardware iteration I made…no more fiddling with jumpers or ICs…no more checking the connection/supplies.. Everything was so easy. Drag and drop. Configure them and voila you’re all set to go. This thing is going to make debugging circuits a hell lot easier.
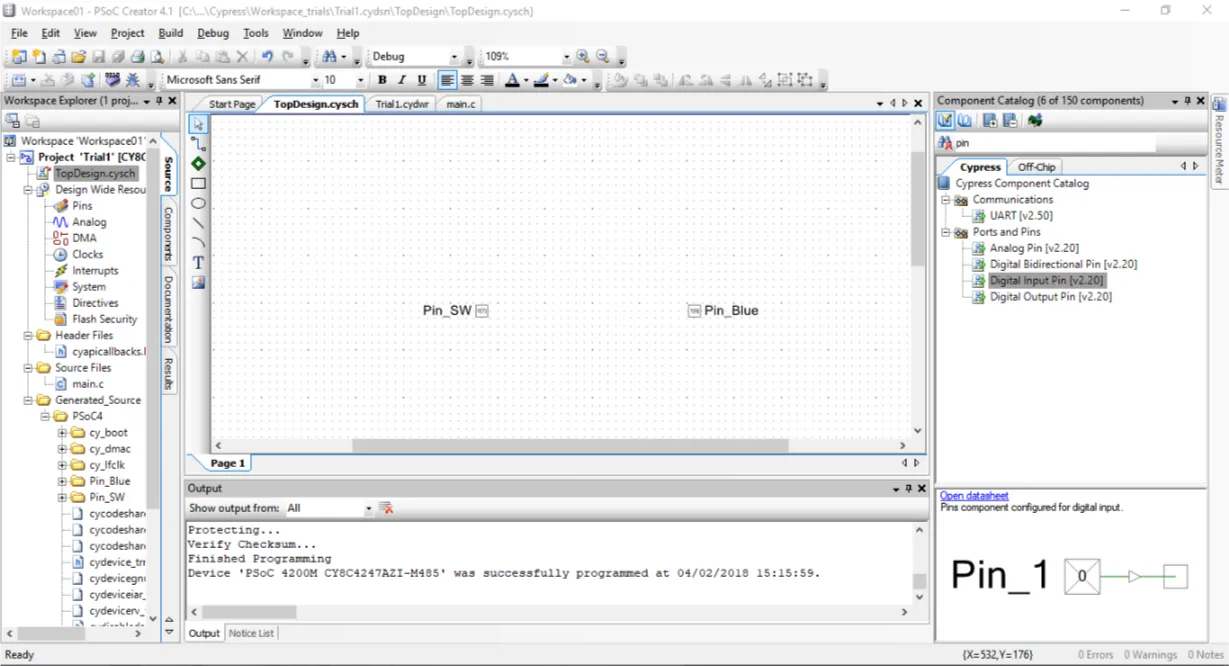
- Add pins that you need
- set them to the required hardware pins on the PSoC
- connect them with a wire
- forget about the code
- build project
- program the board
- watch it run while the processor sleeps :P
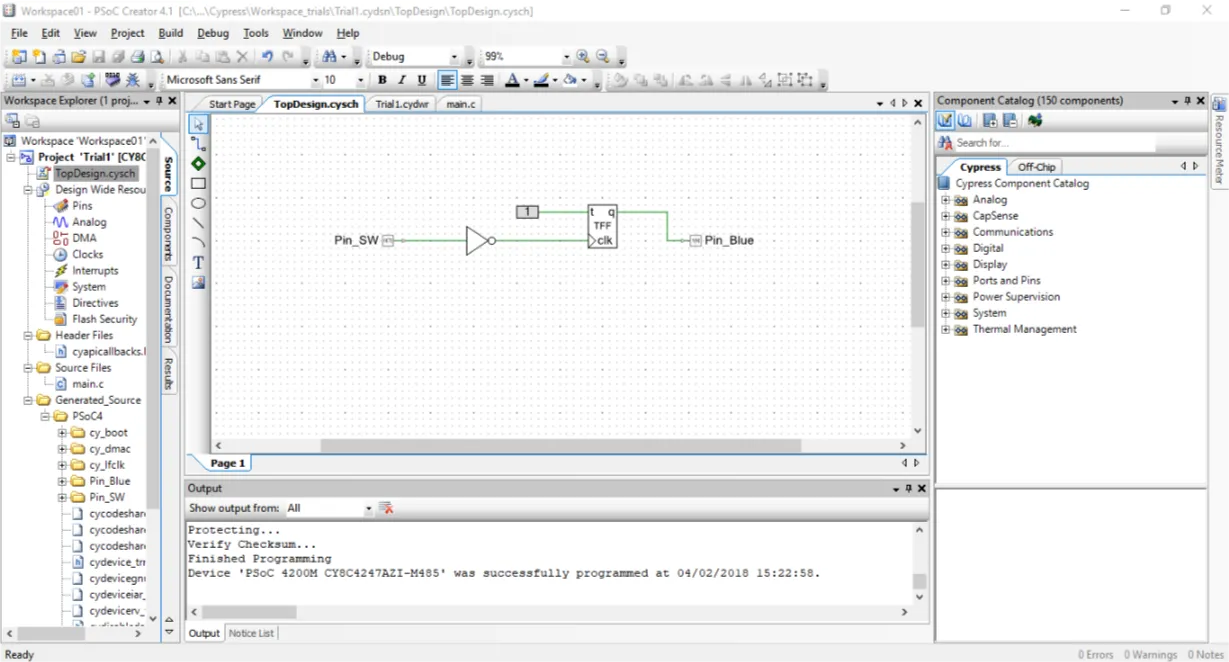
Another one:
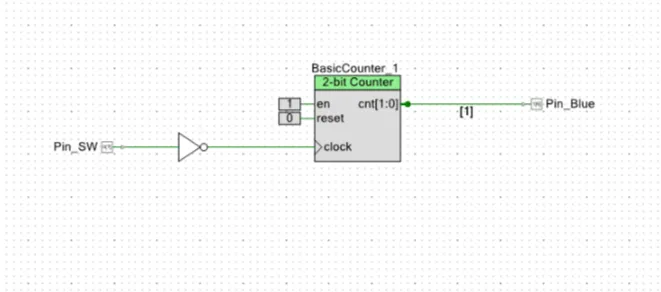
Since a counter counts as follows: 00 01 10 11 connecting the built-in blue LED to the bus [1] will make the LED trigger only after every two button presses.
Note: A NOT gate is used in the circuit because the switch on the board is active low.
Comments